

Fraud Blocker
pixPix Weddingwedding
Wedding Slideshow Guide

How to Make a Wedding Slideshow

The photos are the hard part, not the software. Here is the full process: collecting photos from guests and family before the wedding, curating and pacing them, choosing music, building in a free editor, and the live-reception option that skips building a video at all.

TL;DR - Direct Answer

Start collecting photos from family and friends 2 to 3 weeks before the wedding through a shared QR album. Curate the submissions down to roughly 60 to 120 photos, pace them at 3 to 5 seconds each, and pair them with one or two songs. Then either build the finished video in a free editor like Canva or iMovie, or skip building one entirely and run a live slideshow of guest uploads at the reception instead.

Roughly, the collecting itself takes 2 to 3 calendar weeks of passive waiting, while the hands-on work (curating, choosing music, building, and testing) usually adds up to a few hours total once the photos are in. The step almost every guide skips, getting photos out of other people's phones and photo boxes, is the one that determines whether the finished slideshow feels complete.

Step-by-Step: How to Make a Wedding Slideshow

Follow these seven steps in order. Collection comes first for a reason: everything downstream, curating, ordering, pacing, and building, depends on having the right photos in hand.

  1. 01

    Collect photos from everyone, starting 2 to 3 weeks out

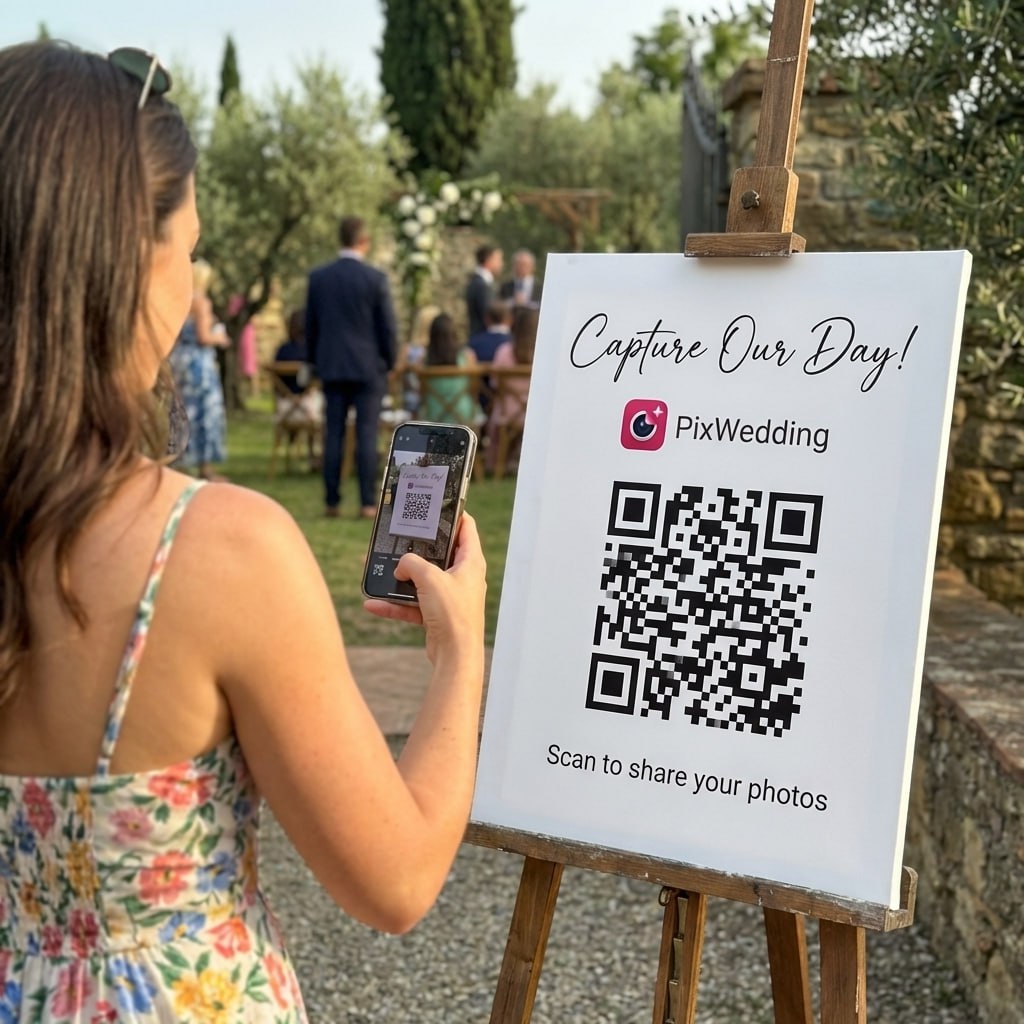
    Your own camera roll is not enough for a wedding slideshow. The best photos, the ones from before you two met, from childhood, from the early dating years, live on other people's phones and in parents' photo boxes. Set up a shared QR album and send it to both families and close friends 2 to 3 weeks before the wedding, not the week of.

  2. 02

    Curate down to roughly 60 to 120 photos

    Once submissions slow down, go through everything and cut hard. Duplicate angles of the same moment, blurry shots, and photos where neither of you is clearly visible all get cut first. A slideshow with fewer, stronger photos always plays better than one that tries to include everything anyone sent in.

  3. 03

    Put the photos in an order that tells a story

    Chronological order is the default for a reason: it gives guests an arc to follow, from childhood, to how you met, to the proposal, to the wedding day itself. Group photos into chapters rather than a strict day-by-day timeline, and put your strongest, most striking photo first so people are hooked in the opening seconds.

  4. 04

    Choose one or two songs before you start building

    Music sets the pace before you place a single photo. A slower ballad lets photos linger longer; an upbeat track wants tighter cuts. Picking the song first also tells you the runtime you are building toward, since most slideshow tools will loop, trim, or let the photos run out before the song ends if you skip this step.

  5. 05

    Build it in a free editor, or decide to skip building one entirely

    This is the step every other guide treats as the hard part, and it usually is not. Canva, PowerPoint, iMovie, CapCut, and Google Photos can all produce a clean, watchable slideshow at no cost. The alternative some couples do not realize exists: skip the pre-rendered video altogether and run a live slideshow of guest uploads at the reception instead, which is covered further down this page.

  6. 06

    Preview it twice and test on the actual display

    Watch the full slideshow start to finish, twice, before the wedding. First pass: flag any photo that lingers too long, cuts too fast, or feels out of place. Second pass: play it on the real screen or projector the venue will use, since colors and brightness that look fine on a laptop can wash out badly on a venue projector.

  7. 07

    Display it: rehearsal dinner, reception screen, or live at the party

    A pre-built slideshow usually plays best at the rehearsal dinner or during a quiet moment at the reception, like dinner or the toasts. If you would rather have moving, current content running throughout the whole reception instead of a fixed video, a live slideshow pulling in guest uploads in real time covers that differently, and does not require finishing a video edit at all.

Get Everyone's Photos Into One Album Before You Even Open an Editor

Send one QR code to both families and the wedding party. Childhood photos, dating-era pictures, and shots you have never seen all land in one place automatically, so the curating step starts with a full pile instead of just your own camera roll.

From Dad

From Dad

Point your camera

Scan to join the album

No app, no account

9:41

UPLOADING

Saving your moment

9:41

THE ALBUM

Emma & Jack

June 21, 2026

647 photos · 95 guests

AllMomentsMine
Guest photo 1
Guest photo 2
Guest photo 4
Guest photo 5
Guest photo 6
Guest photo 7
Guest photo 8
Guest photo 9
Guest photo 10
Add photosShare your moments

SCAN TO TRY

pix.wedding/
your-wedding

The Pacing Math: Photos x Seconds Per Photo = Runtime

Before opening any editor, decide the target length and the pacing, then the photo count falls out of simple arithmetic. Slower pacing (5 seconds per photo) suits reflective, emotional slideshows; faster pacing (3 seconds per photo) suits upbeat, high-energy ones.

Target LengthSlow Pacing (5 sec/photo)Medium Pacing (4 sec/photo)Fast Pacing (3 sec/photo)
3 minutes (180 sec)36 photos at 5 sec each45 photos at 4 sec each60 photos at 3 sec each
5 minutes (300 sec)60 photos at 5 sec each75 photos at 4 sec each100 photos at 3 sec each
8 minutes (480 sec)96 photos at 5 sec each120 photos at 4 sec each160 photos at 3 sec each

This is arithmetic, not a rule: photo count = runtime in seconds divided by seconds per photo. Use it to figure out roughly how many photos to collect and curate down to before you start building.

The Collection-First Playbook

Most wedding slideshow guides say "create a shared album and send a link" as if that ends the conversation. In practice, three specific moves are what get photos out of other people's phones and photo boxes.

Send the QR album before the rehearsal dinner

Create a shared photo album with a QR code and share it with both families and the wedding party in the group chat you already use, ideally 2 to 3 weeks before the wedding. Guests who arrive early for the rehearsal dinner have already seen the link by the time they land, so photos start coming in before anyone even checks into a hotel.

Chase childhood photos from parents directly

Parents are the single best source for the photos that make a wedding slideshow feel complete: baby pictures, school portraits, and family vacations from before either of you had a phone. A direct message or a phone call asking specifically for "any photos you have from before we were 18" tends to work better than a general group announcement, since parents often assume someone else already has the good ones.

Scan printed photos with a phone camera

Older relatives frequently have physical prints that were never digitized. Lay the print flat in even, indirect light, avoid a flash (it creates glare), and shoot straight down rather than at an angle. Several free scanning apps can also flatten perspective and boost contrast automatically after the photo is taken, which is usually enough quality for a slideshow.

Free Slideshow Editors Compared: Canva vs PowerPoint vs iMovie vs CapCut vs Google Photos

All five can produce a clean wedding slideshow. Which one fits depends on your device, how much control you want over timing, and whether you already have a Microsoft 365 license. Where the exact free-tier limit was not independently confirmed, it is flagged below rather than guessed.

EditorCostPlatformBest AtMain Limitation
CanvaFree (video/slideshow tools included)Browser, iOS, AndroidTemplates, drag-and-drop timeline, easy for first-timersSome AI-assisted editing features are credit-limited on the free plan; check current terms before relying on them
PowerPointRequires Microsoft 365 or an existing license (not free by itself)Windows, MacBuilt-in Photo Album tool, precise per-slide timing, auto-loop for a venue screenNeeds a Microsoft 365 subscription or an existing installed copy; not a truly free download on its own
iMovieFree, pre-installed on Mac and iPhoneMac, iPhone, iPadPrecise timing control, no watermark, exports straight to MP4Apple devices only
CapCutFree (Pro tier adds extra features)Mobile, browserMobile-first editing, multi-track timeline, fast exports at 1080pCloud storage and some advanced features are capped on the free plan, check current free-tier limits
Google PhotosFreeAndroid (Movie tool), iOS (Highlight Video)Fastest option, generates a short movie from an album in a couple of minutesBuilt for short highlight reels, not a full-length slideshow; Google recommends closer to 20 photos, not 60 to 120

Sources: Canva's slideshow maker, Microsoft's PowerPoint slideshow guide, Apple's iMovie support pages, CapCut, and Google Photos help on creating movies. Free-tier features change over time; confirm current limits directly with each tool before you build.

Matching Music to Each Chapter

One song for the whole slideshow works fine for shorter runtimes. For longer slideshows split into chapters, letting the music shift slightly with the story adds an arc without needing a professional score.

Childhood and growing up

A gentle, nostalgic instrumental or acoustic track lets these older, often lower-resolution photos feel intentional rather than like filler.

How you met and early dating

This is usually where energy can pick up. A track with a bit more warmth or momentum matches the tone of a relationship starting to build.

The proposal and engagement

Many couples slow the pacing here, holding a handful of key photos a little longer since this chapter usually carries the most emotional weight.

Wedding day and present

A track that lifts in energy toward the end gives the slideshow a natural close, especially if it plays into applause or a toast right after.

A note on music licensing

Playing a slideshow live at the reception on a private screen is generally not something couples need to worry about. It is worth being more careful if you plan to upload the finished video to YouTube, Instagram, or Facebook, since commercial tracks can get a public upload muted or taken down. Editors like Canva and CapCut include their own royalty-free music libraries built for exactly this, and the YouTube Audio Library is another common free option if you are posting publicly. This is general guidance, not legal advice specific to any one song or platform.

The Alternative: Skip Building a Video, Run It Live Instead

A pre-rendered slideshow has one built-in limit: it is finished before the reception starts, so it can never include a single photo from the wedding day itself. A live slideshow solves that differently by skipping the render step entirely.

Live guest-upload display

Guests scan a QR code and upload photos straight from the dance floor or the dinner table. Those photos appear on the reception screen in real time, so the "slideshow" keeps growing throughout the night instead of ending after a fixed 5 minutes.

Audio guestbook, same QR code

Pix Wedding's Standard plan ($59 one-time) pairs the live slideshow with an audio guestbook, so guests can also leave a short voice message alongside their photo, all through the same QR code guests already scanned to upload pictures.

No editing software required

There is no photo count to hit, no pacing to calculate, and no export to test on a projector beforehand. The screen just shows what guests are uploading as the party happens.

When to Build a Pre-Rendered Video vs When to Run It Live

Neither option is universally better. They answer different needs, and many couples end up doing both: a short pre-built slideshow at the rehearsal dinner for the origin story, and a live display at the reception for the wedding day itself.

A pre-built slideshow makes sense when

  • You want to tell the "how we met" story with childhood and dating photos
  • You want a fixed, controlled runtime for a specific moment like the rehearsal dinner
  • You plan to keep the video afterward or post it publicly
  • You already have the photos and time to build it in advance

Running it live makes more sense when

  • You want the wedding day itself, not just the backstory, to show up on screen
  • You are short on time to collect, curate, and edit before the wedding
  • You want the display to run the whole reception, not a fixed few minutes
  • You also want an audio guestbook without setting up a separate system

5 Mistakes That Ruin a Wedding Slideshow

These show up in nearly every disappointing slideshow, and every one of them is easy to catch before the wedding if you know to look for it.

Making the slideshow too long

Fix: Past 8 minutes, most rooms start checking phones. If you have more photos than a single slideshow can hold, cut harder rather than extending the runtime.

Too many photos of one era or one person

Fix: A slideshow that spends half its runtime on one trip or one friend group feels lopsided to everyone else in the room. Spread photos across chapters so every part of the story gets roughly proportional time.

Forgetting photos from guests who RSVP'd late

Fix: Anyone added to the guest list after your first collection push can still have great photos of you two. Keep the QR album link active and send a second reminder about a week before the wedding, not just once at the start.

Bad photo order

Fix: Photos dropped in randomly, or strictly by upload date instead of by story, make the slideshow feel like an unsorted camera roll. Group by chapter and place your strongest photo first.

Music mismatched to the pacing

Fix: A slow ballad under fast 3-second cuts feels frantic. An upbeat track under slow 6-second holds feels sluggish. Match the seconds-per-photo to the energy of the song, not the other way around.

Realistic Timeline: 3 Weeks Out to Wedding Day

Here is roughly how the timeline plays out for couples who start early instead of scrambling the week of.

3 weeks beforeSet up the shared QR album and send it to both families and the wedding party. Pick your song or songs.
2 weeks beforeSend a reminder. Call parents directly and ask specifically for childhood and pre-relationship photos.
1 week beforeDownload everything collected so far and start curating down toward 60 to 120 photos.
3 to 4 days beforeOrder the photos into chapters and build the slideshow in your chosen free editor, or confirm the live-display setup instead.
1 to 2 days beforePreview twice, test on the actual venue display or confirm the QR code for the live slideshow, and back up the final file.

Related Guides

Why the Photo Collection Step Decides the Whole Slideshow

Most wedding slideshow guides spend a paragraph on gathering photos and pages on editing software. That balance is backwards. The editing step, picking Canva over iMovie, choosing a transition style, takes an evening at most. Getting the right photos in front of you in the first place is what determines whether the finished slideshow feels complete or thin.

The photos that make people gasp and laugh in a wedding slideshow rarely come from the couple's own camera roll. They come from a parent's old phone, a childhood friend's photo box, or a cousin who happened to be standing in the right spot at the proposal. None of those photos reach the slideshow unless someone asks for them, and asking works far better with a low-friction shared album than with a scattered group text.

This is also why starting the collection process 2 to 3 weeks out matters more than any editing tip. A photo request sent the night before the wedding reaches people mid-travel, mid-packing, with zero time to dig through old albums. A request sent 2 to 3 weeks earlier reaches the same people while they still have the time and the reminder to look.

  • Send the shared album link to both families first, not just your own friend group
  • Ask parents specifically for childhood and pre-relationship photos, not just "any photos"
  • Keep the album open past the wedding date for late submissions
  • Cull before you build, not while you build, so the editing step stays fast
  • Pick music before placing a single photo so pacing is set from the start

Free Editors Are Genuinely Fine, the Product Question Is What Happens Before and After

None of the free tools covered in the comparison table above are bad choices. Canva, PowerPoint, iMovie, CapCut, and Google Photos can all produce a slideshow that plays cleanly on a venue screen. Where couples lose time is not in the editor, it is in gathering the raw material the editor needs and then figuring out what to do with photos guests take on the actual wedding day, which a pre-rendered video obviously cannot include.

A shared QR album solves the first problem by making it effortless for far-flung family and friends to contribute photos before the wedding. It also solves a second problem most guides skip entirely: guest photos taken during the reception itself never make it into a pre-built slideshow, since that video is finished before the party starts. A live slideshow addresses that by displaying guest uploads as they come in, in real time, for the whole reception rather than a fixed few minutes.

Explore more free wedding tools

Everything you need to make your wedding day stress-free and unforgettable.

Answers to the most frequently asked questions about making a wedding slideshow

Wedding Slideshow: Common Questions

Everything you need to know about our free tools and how they help your wedding day.

Start by collecting photos from both families and close friends through a shared QR album, ideally 2 to 3 weeks before the wedding. Curate the submissions down to roughly 60 to 120 photos, order them into a rough narrative (childhood, how you met, the proposal, the wedding), pick one or two songs, then build it in a free editor like Canva, PowerPoint, iMovie, CapCut, or Google Photos. Test the finished video on the actual display before the wedding day.

Roughly 60 to 120 photos works for most wedding slideshows in the 3 to 8 minute range, using 3 to 5 seconds per photo. A 3-minute slideshow needs about 36 to 60 photos depending on pacing, while an 8-minute slideshow can hold 96 to 160. Fewer, stronger photos almost always play better than cramming in everything anyone submitted.

4 to 8 minutes is the typical range for a wedding slideshow. Shorter (3 to 4 minutes) suits a slideshow playing during a specific moment like dinner or the rehearsal dinner. Longer (6 to 8 minutes) suits a slideshow meant to be the main event at a rehearsal dinner or a dedicated viewing moment. Past 8 to 10 minutes, most rooms lose focus.

Canva is a strong default for most people: browser-based, free slideshow and video tools, drag-and-drop editing, and a built-in stock music library. iMovie is the best free option for Mac and iPhone users who want more precise timing control. CapCut works well for mobile-first editing. PowerPoint has a dedicated Photo Album feature if you already have a Microsoft 365 license. Google Photos can generate a short movie in minutes but is built for shorter highlight reels, not a full 60 to 120 photo slideshow.

A shared QR photo album is the lowest-friction method: guests and family scan a code and upload directly from their phone, no account or app download required. Send it 2 to 3 weeks before the wedding, follow up with a specific ask to parents for childhood photos, and keep the album open past the wedding date so late submissions and reception photos can still be added.

You do not have to build a pre-rendered video at all. A live slideshow displays guest photo uploads on the reception screen in real time as the party happens, which also means it can include wedding-day photos a pre-built video never could. Pix Wedding's Standard plan ($59 one-time) includes this live slideshow along with an audio guestbook through the same QR code, which is worth considering if you are short on time to edit or want the display running for the whole reception instead of a fixed few minutes.

How to Make a Wedding Slideshow (2026): Full Guide