DIY Wedding Centerpieces on a Budget: 8 Step-by-Step Tutorials
Beginner-friendly tutorials with exact materials, time estimates, and the one mistake to avoid for each project.
Plan Your Decor BudgetQuick Reference: All 8 Projects at a Glance
Step-by-Step Tutorials
1. Floating Candle Elegance
Materials
Steps
Clean the vase thoroughly to remove any residue.
Fill with room-temperature water to about 3/4 full.
Trim a flower stem short and submerge it, letting it settle naturally.
Place the floating candle on top of the water.
For extra sparkle, add a pinch of glitter to the water before the candle.
Using cold water causes condensation on the outside of the vase. Use room temperature water for a crystal-clear finish.
2. Greenery Garland Runner
Materials
Steps
Lay eucalyptus stems end-to-end along the table center.
Weave ruscus through the eucalyptus to fill gaps.
Secure overlapping stems with small pieces of floral wire hidden underneath.
Tuck tea lights along the runner at regular intervals.
Mist lightly with water and keep in a cool space until the event.
Buying greenery too early. Fresh eucalyptus lasts 5 to 7 days but looks best at 1 to 3 days. Buy Wednesday or Thursday for a Saturday wedding.
3. Painted Mason Jar Trio
Materials
Steps
Clean jars and let dry completely.
Apply painter's tape in stripes or geometric patterns for a two-tone effect.
Apply 2-3 thin coats of paint, letting each dry before the next.
Remove tape once fully dry to reveal the pattern.
Wrap twine around the jar rims and add a small bouquet of flowers or greenery.
Applying paint too thick. Multiple thin coats prevent drips and create a smooth, professional finish. One thick coat always looks uneven.
4. Book Stack Centerpiece
Materials
Steps
Select books with neutral or coordinating covers (remove dust jackets for a vintage look).
Stack largest to smallest with a slight offset for visual interest.
Place a votive candle on top.
Tuck a small flower sprig or mini succulent next to the candle.
Optionally tie a ribbon around the stack for a polished finish.
Using books with bright, clashing covers. Remove dust jackets or spray paint covers in your wedding color for a cohesive look.
5. Lantern and Greenery Display
Materials
Steps
Place the LED candle inside the lantern.
Set the lantern in the center of the table.
Arrange a small greenery wreath around the base of the lantern.
If using fairy lights, wrap them loosely around the lantern exterior.
Test the LED candle timer setting so it turns on automatically before the reception.
Using real candles in enclosed lanterns at venues that prohibit open flames. Always check venue rules and default to LED for safety.
6. Succulent Planter Box
Materials
Steps
Line the wooden box with plastic wrap to prevent water damage.
Fill with potting soil to about 3/4 full.
Arrange succulents in the soil, varying heights and colors.
Fill gaps between plants with decorative moss.
Scatter small river rocks on top for a finished, polished look.
Water lightly 2 days before the wedding so soil is moist but not wet.
Overwatering succulents before the event. Soggy soil looks messy and can leak through the box. A light misting is all they need.
7. Wine Bottle Candelabra
Materials
Steps
Clean and dry the wine bottle thoroughly.
Optionally spray paint in gold, white, or your wedding color. Apply 2 thin coats.
Insert a taper candle into the bottle neck (shave the base slightly if needed for a snug fit).
For a romantic look, light a candle and let wax drip down the bottle neck before the event.
Group 3 bottles of varying heights per table with greenery scattered between them.
Forgetting to test candle stability. A loose candle can tip and create a fire hazard. The candle should fit snugly without wobbling.
8. Baby's Breath Cloud Vase
Materials
Steps
Fill the vase with water and a drop of bleach (extends flower life).
Trim baby's breath stems to varying lengths.
Arrange stems around the outer edge of the vase first, then fill the center.
Fluff each stem by gently separating the tiny blooms.
Tie a satin ribbon around the vase for a finished look.
Not fluffing the stems. Baby's breath looks sparse straight from the bundle. Spending 30 seconds separating each stem makes it look three times as full.
DIY Centerpiece Planning Timeline
Choose your centerpiece style and create a materials list. Order any specialty items online. Do a test run of 2 centerpieces to finalize the design.
Buy all non-perishable materials (vases, candles, paint, tools). Start any painted or crafted elements that need drying time.
Complete all non-floral elements. Assemble the structural parts of each centerpiece. Store in labeled boxes by table number.
Order fresh flowers if using. Confirm greenery delivery. Do a final count of all centerpieces including extras.
Arrange fresh flowers. Mist greenery. Pack everything for transport with careful padding between pieces.
Transport and set up. Bring a repair kit (hot glue, extra stems, tape, scissors). Do a final walkthrough and adjust spacing.
More Budget Wedding Ideas

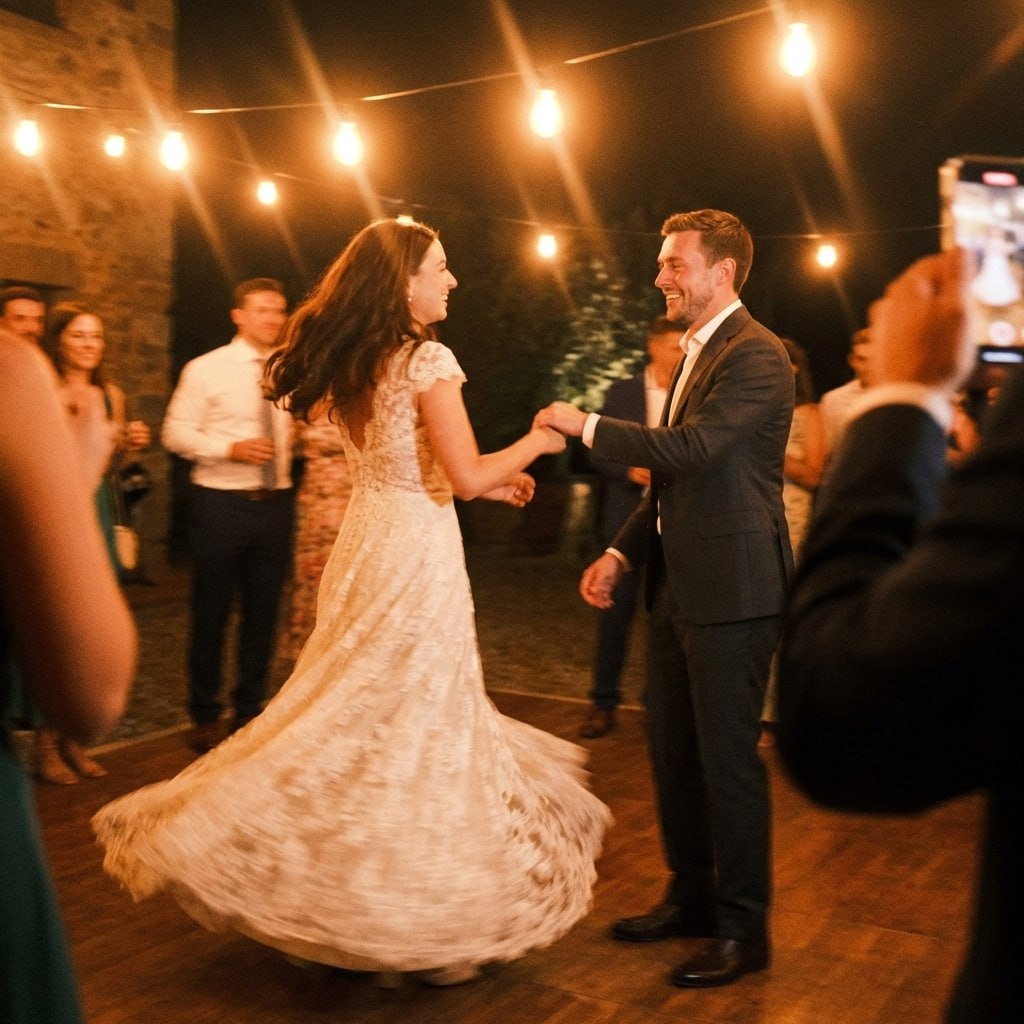
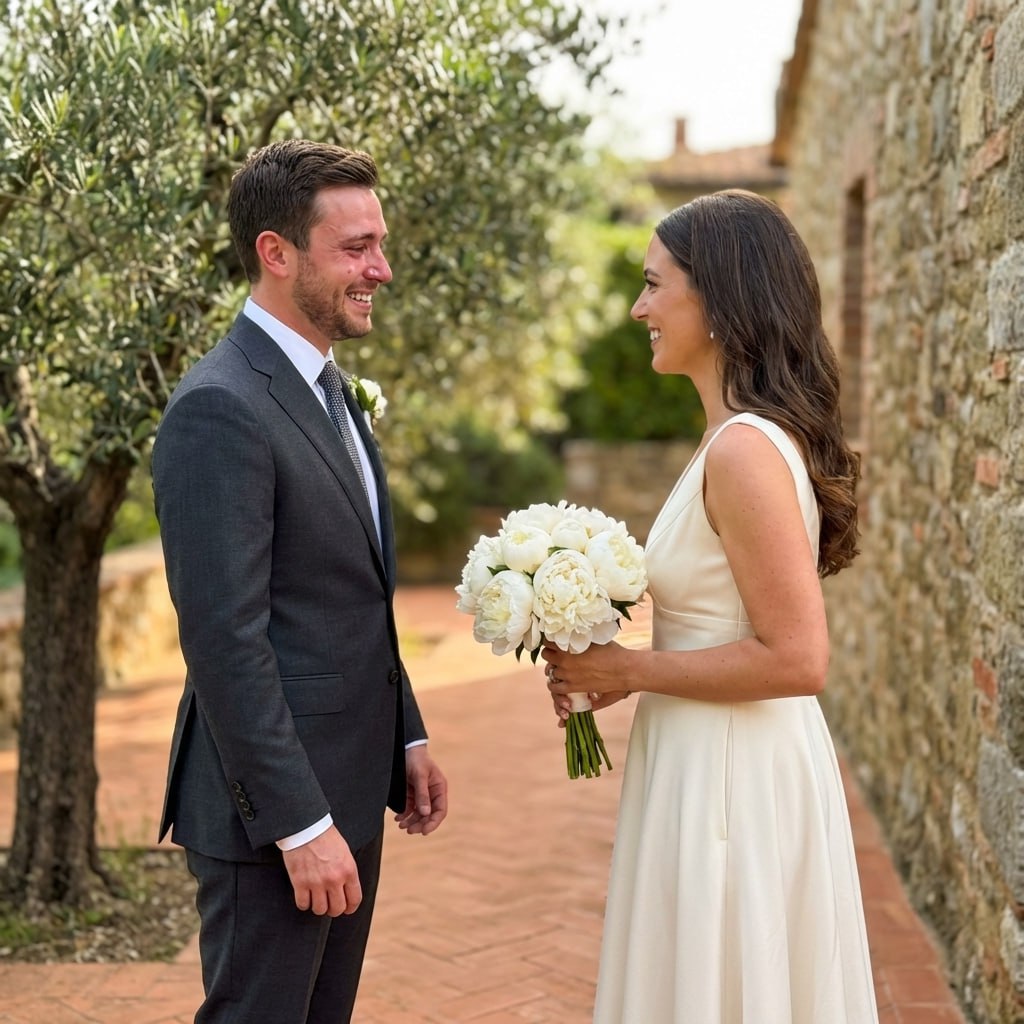
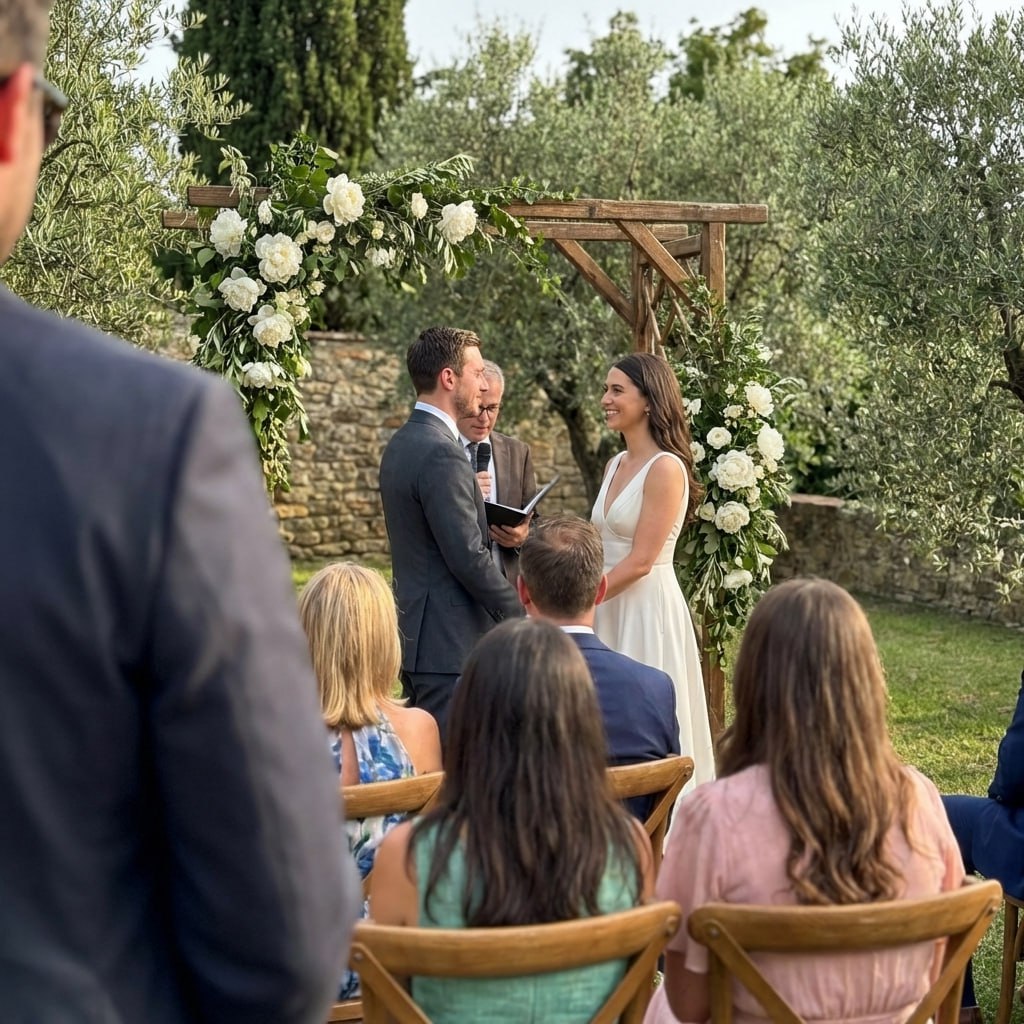
First dance
You guys!!
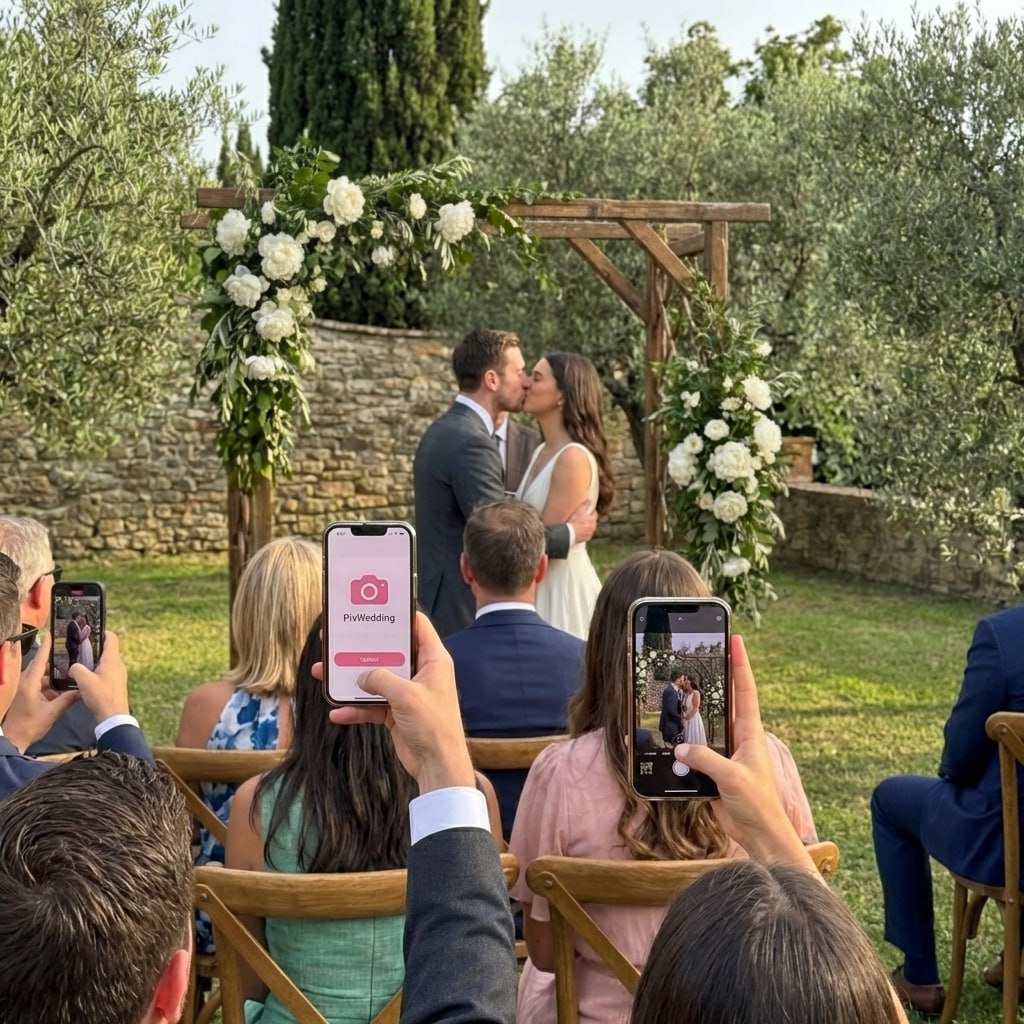
Your tables look great - now collect the photos.
Put a QR code on each centerpiece. Guests snap and share, and every shot lands in one shared album automatically.
From Mom
Scan to join the album
No app, no account
UPLOADING
Saving your moment
THE ALBUM
Emma & Jack
June 21, 2026
647 photos · 95 guests
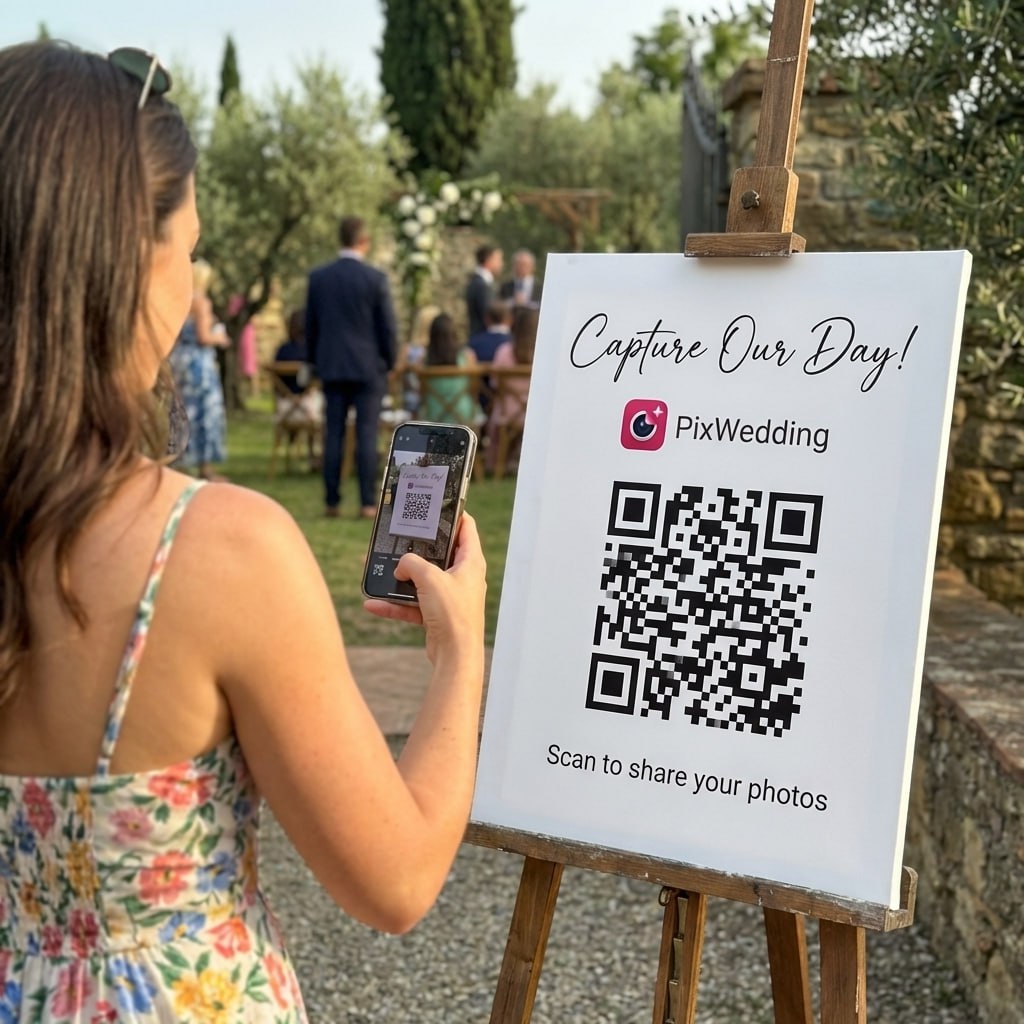
SCAN TO TRY
pix.wedding/
your-wedding
Why DIY Your Wedding Centerpieces
DIY centerpieces save 50 to 75 percent compared to florist prices. The average florist-made centerpiece costs $50 to $150 per table, while most DIY versions come in under $15. For a 20-table wedding, that is a savings of $700 to $2,700.
Beyond cost, DIY centerpieces give you complete creative control. You can match your exact color palette, incorporate personal touches, and create something truly unique. Many couples find the crafting process itself becomes a meaningful pre-wedding activity shared with friends and family.
- •Save 50-75% compared to professional florist arrangements
- •Complete creative control over colors, materials, and style
- •Crafting sessions double as bonding time with your wedding party
- •Non-floral DIY options last forever as keepsakes
- •Practice runs ensure your vision is achievable before the big day
Setting Up Your DIY Centerpiece Workspace
Create a dedicated workspace with good lighting and ventilation (especially for spray paint or hot glue). Cover surfaces with newspaper or a drop cloth. Organize materials by project in labeled bins so everything is ready when you start.
Batch production is the most efficient approach. Complete all 20 vases at once, then move to the next step for all 20, rather than finishing one centerpiece at a time. Assembly-line style saves time and ensures consistency across all your tables.
Explore more free wedding tools
Everything you need to make your wedding day stress-free and unforgettable.
Cost Calculator
Compare wedding costs by city.
Courthouse Wedding Cost
Real fees by county and what to expect.
Photo Sharing QR
The best way to collect guest photos.
Wedding Checklist
Month-by-month planning checklist.
AI Vow Generator
Write "banger" vows in seconds.
AI Speech Pro
Banger toasts for Best Man & more.
DIY Centerpiece FAQ
Everything you need to know about our free tools and how they help your wedding day.
Floating candles in cylinder vases are the easiest. Fill a vase with water, drop in a floating candle, and optionally add a submerged flower stem. Takes 2 minutes per centerpiece and costs $3 to $5 each. No crafting skills needed.
Make at least 2 practice centerpieces before committing to your full batch. This helps you refine the technique, accurately estimate time per piece, identify any material issues, and finalize the exact look you want. Budget an extra $20 to $30 for practice materials.
Fresh flower arrangements should be made no more than 24 hours before the wedding. Store them in a cool space (not a refrigerator with fruit, as ethylene gas wilts flowers). For earlier prep, use dried flowers, faux flowers, or non-floral centerpieces.
For most projects: scissors, hot glue gun, floral tape, wire cutters (for stems), and a ruler. More advanced projects may need a spray paint booth (cardboard box works), sandpaper, or a small saw. Skip the expensive craft tools and use basics from the dollar store.
Use flat cardboard boxes with tissue paper between pieces. For floral arrangements, transport vases and flowers separately and assemble on-site. Candle centerpieces transport well in egg carton-style dividers. Always bring a repair kit: hot glue gun, extra flowers, tape, and scissors.
Always make 2 to 3 extra centerpieces. Breakage during transport, last-minute table additions, or a piece that does not look right on a specific table are all common. The extra cost is minimal compared to the stress of being short on the wedding day.