Low Budget Rustic Wedding Decor DIY: 10 Projects Under $20
Barn wedding charm without the barn wedding price tag. Every project here uses affordable, easy-to-find materials and needs zero power tools.
Create Your Rustic Color PaletteEssential Rustic Materials and Where to Find Them
Stock up on these core materials and you can create dozens of different decorations.
Wood Elements
$5-$15Where: Hardware stores, fallen trees, craft stores
Items: Wood slices, birch bark, wooden crates, pallet boards, driftwood
Textiles
$10-$25 (bulk)Where: Fabric stores, Amazon, dollar stores
Items: Burlap rolls, lace ribbon, muslin, cotton twine, jute rope
Natural Elements
$0-$10Where: Your yard, parks, farmers markets
Items: Pinecones, branches, moss, river rocks, wildflowers, eucalyptus
Lighting
$15-$40Where: Amazon, IKEA, hardware stores
Items: String lights, LED candles, tea lights, lanterns, Edison bulb strands
Tools and Supplies
$10-$20Where: Dollar store, craft store
Items: Hot glue gun, scissors, floral wire, clear sealant spray, chalk markers
10 DIY Rustic Decor Projects
Each project includes materials, cost, time estimate, and step-by-step instructions.
1. Mason Jar Lanterns
Materials: Mason jars, wire, pliers, tea light candles, twine
Wrap twine around the top of each jar. Create a wire handle by bending craft wire into a U-shape and hooking it around the jar rim. Place a tea light inside. Hang from shepherd hooks or tree branches for a warm glow.
2. Wood Slice Centerpieces
Materials: Wood slices (8-12 inch), sandpaper, clear sealant, candles, greenery
Sand the top surface smooth. Apply 2 coats of clear polyurethane sealant to prevent sap bleed. Once dry, arrange a candle grouping and greenery sprig on top. Add a small chalkboard table number leaning against the candles.
3. Burlap Table Runners
Materials: Burlap fabric roll, scissors, lace trim, fabric glue
Cut burlap to table length plus 12 inches for overhang. Pull 2-3 threads from each long edge to create a frayed border. Optionally glue lace trim down the center. Press under heavy books overnight to flatten.
4. Twig and Branch Arch
Materials: Branches (fallen or pruned), zip ties, floral wire, fabric draping, greenery
Collect sturdy branches 6-8 feet long. Lash together with zip ties hidden by floral wire to form an arch shape. Weave thinner branches through gaps. Drape fabric and tuck in greenery the day before the ceremony.
5. Wildflower Bouquets in Bottles
Materials: Vintage glass bottles, wildflowers (foraged or bought), twine
Collect an assortment of glass bottles in different shapes and sizes. Wrap the neck of each with twine. Fill with water and arrange 3-5 stems of wildflowers or roadside blooms. Group 3-5 bottles together per table.
6. Burlap and Lace Chair Sashes
Materials: Burlap strips, lace ribbon, hot glue
Cut burlap into strips 6 inches wide and 4 feet long. Glue a strip of lace down the center. Tie around chair backs in a simple bow. Make extras for head table and aisle chairs.
7. Chalkboard Welcome Sign
Materials: Large chalkboard or painted plywood, chalk markers, frame (optional), easel
If using plywood, paint with 3 coats of chalkboard paint. Once dry, sketch your layout lightly in regular chalk. Trace over with chalk markers for a permanent finish. Write your welcome message, menu, or timeline.
8. String Light Canopy
Materials: Warm white string lights (200-400 count), hooks or zip ties, extension cords
Plan your pattern before hanging (zigzag, parallel lines, or starburst from center). Install hooks or use zip ties on beams/trees. Drape lights in your chosen pattern. Use a timer for automatic on/off.
9. Birch Bark Votive Holders
Materials: Glass votives, birch bark strips, hot glue, twine
Cut birch bark to wrap around each glass votive with a half-inch overlap. Hot glue in place. Wrap twine around the middle and tie in a small bow. Place tea light candles inside.
10. Wine Barrel Card Box
Materials: Half wine barrel (borrowed or thrift), "Cards" sign, greenery
Source a half barrel from a vineyard, garden center, or Facebook Marketplace. Cut a slot in a piece of wood or thick cardboard to place inside. Attach a small "Cards" sign and drape greenery around the edge.
Rustic Color Palettes That Work on a Budget
Choose a cohesive color palette and your DIY decor will look intentional and polished.
Classic Barn
Warm woods, cream linens, and sage greenery. The most traditional rustic palette.
Mountain Romance
Deep greens and golds with ivory accents. Perfect for evergreen and candlelit settings.
Wildflower Meadow
Warm yellows, soft purples, and greens inspired by wildflower fields. Cheerful and casual.
Autumn Harvest
Rich reds, oranges, and warm neutrals. Ideal for fall barn weddings with pumpkin accents.
Pro Tips for DIY Rustic Decor
Host a craft party
Invite your bridal party and close friends for a crafting afternoon. Supply wine, snacks, and all the materials. You will get everything done in one day and make great memories.
Buy from other brides
Facebook Marketplace, local wedding groups, and Craigslist are full of rustic decor from recent weddings. Expect 50 to 75 percent off retail prices for items in great condition.
Test outdoor decor for wind
If your ceremony is outdoors, test every decoration for wind resistance. Weigh down lightweight items with rocks or sandbags hidden inside containers.
Create a setup guide
Photograph or diagram exactly how each piece should be arranged. This makes day-of setup fast and ensures helpers place everything correctly even if you are not there.
Less is more
Rustic decor looks best when it is not overcrowded. Choose 3 to 4 signature elements and repeat them consistently rather than using 10 different styles that compete for attention.
Seal everything
A coat of clear spray sealant protects painted signs, wood elements, and dried flowers from weather and handling. This five-minute step makes your decor last through the entire event.
More DIY Wedding Guides
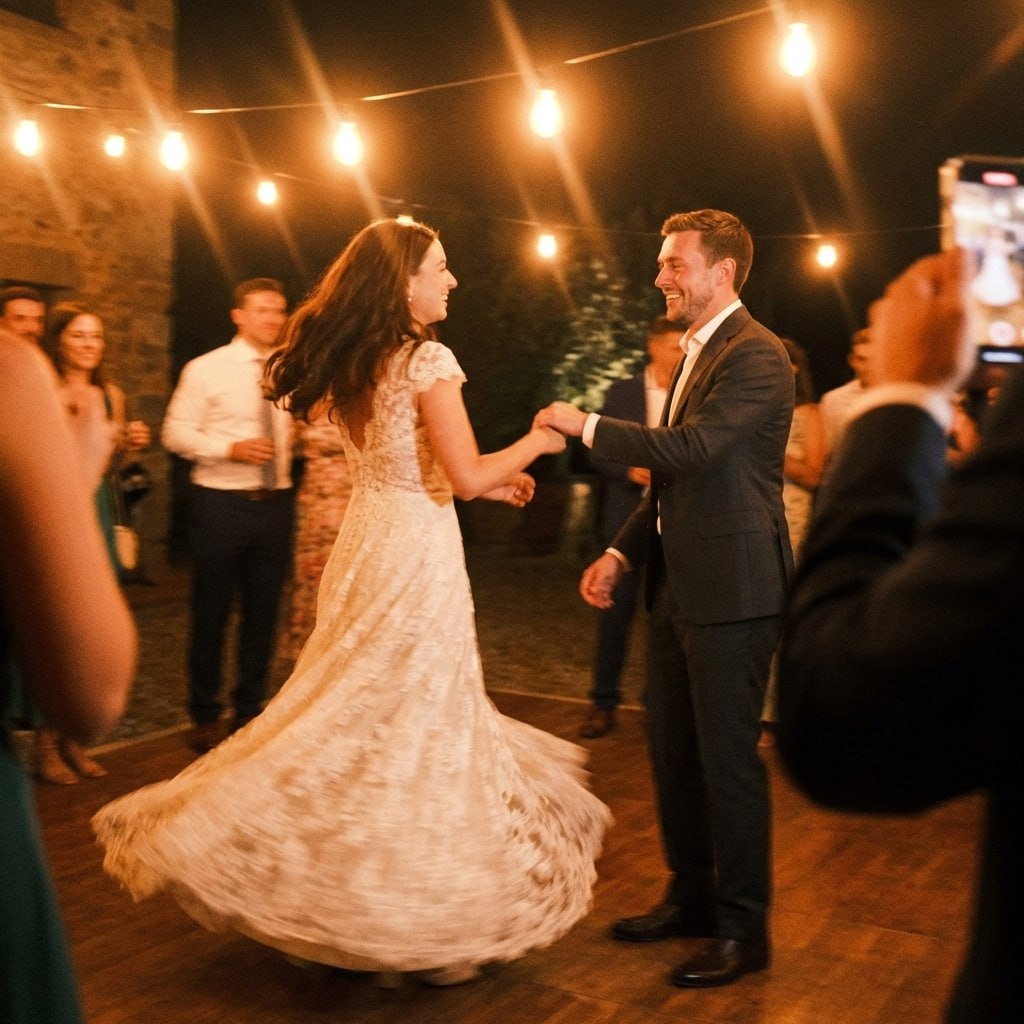
First dance
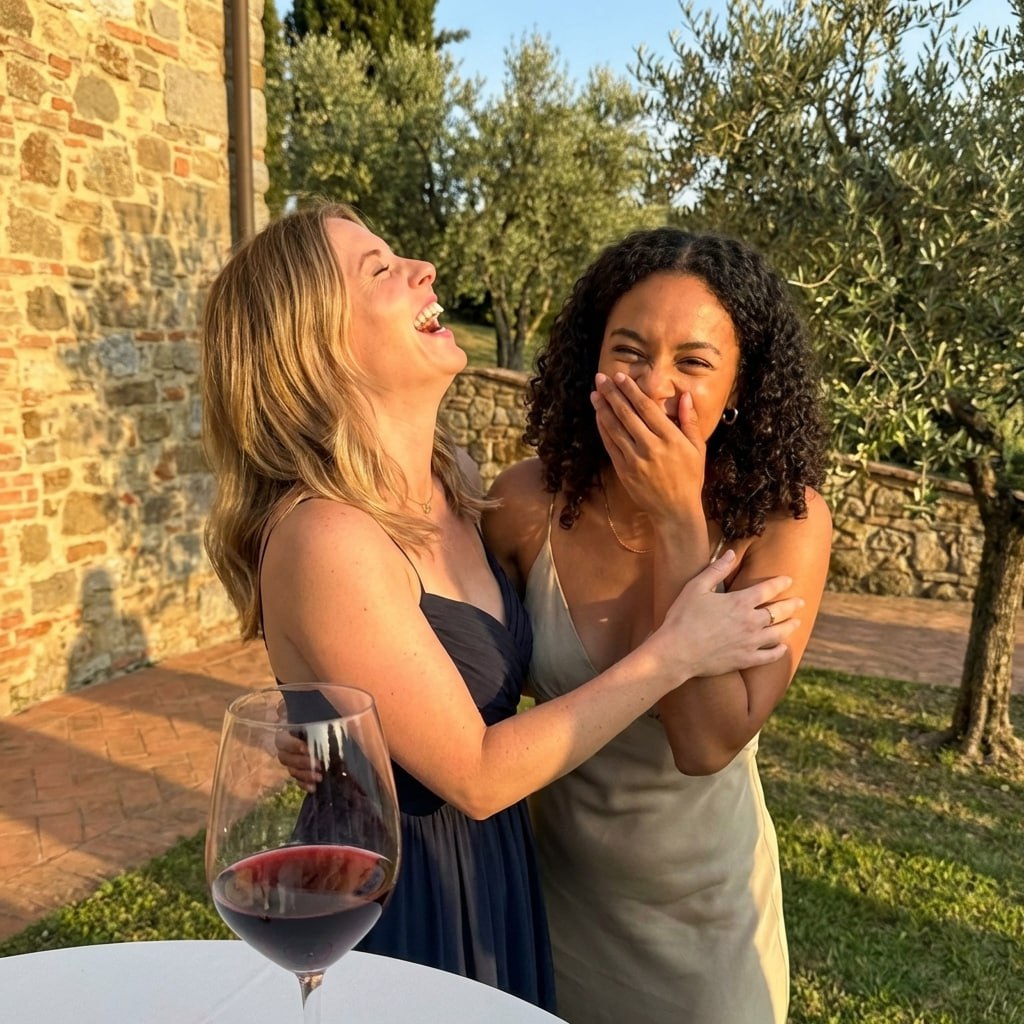
You guys!!
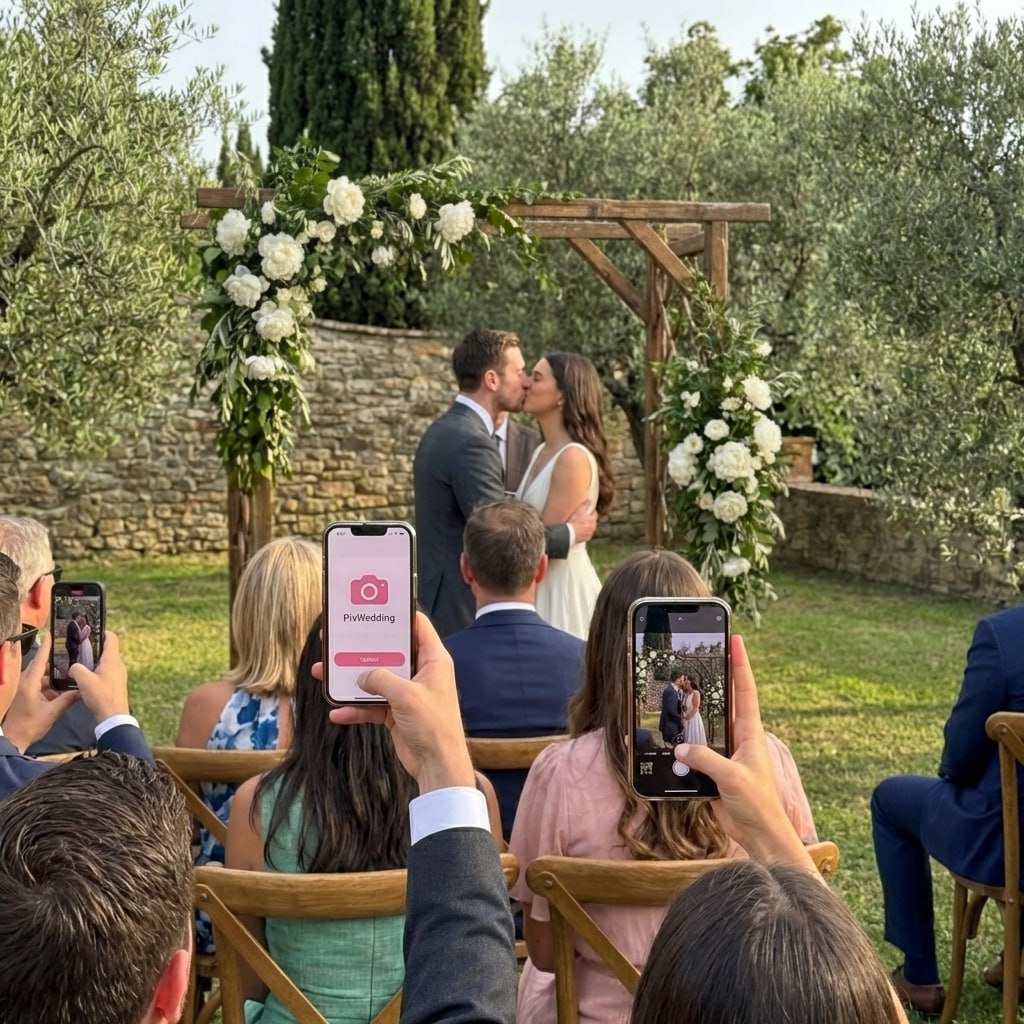
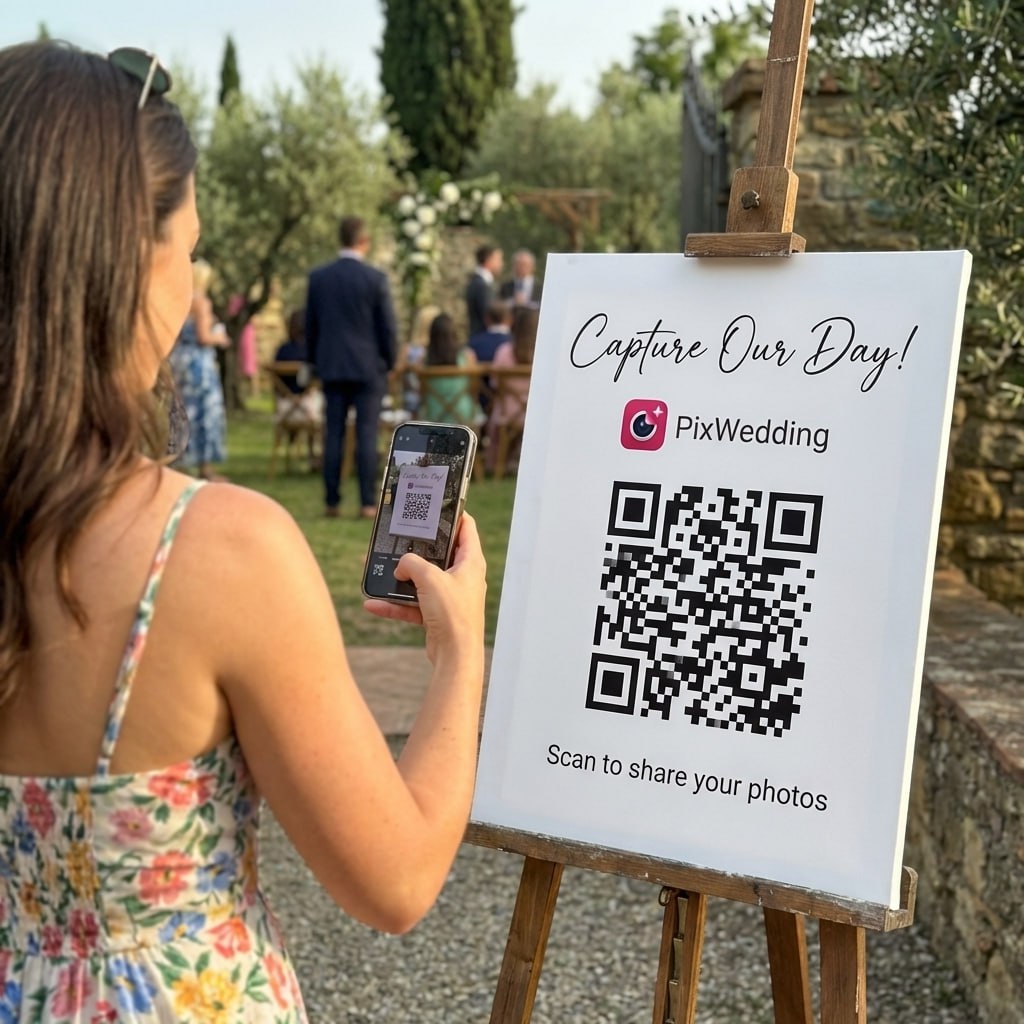
Rustic decor set - let guests capture every detail.
Your handmade touches deserve to be photographed. Give guests a QR to scan and collect every shot in one shared album.
From Mom
Scan to join the album
No app, no account
UPLOADING
Saving your moment
THE ALBUM
Emma & Jack
June 21, 2026
647 photos · 95 guests
SCAN TO TRY
pix.wedding/
your-wedding
The Rustic Wedding Aesthetic on Any Budget
Rustic wedding decor is uniquely suited to DIY because the aesthetic embraces imperfection. Unlike modern minimalist decor where every element must be precise, rustic style celebrates natural textures, handmade charm, and organic shapes. This means your DIY projects will look intentionally beautiful rather than "homemade."
The core of rustic decor is natural materials: wood, greenery, burlap, linen, candlelight, and wildflowers. Many of these materials are free or extremely affordable when sourced creatively. A walk in the woods, a trip to a thrift store, and a visit to a dollar store can provide most of what you need.
- •Rustic decor embraces imperfection, making it ideal for DIY projects
- •Natural materials (wood, greenery, stones) are often free
- •Burlap, twine, and lace are some of the cheapest craft supplies
- •String lights transform any space into a rustic wonderland for under $30
- •Batch projects with friends for a fun pre-wedding crafting party
Planning Your DIY Decor Timeline
The key to stress-free DIY wedding decor is starting early and breaking projects into manageable batches. Host 2 to 3 crafting sessions with your wedding party spread over several months. Not only does this distribute the workload, but it creates bonding memories leading up to the big day.
Keep a master list of all projects with materials needed, estimated time, and completion deadline. Aim to have everything finished at least one week before the wedding so the final week can focus on setup logistics.
Explore more free wedding tools
Everything you need to make your wedding day stress-free and unforgettable.
QR Sticker Designer
Design custom print-ready stickers.
Hashtag Generator
Create unique wedding hashtags.
How to Collect Guest Photos
5 methods ranked by participation rate and ease.
Get Photos After the Wedding
Message templates to gather guest photos post-wedding.
Share Wedding Photos with Guests
Compare every sharing platform by ease and participation.
Best Way to Get Guest Photos
The single method with the highest participation rate.
How to Make a Shared Wedding Album
Step-by-step setup for every platform.
Alternative to Disposable Cameras
Better, cheaper options than disposable cameras.
Rustic Wedding Decor FAQ
Everything you need to know about our free tools and how they help your wedding day.
Professional rustic wedding decor typically costs $2,000 to $5,000. With DIY, you can achieve the same look for $200 to $800 total. Individual projects range from $5 to $50 depending on materials. The biggest savings come from sourcing materials from nature, thrift stores, and dollar stores.
Thrift stores (burlap, mason jars, frames), dollar stores (candles, twine, vases), Facebook Marketplace and Craigslist (used wedding decor from other brides), home improvement stores (wood slices, lumber scraps), and nature (branches, pinecones, wildflowers, river rocks).
Start 3 to 4 months before the wedding for larger projects like signs and arches. Simpler items like mason jar centerpieces and burlap accents can be made 2 to 4 weeks ahead. Fresh greenery and flowers should be arranged 1 to 2 days before. Create a project timeline working backward from your wedding date.
Natural wood elements (slices, crates, barrels), burlap and lace accents, mason jars and glass bottles, string lights or Edison bulbs, wildflowers and greenery, earth-tone color palettes, hand-lettered signs, and vintage or distressed finishes. You do not need all of these - pick 3 to 4 that resonate with your vision.
Absolutely. Rustic decor works beautifully indoors. Focus on table elements (wood slices, mason jars, candles), string lights draped across the ceiling or walls, burlap table runners, and wooden signs. Indoor venues actually protect your DIY decor from wind and weather.
Basic tools include a hot glue gun, scissors, twine, spray paint (clear coat), a saw for wood projects (or ask the hardware store to cut for you), sandpaper, and wire cutters for greenery. Most projects require no power tools at all.