Wedding Planner Free Printable: Build Your Complete Binder
Every page your wedding planner binder needs, organised by section. Paper and printing tips, binder setup guide, and when to go digital instead.
Why a Physical Binder Still Matters
Apps and spreadsheets handle the data. A physical binder handles the moments when there is no time to open a laptop.
No Battery Required
During the ceremony, at the venue walk-through, at the florist appointment. A binder works when your phone is dead or in your bag.
Shareable with Non-Tech Family
Hand the vendor contact sheet to your mother. Leave the timeline with the venue coordinator. Printed pages work for everyone.
Tactile Satisfaction
Crossing off a checklist item with a pen activates different satisfaction than clicking a checkbox. Many couples find the physical binder motivating.
Contracts and Receipts
Keep printed contract summaries alongside digital ones. If a vendor disputes a term, you have a physical reference in the moment.
Section-by-Section Binder Contents
Use tabbed dividers to separate these eight sections. Print only what is relevant at each stage of planning.
Section 1: Overview
Section 2: Budget
Section 3: Guests
Section 4: Vendors
Section 5: Timeline
Section 6: Ceremony & Vows
Section 7: Inspiration
Section 8: Admin & Legal
6 Printing Tips for a Professional-Looking Binder
Small printing decisions make a big difference in how the binder feels and holds up over 12-18 months of planning.
Use 90gsm or 24lb bond paper
Standard copier paper (75gsm) feels flimsy and wrinkles when you write on it. Slightly heavier stock feels more like a proper planner page and survives binder handling better.
Print in black and white to save cost
Colour ink costs 5-10x more per page than black and white. Use colour only for inspiration pages and mood boards. Everything functional (checklists, timelines, contact sheets) works in black and white.
Print double-sided to halve page count
A 50-page binder becomes 25 sheets when printed double-sided. Flip on the long edge (portrait orientation) so that pages read correctly when turned.
Laminate the day-of timeline
The vendor timeline gets handled by a dozen people on the wedding day. A laminated single page survives drinks spills, outdoor humidity, and being folded into a pocket. Most print shops offer laminating for under $2 per page.
Use a hole punch with a guide
A three-hole punch with a centring guide keeps all pages aligned. Misaligned holes make pages hang unevenly and tear over time from the binder rings.
Date every printed page
Add a small "Printed: [date]" footer to any page that will be updated (guest count, seating chart, budget). When you reprint, you can immediately tell which version is current.
What to Buy (Under $25 Total)
You do not need an expensive kit. These four items are all you need to build a professional-quality wedding planner binder.
D-rings hold pages flatter than round rings. 1.5-inch fits a full 12-18 month planning period without getting too bulky.
One tab per section. Look for dividers with customisable tab labels so you can name them to match your sections.
Heavier than standard copier paper. Pages feel sturdy, write on cleanly, and survive binder rings without tearing.
Use these for contracts, inspiration printouts, and any page that may get handled frequently. Easy to wipe clean.
Who Gets a Copy on the Wedding Day
Print multiple copies of the day-of timeline and vendor contact sheet. Here is who should get one and what they need.
Venue Coordinator
Full day-of timeline, vendor arrival schedule, guest count by meal choice
Lead Photographer
Shot list, timeline, key family member names for group photos
Caterer / Catering Manager
Timeline (service times), meal choice tally, dietary restriction list
Maid of Honour
Emergency contacts, vendor phone numbers, ceremony order of events
Best Man
Timeline, transport schedule, vendor contact sheet
Parents of the Couple
Simplified timeline with just the key moments and their role in each
How to Write a Printable Vendor Timeline
The vendor timeline is the most-used page in your binder on the wedding day. It needs to be specific enough to be useful, concise enough to scan quickly.
Use Pix Wedding's free Timeline Builder to generate a custom version of this, then print it from your browser.
5 Printable Planner Mistakes to Avoid
Most couples make at least one of these with their printed wedding planner. All of them are avoidable.
Printing too early
A seating chart printed three months out will be reprinted four times. Guest counts change until RSVPs close. Stick to printing final versions two weeks before the wedding.
Only one copy of the timeline
Print at least eight copies of the day-of timeline: one per lead vendor, one for the maid of honour, one for the best man, one for both parents, and two for yourself.
No version date on pages
When you hand out a revised guest list and the old one is still in circulation, chaos follows. Add a small printed date to every page that will be updated and reprinted.
Mixing planning notes with reference pages
Keep your working binder (where you take notes) separate from your reference binder (clean printed pages for vendors). One messy crossed-out binder at the venue confuses everyone.
No emergency contacts page
Print a one-page emergency contacts sheet: all vendor phone numbers, a backup florist, the venue's after-hours line, and the nearest pharmacy. Put it first in the binder so it is findable in 10 seconds.
The Hybrid System: Digital for Data, Print for Action
The most organised couples use both: a live digital system for ongoing planning, and a binder of printed final versions for use during the event itself. Here is the complete handoff workflow.
Free Printable Pages from Pix Wedding Tools
Every Pix Wedding free tool generates output you can print directly from your browser. No template downloads, no formatting. Fill in the tool, print the result.
Wedding Checklist
Month-by-month task list with checkboxes. Print at any stage to get a snapshot of remaining tasks.
Open toolWedding Timeline Builder
Hour-by-hour day-of schedule formatted for distribution to vendors and the wedding party.
Open toolGuest List Manager
Filtered guest list sorted by table, meal choice, or RSVP status. Print the final confirmed list for the caterer.
Open toolSeating Chart Planner
Table-by-table guest assignment chart. Print and laminate for the venue entrance table.
Open toolBudget Allocator
Category budget breakdown with allocated amounts. Print as a one-page budget reference for vendor negotiations.
Open toolBinder Quick Reference: What Goes Where
At the front of every binder, tape or clip a one-page index that lists what is in each tab section and the most critical phone numbers. When someone picks up your binder in a rush on the wedding day, the index tells them exactly where to look without flipping through every section.
Related Guides and Tools

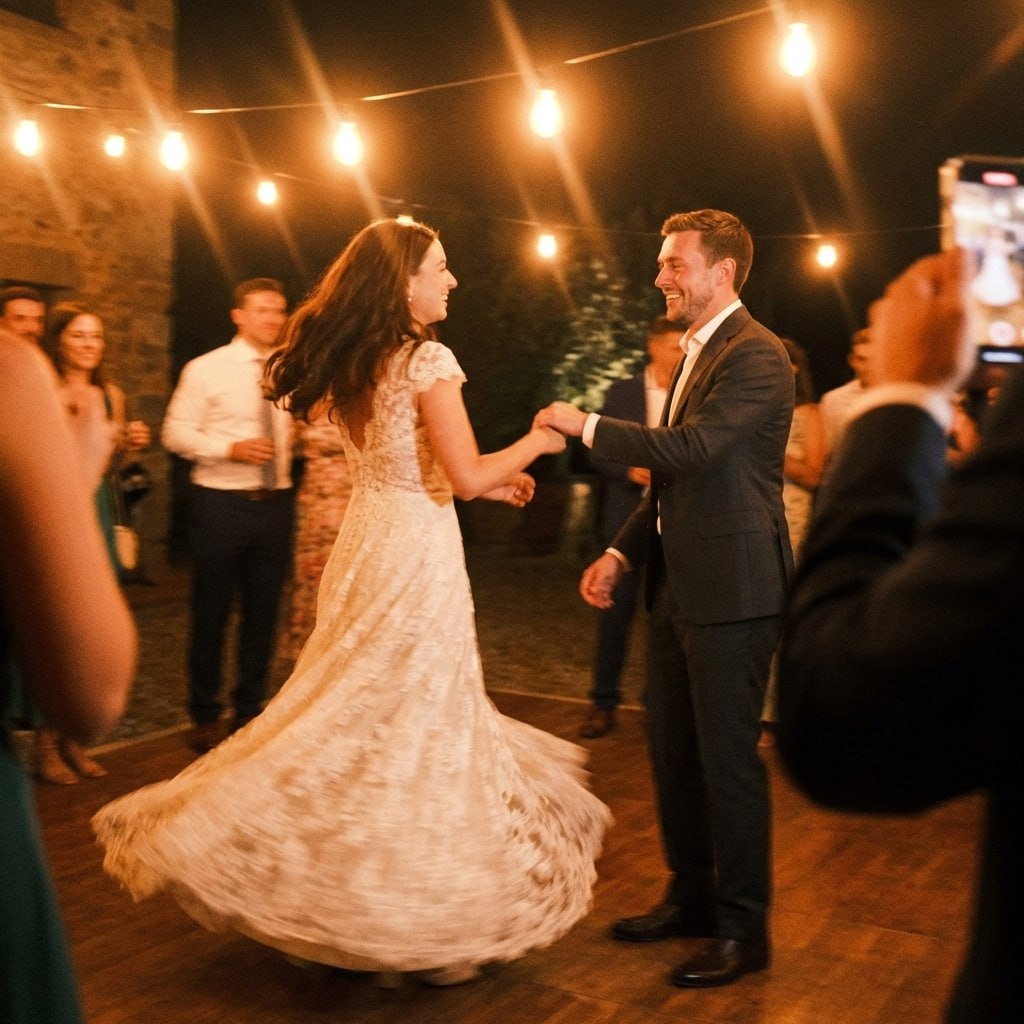
First dance
You guys!!
Binder filled. One thing to add.
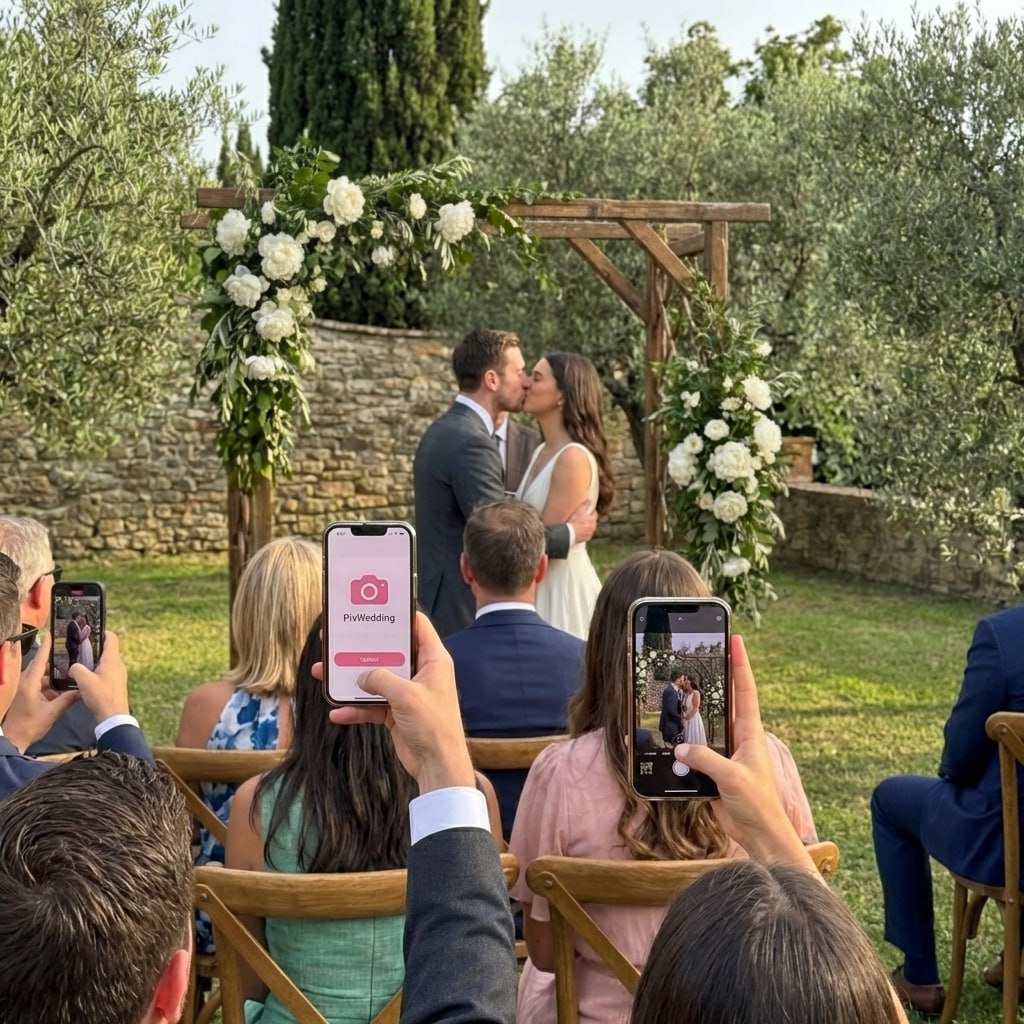
Print your planner, fill every section, and add one page for the guest photo album QR code. It takes two minutes and saves you chasing photos for weeks.
From Mom
Scan to join the album
No app, no account
UPLOADING
Saving your moment
THE ALBUM
Emma & Jack
June 21, 2026
647 photos · 95 guests


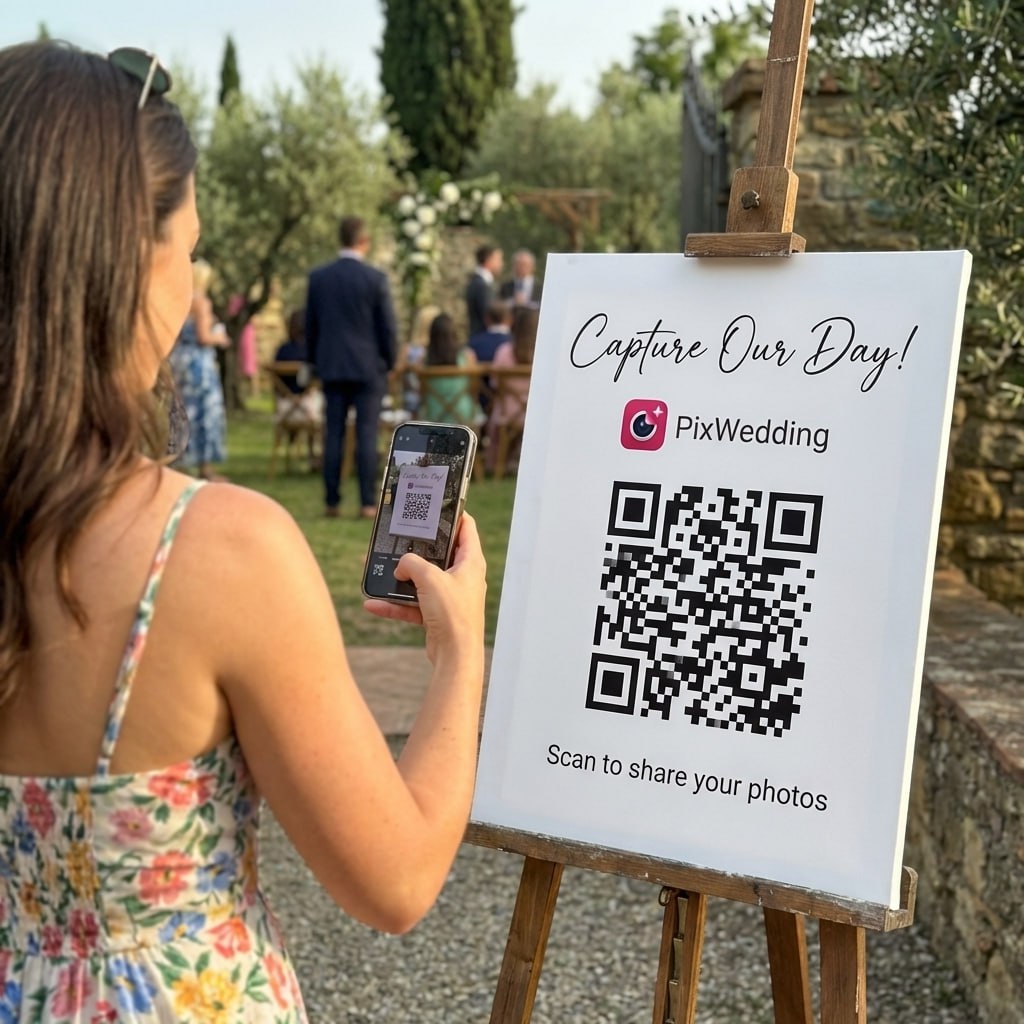


SCAN TO TRY
pix.wedding/
your-wedding
Printable Ceremony Order of Events: What to Include
The ceremony order of events page goes to the officiant, the musicians, and both sets of parents. It should be a single printed page they can hold during the ceremony.
The One-Week-Out Binder Finalisation Checklist
Seven days before the wedding, your binder should be locked. Run through this checklist to confirm everything is printed and in order.
Documents to confirm are printed
Final verification steps
Printable Planner vs. Digital Tools: Which to Use When
A printable wedding planner is not a replacement for digital tools. It is a complement. The binder holds physical copies of documents you need to reference in the moment: a vendor timeline during the rehearsal, a seating chart at the venue entrance, a checklist for the mother of the bride.
Digital tools are better for anything that changes frequently. The guest list changes daily as RSVPs arrive. The budget changes when quotes come in. Keeping these as live documents in Google Sheets or a dedicated tool prevents the paper binder from becoming a museum of outdated information.
The smartest couples maintain a live digital system for data and use the binder for final, printed reference copies produced one to two weeks before the wedding.
- •Print once, use day-of: vendor timeline, ceremony order, seating chart
- •Keep digital: guest list, budget tracker, task checklist
- •Print at two weeks out: final versions of everything, then put the laptop away
Building Your Binder Without Buying a Kit
Commercial wedding planner kits range from $20 to $80 on Etsy. Most of the pages inside are things you can generate for free. The master checklist can come from Pix Wedding's free interactive checklist, which you can print from the browser. The budget overview can be exported from the Budget Allocator. The timeline comes from the Timeline Builder.
What you actually need to buy: a 1.5-inch D-ring binder ($5-8), a set of tabbed dividers ($3-6), and a pack of 90gsm paper ($8-12). Total outlay under $25, and every page is customised to your actual wedding rather than a generic template with placeholder text.
Explore more free wedding tools
Everything you need to make your wedding day stress-free and unforgettable.
QR Sticker Designer
Design custom print-ready stickers.
Hashtag Generator
Create unique wedding hashtags.
How to Collect Guest Photos
5 methods ranked by participation rate and ease.
Get Photos After the Wedding
Message templates to gather guest photos post-wedding.
Share Wedding Photos with Guests
Compare every sharing platform by ease and participation.
Best Way to Get Guest Photos
The single method with the highest participation rate.
How to Make a Shared Wedding Album
Step-by-step setup for every platform.
Alternative to Disposable Cameras
Better, cheaper options than disposable cameras.
Wedding Planner Free Printable: FAQs
Everything you need to know about our free tools and how they help your wedding day.
A complete wedding planner binder needs: a master checklist (month-by-month tasks), a budget overview page, a vendor contact sheet, a guest list summary, a ceremony order of events, a wedding day timeline, a seating chart, and an emergency contacts page. Optional additions include an inspiration mood board, a honeymoon planning sheet, and a name-change checklist.
Use A4 or US Letter (8.5x11) for most pages so they fit standard binders. For paper weight, 90gsm or 24lb bond is the sweet spot: heavier than standard 75gsm copier paper so it feels substantial, but not so heavy it jams most home printers. If you are using inkjet, choose paper labelled "inkjet compatible" to prevent smearing.
Ring binders (1.5-inch D-ring) are more widely available and cheaper. Disc-bound (Circa, Arc) planners allow easy page reordering without punching, which is useful when sections grow or shrink as planning progresses. Either works well. The most important feature is tabbed dividers so sections are instantly accessible on the day.
Use printable pages for day-of reference sheets, vendor contracts, and anything you want to hand to a coordinator or family member who is not tech-savvy. Printables are also better for brainstorming and inspiration collages. Use digital tools for anything that requires frequent updates, calculations, or sharing with multiple people in real time.
Yes. Search Pinterest or Etsy for free individual pages. Alternatively, use Pix Wedding's free interactive tools (checklist, timeline builder, guest list manager, seating chart) to build each section, then use your browser's print function to create a printed version. This gives you customised content rather than generic blank templates.
Create a one-page timeline with columns for Time, Event, and Responsible Person. Include photographer arrival, ceremony start, cocktail hour, first dance, speeches, cake cutting, and grand exit. Print six to ten copies: one for the venue coordinator, one for each lead vendor, one for the maid of honour, and one for yourself. Pix Wedding's free Timeline Builder generates this automatically.