For collecting every original
Wedding Photo Wall: 12 Ideas, Real Costs, and How to Build One
From a DIY clothesline wall using prints and clips to an interactive digital wall that updates as guests upload. Compare the supplies and setup each format needs.
A wedding photo wall is a dedicated reception display (printed, digital, or both) where photos go up during the night. For a named print example, Walmart lists a 4x6 glossy print at $0.18: fifty prints cost $9 before tax and delivery. A Pix live slideshow requires Standard ($59) or Pro ($89), plus your display equipment.
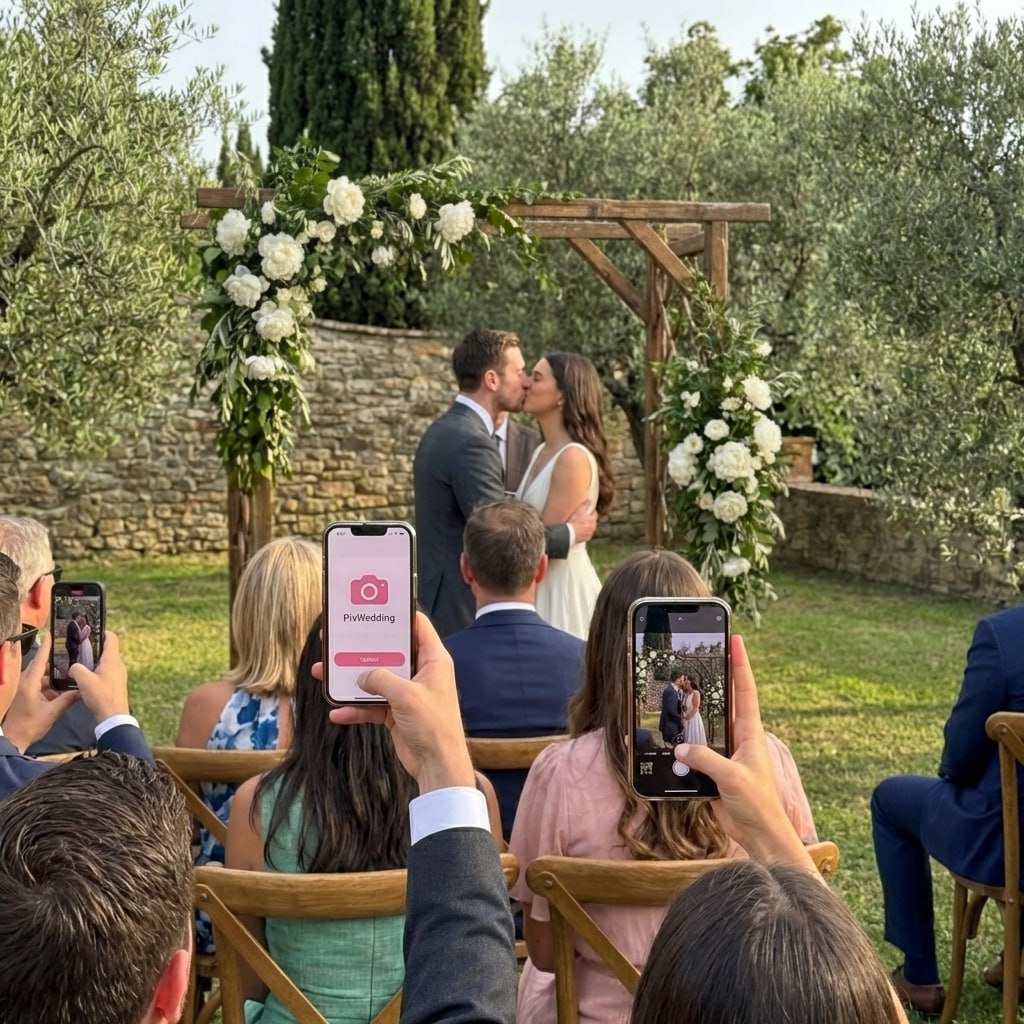
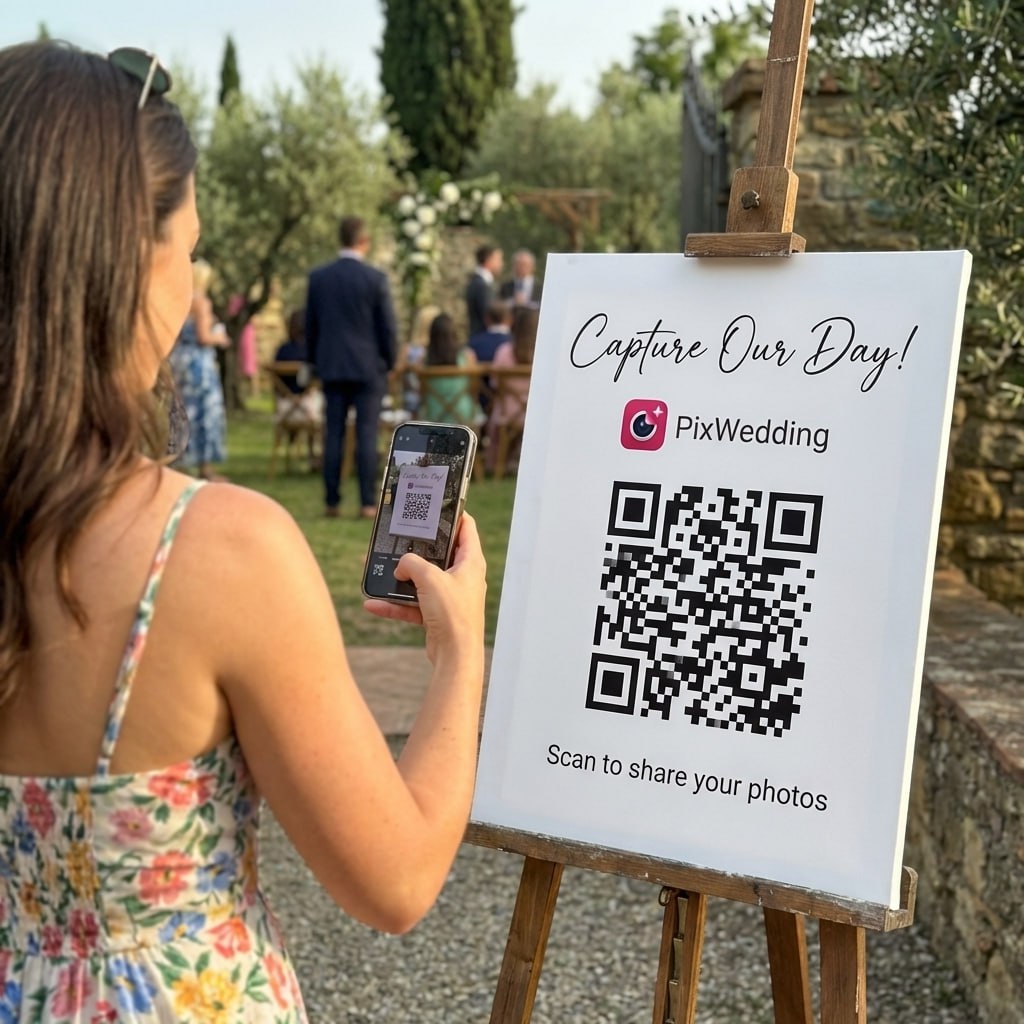
For guest uploads: a digital live wall powered by a QR upload (like Pix Wedding) lets guests contribute from their phones. Pix includes the live slideshow on Standard and Pro; printed photos offer a physical keepsake.

Twelve photo wall builds to compare
These are design options, ordered with guest contributions first. Choose the format that fits your venue and the equipment you can use.
Digital live wall driven by guest QR uploads
Software: Pix Standard $59 or Pro $89 one-time. Add a screen, a browser device and a reliable connection. Place QR signs where guests can see them and test an upload on the venue network.
Instant-photo wall with attached note cards
Materials: An instant camera, compatible film, clips and note cards. Guests take a photo, write a note and attach it to the display. Count available film before deciding how many prints each guest can take.
Hybrid digital screen + printed photo collage backdrop
Materials: A screen plus a printed backdrop. Use Pix Standard or Pro for live uploads and preprinted family pictures for the physical half. Keep screen supports independent of decorative panels.
Clothesline + clothespin printed wall
Print example: Fifty Walmart 4x6 glossy prints at $0.18 each cost $9 before tax and delivery. Add twine, clips and a venue-approved support. Arrange the prints at home before packing.
"Through the years" timeline wall
Layout: Put childhood photos first, then meeting and engagement photos. Add short captions so guests can identify people and dates. Choose the number of prints after measuring the display.
Frame collage wall (rented or sourced)
Materials: Frames you own or borrow, printed photos and suitable fixings. Arrange the whole layout on the floor before hanging it. Check the venue rules before attaching anything to a wall.
Magnetic board "guest-curated" wall
Materials: A magnetic board, suitable magnets and copies of family photos. Let guests move the copies into an arrangement. Keep irreplaceable originals at home.
LED video wall (premium)
Materials: A freestanding frame, decorative foliage and lightweight prints. Keep electrical cables and screen vents clear of the decoration. Ask the venue where the display can stand safely.
Floral arch + photo wall combo
Materials: Printed photos, cards and pens. Invite guests to add a memory beside a picture. Provide a nearby writing surface and leave space between images.
Instagram-feed-look printed wall
Materials: A projector, suitable surface and a playback device. Test brightness and readability in the venue before relying on projection. Pix live slideshow requires Standard or Pro.
Disposable camera + same-day printing wall
Timing: Collect disposable cameras after the reception and develop the film before building this display at home. Do not promise same-evening film processing without a lab confirming the service.
Family-tree photo wall
Layout: Arrange copies of family wedding photos by generation. Confirm names and dates with relatives before printing captions. Leave space for the current wedding pictures.

Photo wall
Cocktail hour line
The photo wall that fills itself in real time
Guests scan a QR code and upload in their browsers. Show the live slideshow on Standard ($59) or Pro ($89), and test your venue connection before the reception.

Grandfather
Scan to join the album
No app, no account
UPLOADING
Saving your moment
THE ALBUM
Emma & Jack
June 21, 2026
647 photos · 95 guests


SCAN TO TRY
pix.wedding/
your-wedding
Digital vs printed vs hybrid: real numbers
| Factor | Digital live wall | Printed clothesline | Hybrid screen + collage |
|---|---|---|---|
| Known component cost | Pix Standard $59 or Pro $89, plus hardware | 50 Walmart prints: $9, plus supports | Standard + 50 prints: $68, plus hardware/supports |
| Setup task | Connect screen and test uploads | Hang pre-arranged prints | Test screen and assemble printed display |
| How guests contribute | Scan and upload | Add prints or handwritten notes | Upload digitally or add a note |
| Updates during the night | Yes (real-time) | No | Partial (digital portion) |
| Physical keepsake afterward | No (all photos in album) | Yes (the photos themselves) | Yes (the printed portion) |
| Space needed | Clear sightline to a screen | Reachable prints and writing space | Screen clearance plus a physical display |
| DIY-friendly | Yes (with TV stand + app) | Yes (very) | Partly (printed half needs hands) |
Put guest photos on screen with Standard or Pro
Test 20 guest uploads free with no card. Live slideshow is included on Standard ($59) and Pro ($89), paid once. Screen and display hardware are separate.
Most couples pick this
One-time payment, no subscription
For big guest lists
One payment. Yours to keep. No subscription. No renewals. No surprise charges.
Secure checkout. Polar, Apple Pay, Google Pay.
Money-back guarantee: if your guests never upload a single photo, you get 100% back. See how it works
A named print price for your supply list
Checked September 20, 2026. This is a print component price, not a complete photo-wall installation quote.
Walmart 4x6 glossy print, before tax and delivery.
View the print priceFifty prints at $0.18 each. Clips, supports, tax and delivery are extra.
View the source for this calculationSee a DIY reception photo wall
Dazee Mae shows her wedding photo-wall backdrop and explains the choice to use it as a guest photo spot.
What you need for the digital wall
Print this list and check it off. Bring two of every cable. Test the spare cable too.
Hardware
- 65-75 inch TV (rented or owned)
- Rolling TV stand or wall mount
- Laptop with a browser and a compatible video connection
- HDMI cable (6-10 ft)
- Backup HDMI cable
- Surge protector + power extension
- Venue-approved cable covers or tape
Signage + décor
- QR table cards (15-25, depending on guest count)
- Large "scan + share" sign near the screen
- Clip-on warm LED light for the wall area
- Optional: florals or eucalyptus draped around the frame
- Optional: a chalkboard with "Photos so far: live count"
Software
- Pix Wedding Standard $59 or Pro $89 one-time
- QR sticker designer (included)
- Slideshow URL pre-loaded in browser full-screen mode
- Host browser access to manage uploaded photos
Three photo wall plans to adapt
These are illustrative setup plans, not customer stories. They show what to prepare for a hybrid wall, a print station and a screen-only display.
Hybrid display with borrowed supports
Use a venue-approved backdrop for prints and a separately secured screen for the digital display. Borrowing supports can reduce purchases, but confirm what the venue supplies in writing.
Run the Pix live slideshow on Standard or Pro through a laptop browser. Arrange copies of family photos beside the screen and keep cables away from guest paths.
Plan for: An interrupted internet connection. Test the venue network, agree on a backup connection and keep a local copy of selected photos for offline playback.
Personal detail: Add captions that identify relatives or explain a shared memory. Ask before displaying sensitive family photos.
Purchase and setup checklist
- Screen and safe support: use owned equipment or a written rental quote
- Browser device and compatible cable: test together
- 50 Walmart 4x6 prints: $9 before tax/delivery
- Clips or fixings: choose venue-approved supplies
- Decoration: optional, kept clear of electronics
- Lighting: test with the room lights set for the reception
- Pix Standard live slideshow: $59 one-time
- Known print/software subtotal: $68; hardware and supplies excluded
Pack the display parts together and give one helper the setup and teardown checklist.
Instant-photo station with one operator
Use a freestanding frame when the venue does not allow wall fixings. Assemble and test the support before event day, with the venue approving its placement.
Place an instant camera, film and note cards on a nearby table. Assign one person to help guests and keep unused film protected according to its packaging.
Leave blank spaces between the preprinted pictures so new prints and notes can be added without covering existing photos.
Plan for: A queue at the camera. Keep instructions short and have the operator load film and explain where completed prints should go.
Personal detail: Invite guests to write a short memory on a separate card. This keeps writing clear and avoids damaging a print.
Purchase and setup checklist
- Freestanding frame: assemble and test before the event
- Twine: fit to the chosen frame
- Clips: enough for the planned display
- Preprinted photos: order after checking crops
- Instant camera: choose before buying compatible film
- Film: count the available exposures
- Note cards and pens: place on a writing surface
- Lighting: keep the instructions readable
- No complete build total quoted; equipment and supplies are selected separately
Pack the display parts together and give one helper the setup and teardown checklist.
Screen-only display with a backup plan
Place a screen where guests can see it without blocking doors or walkways. Use a support rated for the display and let the venue team approve its stability.
Put the QR code on a visible sign near the screen and on tables. Ask a helper to make a test upload from a guest phone before opening the display.
Plan for: An uneven floor or exposed outdoor position. Move the setup to a stable, sheltered location rather than improvising a support.
Personal detail: Prepare a few family photos to show before guest uploads arrive. Audio guestbook messages are a separate Standard/Pro feature; do not assume a message automatically plays during the slideshow.
Purchase and setup checklist
- Screen: confirm safe placement and power
- Support: use the correct rated stand or mount
- Browser device: test the slideshow before guests arrive
- Cable: match the laptop and screen ports
- QR signs: test from the intended viewing distance
- Table cards: include plain upload instructions
- Pix Standard: $59; Pro: $89 if its extra features are needed
- Software price excludes screen, supports, printing and other supplies
Pack the display parts together and give one helper the setup and teardown checklist.
Match the wall to the wedding aesthetic
Rustic / farm / barn
Clothesline + wood frames + warm string lights. Burlap or linen backdrop. Hand-lettered chalkboard sign.
Modern minimalist
Single large screen, no frame, black or white wall behind. One acrylic sign with sans-serif type. No extra décor competes.
Romantic / floral
Hybrid screen + floral arch. Greenery framing the TV. Repurpose the ceremony floral installation here for the reception.
Industrial / loft
Magnetic board on an exposed brick wall. Clip-on architectural lights. Monochrome prints. Edison-bulb string above.
Garden / outdoor tented
Suspended wooden frame with floating photos hanging from invisible fishing line. Battery-powered fairy lights around the frame.
Luxury / ballroom
LED video wall, gilded frame around it, florals at the base. Hired AV tech sets it up. Looks like a stage installation.
Common photo wall mistakes
- Placing the wall in a corner. Walls in low-traffic corners get ignored. Put it on the path between the bar and the tables.
- No lighting on the wall. A dim wall is invisible. Test a suitable light before choosing one.
- No sign explaining what to do. A wall without instructions gets looked at and walked past. Add a sign that says specifically what guests should do.
- Pre-pinning the wall full of photos. Leave space for guests to add their own. A wall that looks "done" before guests arrive removes the participation cue.
- Mounting the screen too high. Center of the screen should be at eye level (about 5 feet from the floor for standing guests). Higher and people crane their necks.
- Forgetting to plan for tear-down. Decide ahead of time who takes the printed photos home and which container they go into. The bride should not be hunting for an envelope at 1 AM.
Six placement spots to check in your venue
Where the wall sits matters more than what it looks like. Compare these locations against the actual room layout.
Between the bar and the dance floor
Check the venue layout for a visible spot outside the main walking path.
Behind the guestbook or escort card table
Guests are already pausing there. Leave enough space for people to stop without blocking the table.
Outside the restrooms hallway
Every guest passes through. Slightly weird but the foot traffic is real.
Cocktail hour space, off to one side
High dwell during cocktail hour, then mostly empty after dinner. Pair with a wall that updates live.
Behind the head table
Looks nice in photos but blocked from view by the bridal party for most of the night.
A corner of the room nobody walks past
The "hide it so it does not clash" instinct kills the wall. Better to skip than to bury.
Five prompts to clarify which wall fits your wedding
- 1. Do you want guests to add to the wall during the night, or just look at it? If "add", go digital or polaroid. If "look at", go printed.
- 2. Is your venue rented hourly or all-day? Rehearse the setup so it fits the venue load-in window.
- 3. Do you want a physical keepsake of the wall itself? Yes = printed, hybrid, or polaroid. No = digital is fine, photos live in the album.
- 4. How many of your guests are over 60? Ask whether a printed display or a screen will be easier for those guests to use.
- 5. Does your wedding aesthetic skew formal or casual? Formal = single screen, designer backdrop, minimal mess. Casual = clothesline, polaroids, hand-lettered signs.
Related photo wall content
Why couples are leaning into photo walls in 2026
A photo wall can combine childhood pictures, family portraits and photos from the reception. Leave room for guests to add a print or write a note, and choose images that tell the story you want to share.
Plan the display around what guests can do: look through family pictures, leave a note, or upload from a phone. Use equipment you already have where possible, and budget separately for prints, supports and lighting.
- •It gives guests something to do during cocktail hour besides drink
- •It creates a backdrop for unprompted photos guests take of each other
- •It turns a flat wall into a story arc (engagement photos + childhood + the day itself)
- •It works in any venue with a flat surface bigger than a door
- •Pack the prints in a protective box after the reception
Which photo wall fits which wedding
There are roughly four useful shapes. A clothesline-style printed wall (DIY, casual style). An instant-print station (physical prints made during the event). A digital live wall driven by guest uploads (a screen showing new contributions). A designer-built collage backdrop (a custom display with installation work).
The wrong move is to pick the cheapest option for a high-formality wedding (looks slapdash) or to pick the most expensive option for a casual wedding (looks try-hard). The wall has to match the rest of the décor.
The hidden detail that decides whether the wall gets used
Lighting. A photo wall in a dim corner gets ignored. A photo wall under a clip-on warm LED strip light or a portable battery-powered key light gets photographed and used. Test the display under the venue lighting and add a light if the photos are hard to see. This is the smallest line item that makes the biggest visual difference.
The second hidden detail: signage. A wall without a sign telling guests what to do with it gets looked at and walked past. A wall with a sign that says "Take a polaroid, write a note, pin it up" gets a line.
Explore more free wedding tools
Everything you need to make your wedding day stress-free and unforgettable.
QR Sticker Designer
Design custom print-ready stickers.
Hashtag Generator
Create unique wedding hashtags.
How to Collect Guest Photos
5 methods ranked by participation rate and ease.
Share Wedding Photos with Guests
Compare every sharing platform by ease and participation.
Best Way to Get Guest Photos
The single method with the highest participation rate.
How to Make a Shared Wedding Album
Step-by-step setup for every platform.
Alternative to Disposable Cameras
Better, cheaper options than disposable cameras.
Alternative to Wedding Photo Booth
5 cheaper alternatives to a $1,000+ photo booth rental.
Wedding Photo Wall FAQ
Straight answers to the questions people ask most about this topic.
A wedding photo wall is a dedicated display at the reception where photos appear, either printed and pinned to a backdrop, or shown digitally on a screen that updates in real time. Guests interact with it, sometimes by leaving notes, sometimes by adding their own photos via QR code, sometimes just by looking and remembering. The wall doubles as décor and as a participation moment.
Digital lets guests add photos from their phones. Printed wins on tangibility because guests can write notes on physical photos and the bride/groom keep the wall as a physical keepsake. Best setups combine both: a digital live wall by the dance floor + a small printed display of pre-wedding photos by the guestbook.
The live Pix slideshow costs $59 on Standard or $89 on Pro, excluding hardware. As a named print example, Walmart lists 4x6 glossy prints at $0.18 each, so fifty prints cost $9 before tax and delivery. Add the screen, support, fixings and other supplies you need; those component prices are not a complete installed-wall quote.
High-traffic but not blocking: near the bar, between the cocktail area and the reception room, or as a backdrop behind a guestbook table. Avoid corners (nobody finds them), behind the head table (nobody can see it), and directly next to the dance floor (gets bumped). The path from guest tables to the bar is the prime real estate.
Yes. With a digital live wall new photos can appear as uploads arrive; timing depends on the connection. With an instant-print station, guests print on the spot from their phones. With a post-reception printed wall, you wait until the next morning and have a service print and assemble (this is the route for an at-home brunch installation rather than during the wedding itself).
Measure the usable wall and leave room for people to stop safely. Lay out paper templates for your prints or screen before buying supports. Check readability from the expected viewing distance.