How to Display Guest Photos at the Wedding: 8 Methods Compared
Live screens, projectors, printed walls, polaroid stations, LED video walls, and more. What each costs, how long it takes to set up, and which one fits your venue.
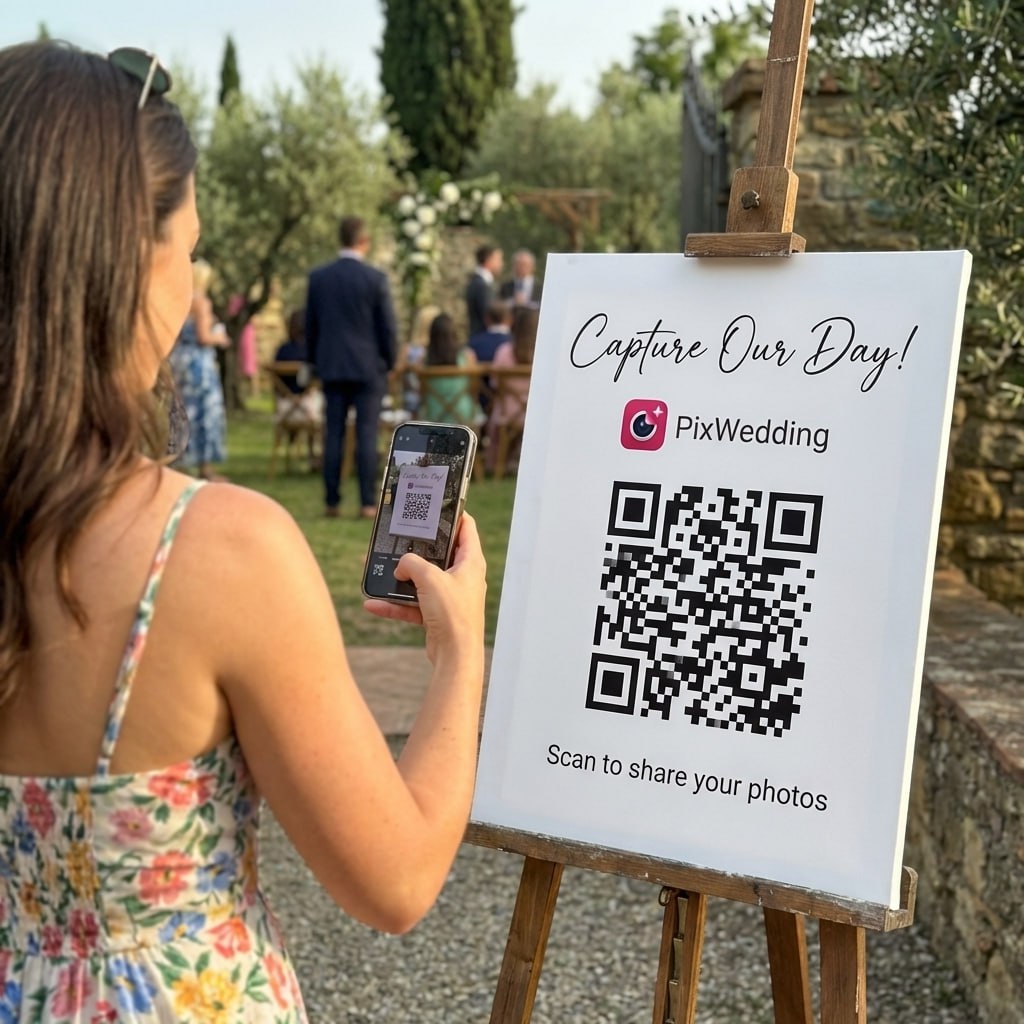
The fastest all-in setup is a 65-inch TV on a stand, a Fire Stick or laptop as the driver, and Pix Wedding for the live guest-upload slideshow. Guests scan a QR on every table, upload photos from their phone, and the screen updates within 30 seconds. Total cost: $200-310. Setup time: 30-45 minutes.
For a physical display, a clip-string printed photo wall using an Instax printer fills up during cocktail hour and doubles as reception decor. Cost: $100-350. One person needs to manage the printer.
All 8 display methods at a glance
Every option couples ask about, with honest numbers from vendors and receptions we have personally priced out in 2026.
| Method | Best for | Est. cost | Setup time | Staff needed | Real-time |
|---|---|---|---|---|---|
Live digital screen (TV) | Most weddings, any lighting | $200-310 | 30-45 min | No | Yes |
Projector on wall | Dim ballrooms, tented receptions | $260-460 | 45-60 min | Optional | Yes |
Instant print wall (Instax) | Cocktail hour, 80-150 guests | $200-350 | 20 min + active printing | One person | Near-real-time |
Polaroid / Fujifilm station | Intimate weddings, keepsakes | $150-280 | 15 min | One person | Yes (instant print) |
Clip-string printed wall | Rustic / bohemian venues | $100-200 | 60 min to hang, ongoing printing | One person | Near-real-time |
Digital frame cluster (3-5 frames) | Intimate venues, bright rooms | $400-700 buy, $150-300 rent | 30 min | No | Yes (synced to album) |
LED video wall | Large ballrooms, luxury weddings | $1,500-5,000 | Half day with AV tech | Yes (AV technician) | Yes |
Projection mapping | Statement weddings, architectural venues | $3,000-10,000+ | Full day with specialist | Yes (specialist) | Yes, with custom software |
What each setup actually costs end-to-end
Line-by-line for the three setups couples most often land on. All rental figures are from US vendors in 2026.
| Cost item | TV + live screen | Projector + live screen | Printed photo wall |
|---|---|---|---|
| Hardware rental | $150-250 (TV + stand) | $200-400 (projector + screen) | $80-150 (frame, string, clips) |
| Printer | N/A | N/A | $130 (Instax Link Wide) |
| Print media (100 photos) | N/A | N/A | $60 (2 packs Instax Wide) |
| Driver device | $35 (Fire Stick) | $35 (Fire Stick) | N/A |
| Cables + gaffer tape | $25 | $30 | $10 |
| Pix Wedding (one-time) | $59 | $59 | $49 (Starter tier) |
| Staff (optional) | $0 (DIY) | $0-200 | $0 (volunteer) or $150-250 |
| All-in total | $269-369 | $324-724 | $329-649 |
A traditional photo booth rental with an attendant runs $1,000-1,500 for the same four-hour window, which is 2-5x more than any of these three setups.

Cocktail hour crowd
Screen just updated
Turn every guest upload into something on the wall behind you
Pix Wedding drives your live reception display from the same QR code guests already use to upload. No second app, no second setup, no second cost.
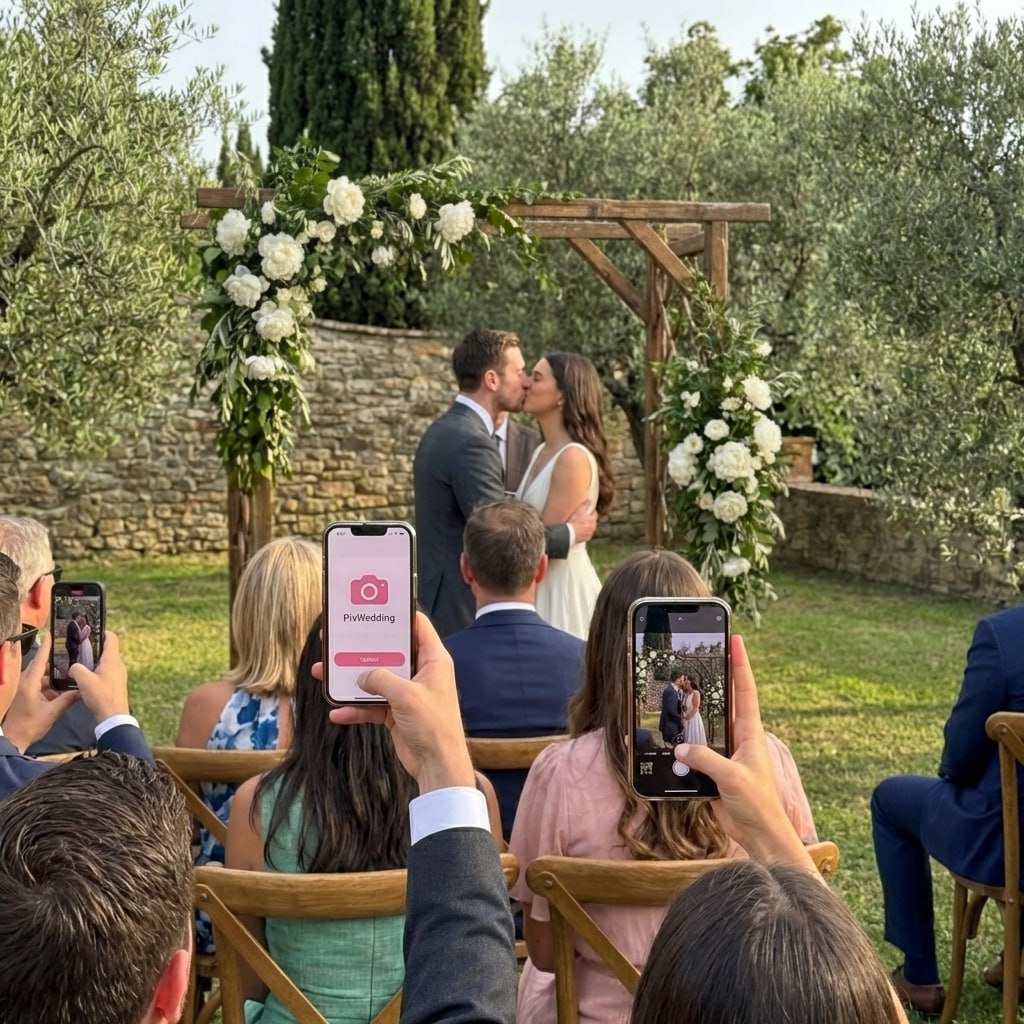
Table 7
Scan to join the album
No app, no account
UPLOADING
Saving your moment
THE ALBUM
Emma & Jack
June 21, 2026
647 photos · 95 guests


SCAN TO TRY
pix.wedding/
your-wedding
Step-by-step setup for the three most practical methods
We have set each of these up at real receptions. These are the steps in the order they actually need to happen.
Method 1: Live screen with TV
- 1
Four weeks out: book the TV rental
Call AV rental companies in your city. Ask for a 65-75 inch 4K TV with a rolling stand and delivery/pickup included. Confirm the stand height clears 5 feet from the ground so the screen is visible over seated guests.
- 2
One week out: create the Pix Wedding album and print QR cards
Set up your album with the couple's names and date. Download the QR code. Print 20-25 cards at home or a print shop (4x6 cardstock, one QR per card). The slideshow display URL comes from the same album automatically.
- 3
Day before: test the venue WiFi at the exact screen location
Bring the laptop or Fire Stick to the venue. Connect to the WiFi at the spot where the TV will stand. Open the slideshow URL. Upload a test photo from your phone. If it takes over 10 seconds, ask for the venue's staff WiFi credentials or plan to bring a mobile hotspot.
- 4
Day of: 90 minutes before guests arrive, full physical setup
Place the TV stand between the bar and the dance floor. Connect the Fire Stick or laptop via HDMI. Open the slideshow in Chrome (or Silk browser on Fire Stick), go full-screen. Tape all cables to the floor with gaffer tape. Place QR cards on every table and one at the bar. Done.
Method 2: Projector on wall or screen
- 1
Confirm the room is dim enough during the reception hours
Visit the venue at the time your reception starts with lights at reception level. If you can clearly read text projected onto the wall from 15 feet, you are fine. If the image washes out, rent a projector with 5,000+ lumens or switch to the TV method.
- 2
Identify a clean wall with no foot traffic in front of it
The projection beam cannot have guests walking through it repeatedly. Pick a corner wall or a dedicated projection screen on a stand. Mark the projector position on the floor with tape during setup so it does not get nudged by the catering team.
- 3
Day of: allow 60 minutes for setup instead of 30
Alignment takes longer than expected, especially if the wall is slightly angled. Use the keystone correction on the projector to square the image. Run the slideshow URL in the browser and verify photo aspect ratios look correct before guests arrive.
Method 3: Instant-print photo wall
- 1
Buy the Instax Link Wide and two boxes of Wide film
The Link Wide prints from your phone via Bluetooth without any subscription. Two boxes (40 sheets each, 80 total) covers a 4-foot display section. For a 6-foot wall you want three boxes (120 sheets). Order before the week of the wedding; it is often out of stock locally.
- 2
Build the display frame before the wedding day
String 3-5 horizontal lines of twine or wire between two vertical posts or a wooden frame. Space lines 8 inches apart. Attach mini clothespins every 4 inches. Arrive at the venue with the frame pre-built so day-of setup is just standing it up and connecting a power extension cord for the printer.
- 3
Assign one person to manage the print queue during cocktail hour
Guests upload via QR to Pix Wedding, the photo printer manager downloads their uploads and prints them through the Instax app. Each print takes 12-15 seconds. One person can easily process 40-60 prints per hour. Pin each print to the wall as it comes out of the printer.
When each display method is most effective, hour by hour
Best window for all display types
Guests have idle time and are most willing to upload and interact. First QR scans happen here. The print wall starts filling. The live screen goes from zero to 40-60 photos in 45 minutes. This hour determines whether the display feels alive by dinner.
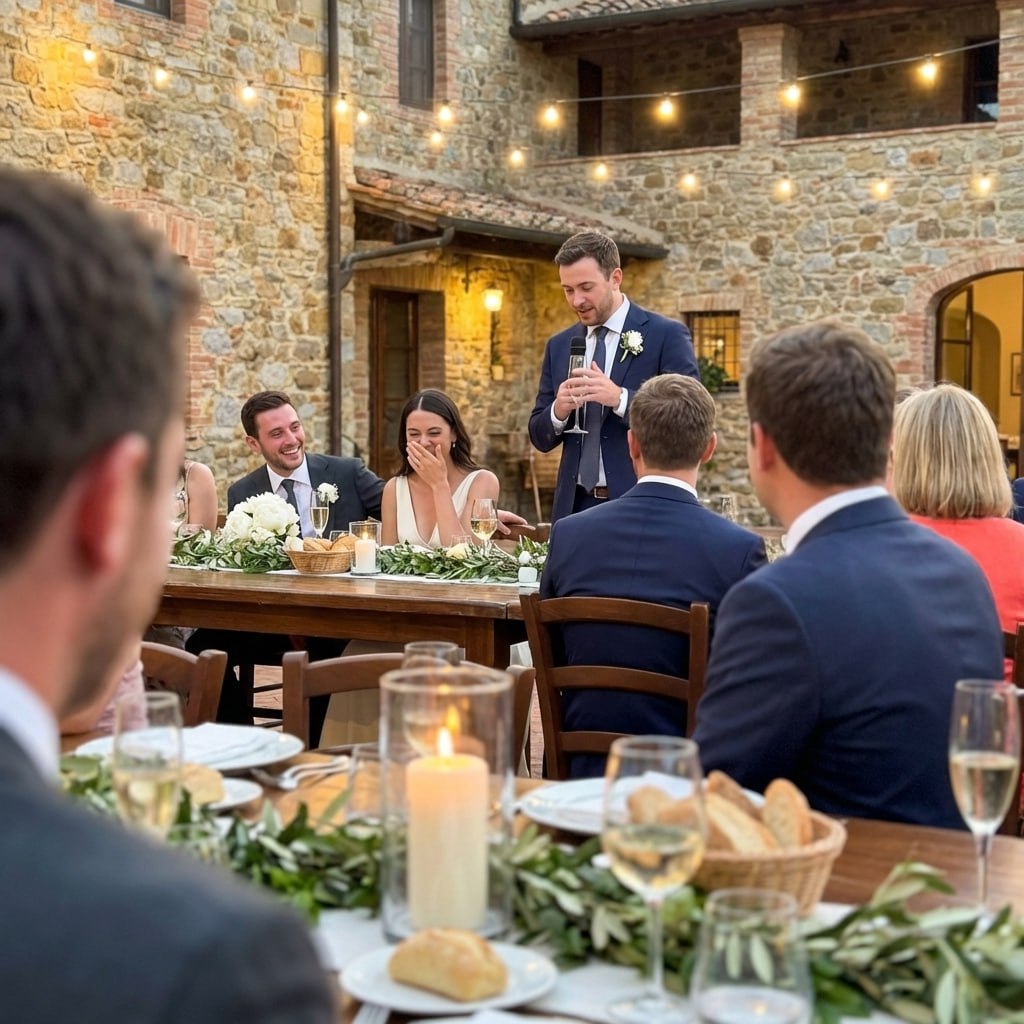
Freeze or pause all digital displays
A rotating feed of candid photos competes with the person at the mic. Pause it. For the print wall, simply stop adding new prints during speeches. The wall stays visible and becomes decor.
Freeze digital display on a couple portrait
Freeze the screen on the couple's engagement photo or an early reception shot. The screen becomes a frame, not a distraction. Resume the live feed the moment the dance floor opens.
Second upload wave; print wall gets most of its photos
Seated guests have time to scroll their camera roll and upload earlier ceremony shots. The screen feed accelerates. A 120-guest wedding typically has 120-200 photos on screen by end of dinner.
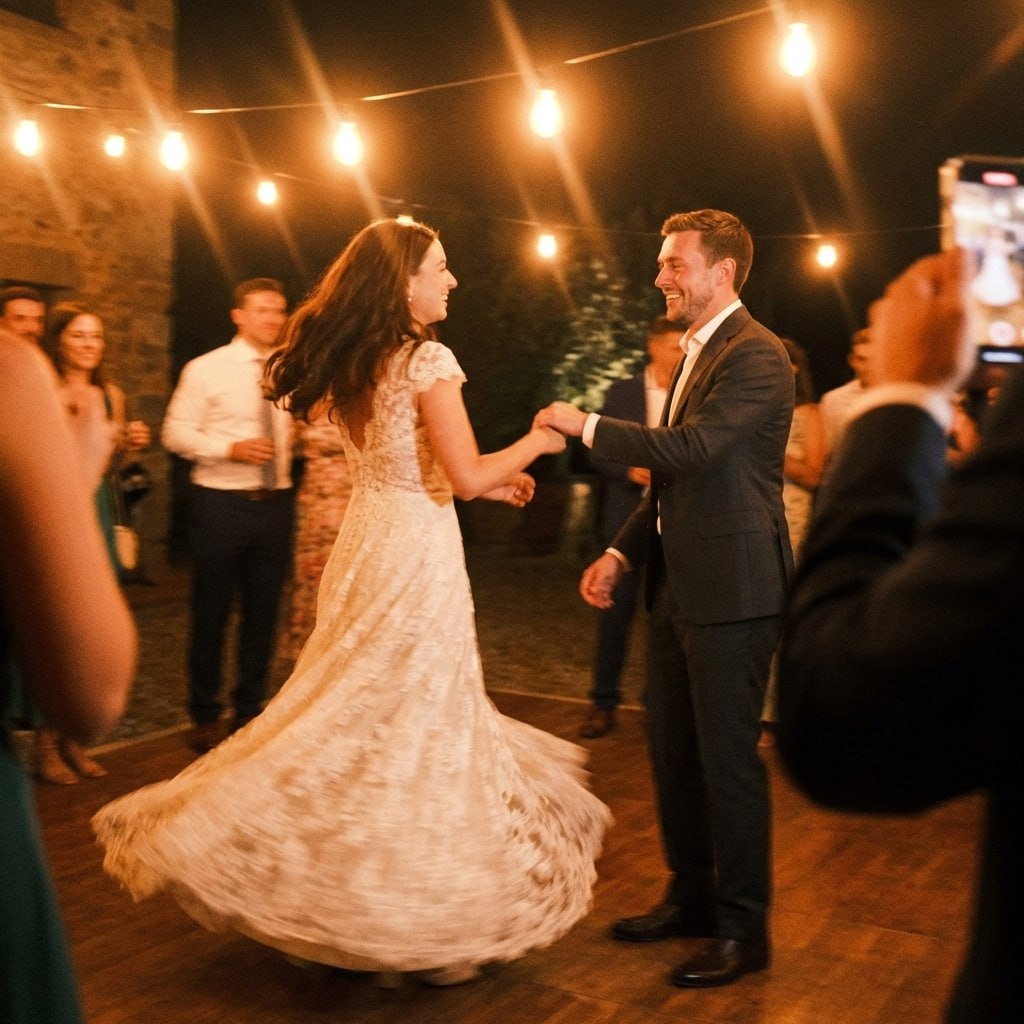
Live screen is at peak energy; print wall is complete
The screen creates a social proof loop: guests see their dance floor photos appearing in near-real time, which makes them want to upload more. This is the highest-engagement period for the digital display.
DJ and MC announcement scripts for each display type
Paste these directly into your DJ brief. Read at the right moment, they double the upload and interaction rate.
For live screen display (read at cocktail hour, 30 min in)
"Quick one: there's a screen on by the dance floor showing every photo
guests upload tonight in real time. Scan the QR code on your table,
upload a shot, and watch it appear within 30 seconds. The couple gets
to keep every photo at the end of the night."
For print wall display (read at cocktail hour start)
"See that frame near the entrance? Any photo you take tonight and
upload through the QR on your table gets printed and added to that
wall. By end of dinner it should be full. The couple takes the whole
wall home after tonight."
For polaroid station (read at start of reception)
"There's an instant camera station near the bar. Walk up, take a shot,
keep one print, and pin the other to the memory board. It takes about
20 seconds and you go home with something from tonight that isn't on
your phone."
Late-night reminder (all display types, use around 10:30 PM)
"Last call to add to the display. Scan the QR on your table, upload
anything you have taken tonight, and it goes into the couple's album.
They're collecting everything so they have the full night, not just
the photographer's shots."
Seven common mistakes with wedding photo displays
- Putting the screen where nobody walks past it. The best location is between the bar and the dance floor, on a natural traffic path. A TV in the corner behind the head table gets seen by maybe 10% of guests. A TV near the bar gets seen by everyone at least twice.
- Projecting onto a textured wall without testing first. Brick, wood paneling, and textured plaster all make projected images look muddy. Test the wall at the venue before the wedding day. If it is too textured, rent a free-standing projection screen.
- Not briefing the DJ on when to pause the display. Written instructions in the DJ brief are not enough. Walk them through the pause toggle once during setup. Make them press it. They will not remember otherwise.
- Skipping the WiFi test until the day of. Venue WiFi dead spots are extremely common. Finding one 20 minutes before guests arrive with no backup plan is the most avoidable stress we see couples go through.
- Buying too little Instax film for a print wall. Budget 1.5 prints per guest for a four-hour reception. For 100 guests that is 150 sheets minimum. Showing up with 80 sheets means the wall stalls half-filled and loses momentum.
- No QR code at the bar. Bar placement gets more scans than any table placement. Tape one flat to the bar surface. Guests spend more time there and are more likely to pull out their phone.
- Forgetting the moderation buffer for digital displays. Enable the 30-second pending queue in Pix Wedding before the reception starts. In practice it catches something spicy maybe once per 20 weddings, but that one time matters enormously.
Priya and Marcus, 142 guests, converted barrel hall in Healdsburg, CA, October 2024: TV screen plus print wall running simultaneously
Priya and Marcus chose a converted barrel-aging hall at a Sonoma County winery for their October 11, 2024 reception. The room had high ceilings, exposed wood beams, and warm Edison-bulb lighting throughout. They wanted both a live digital display and a physical printed wall running at the same time, which is the most logistically demanding combo we have done. Here is exactly what happened.
The hardware lineup: one LG 75-inch UR8000 TV on a rolling stand, rented from a Sacramento AV company for $215 including delivery. One Amazon Fire Stick 4K already owned. One Instax Link Wide printer bought new for $128. Three packs of Instax Wide film (30 sheets each, 90 total) at $27 per pack, $81 total. One 25-foot HDMI extension cable from Amazon at $18. One roll of black gaffer tape, $14. Pix Wedding Standard plan at $59 for the album and live slideshow. The frame for the print wall was a 6-foot cedar lattice panel rented from a local floral supply shop for $40, with mini wood clothespins pre-attached the night before. Total spend: $555.
Setup took 52 minutes. The TV went on a stand between the bar and the band area, visible from every dinner table. Priya's maid of honor, Janelle, managed the Instax printer at the cocktail hour entrance, downloading uploads from the Pix Wedding admin panel on her phone and printing them as they arrived. The first photo appeared on the screen at 5:43 PM during cocktail hour. By 6:45 PM, 74 photos were on the digital screen and 28 prints were pinned to the lattice.
What failed: the venue's guest WiFi dropped completely at 7:18 PM, right as dinner seating began. For 38 minutes, no uploads reached the screen. Janelle hot-spotted off her iPhone 15 Pro, which handled the load fine, but the screen showed a "reconnecting" spinner for about 90 seconds before the Fire Stick picked up the new network. We lost roughly 40 uploads during that window that guests had tried to send and abandoned. After the reception Marcus emailed the album link to all guests so they could upload the missed shots, and 19 people did.
The wall highlight: a guest named Conrad pinned a print of Marcus's grandfather, who had passed eight months earlier, standing next to Marcus at a family barbecue the previous summer. Marcus walked past the wall at 9:15 PM and stopped for about two minutes. That moment cost nothing and could not have been planned.
- Lesson 1: Always test venue WiFi at the exact TV location the day before. The barrel hall's AP was on the opposite side of a stone wall from where the TV stood.
- Lesson 2: Bring a personal hotspot device with a data plan as a dedicated backup, not a phone you are also using for everything else. Janelle's battery was at 31% by 9 PM from running printer duties plus the hotspot simultaneously.
- Lesson 3: 90 Instax sheets was almost right for 142 guests over four hours. We ran out at 10:20 PM with 40 minutes still on the clock. Budget 1 print per guest minimum, not 0.6.
Lina and Diego, 68 guests, rooftop terrace in DUMBO, Brooklyn, June 2025: projector test that failed, live TV that saved it
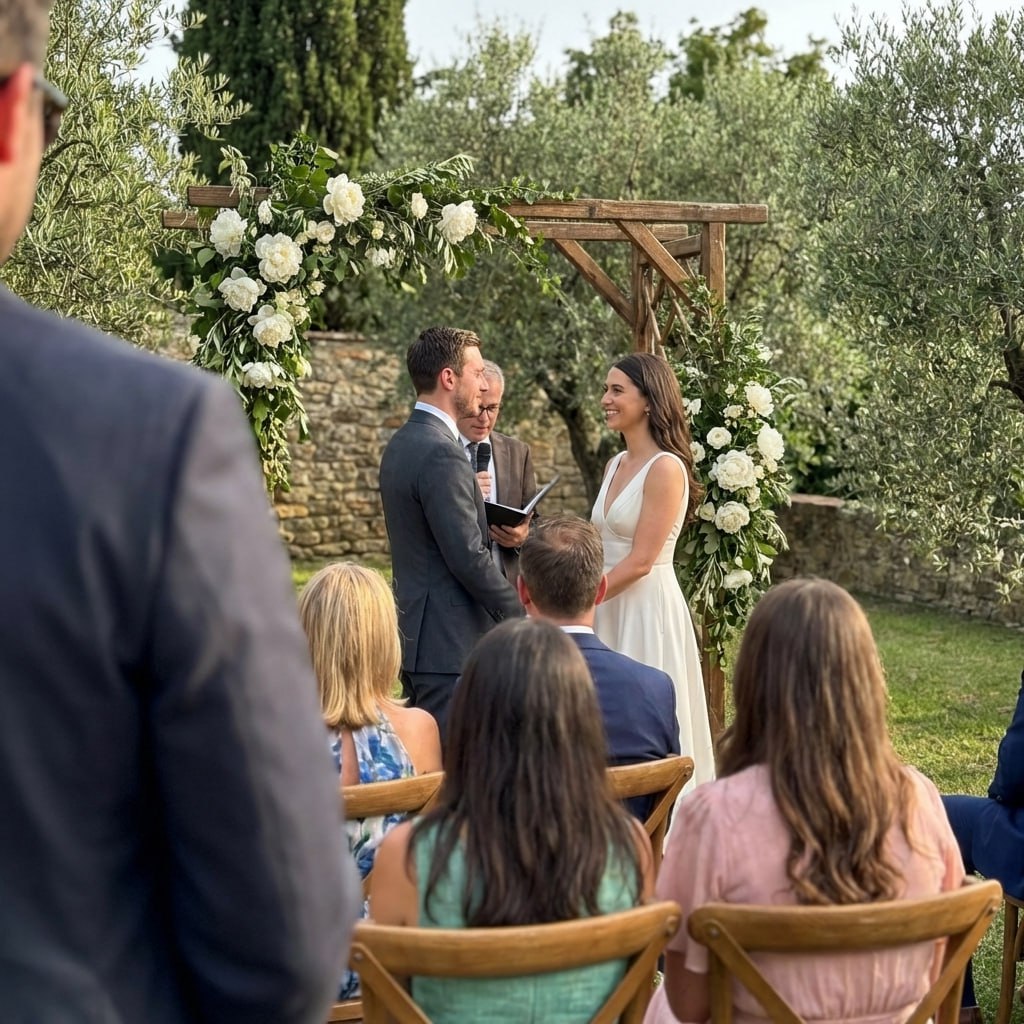
Lina and Diego got married on the last Saturday of June 2025 on a rooftop terrace overlooking the Manhattan Bridge in DUMBO, Brooklyn. The venue had a jaw-dropping backdrop and they wanted a projector throwing guest photos onto the exposed brick interior wall visible from the dining tables. On paper it was perfect. In practice, the setup taught us the hard way why projectors and mixed outdoor/indoor light do not mix at dusk.
The hardware they booked: a BenQ MH560 1080p projector at 3,500 lumens, rented from a Brooklyn production house for $175 for the evening. A 100-inch portable pull-up screen on a stand, included in the rental. One Fire Stick 4K, already owned. Pix Wedding Standard at $59. Two 25-foot extension cords at $12 each. Total: $258 before any backup plan.
When we tested the projector setup at 5:30 PM during cocktail hour, the Brooklyn sunset was streaming directly across the rooftop at roughly 40 degrees and lighting the projection screen from the side. The image was washed out to near-illegibility. Guests standing 15 feet away could see photos if they squinted, but from the dinner tables 30 feet back it looked like a faintly glowing rectangle. We spent 25 minutes repositioning the screen to a more sheltered corner near the interior wall, but the ambient light was still too strong. The projector simply did not have the lumens for a partially outdoor dusk reception.
The recovery: a friend of the groom drove to a Best Buy in Downtown Brooklyn and rented a floor-model Samsung 65-inch 4K TV for $150 via the store's open-box deal. He was back by 7:10 PM. We plugged the Fire Stick into the TV, connected to Pix Wedding on the venue's staff WiFi, and the slideshow was running by 7:22 PM. The first photo on the new screen appeared at 7:24 PM. By 9:00 PM the album had 93 photos from 68 guests, a strong participation rate driven by Diego's uncle Eduardo who walked every table and personally showed three older relatives how to scan the QR code.
What the projector failure actually cost: the $175 rental was non-refundable (read the contract). The TV purchase added $150. Total display cost came to $494 instead of $258. The lesson was expensive but clear.
- Lesson 1: For any outdoor or semi-outdoor venue, a projector needs 5,000+ lumens minimum at dusk. At 3,500 lumens, the BenQ MH560 is a strong indoor projector and a weak outdoor one.
- Lesson 2: Visit the venue at the exact time of your reception start on any random weekday to see the actual light. A Saturday afternoon venue visit tells you nothing about 5:30 PM in late June.
- Lesson 3: Always have a TV as a fallback plan in writing before the rental is booked. A 65-inch TV on a stand is $150-220 in most US cities and works in any light. The projector is the upgrade; the TV is the default.
- Lesson 4: One person designated as the "QR ambassador" doubles participation more reliably than any DJ announcement. Eduardo's table-by-table approach accounted for at least 35 of the 93 photos that night.
Related guides for your photo setup
Everything else you need to plan the full reception photo experience.
Why "displaying" guest photos is a different problem than "collecting" them
Most wedding photo guides stop at collection: how to get guests to upload, which app to use, how to set up the QR. Display is an afterthought. But from three receptions we have helped set up, the display is where the real guest engagement happens. A guest who uploads to an album they never see again feels like they contributed to a cloud folder. A guest who uploads and watches their photo appear on a 75-inch screen thirty seconds later feels like they made the party.
The display method you pick shapes what the crowd does. A live screen creates a participation loop. A printed wall creates a physical artifact to walk up to and read. A projection wall creates a cinematic moment. Polaroids create keepsakes. None of these are interchangeable, and the right one depends on your venue, budget, and what kind of memory you want people to take home.
- •Live screen: highest participation rate, runs itself after setup
- •Printed photo wall: beautiful physical artifact, requires active printing
- •Projection: dramatic impact in a dim room, needs AV attention
- •Polaroid station: tactile keepsake guests actually take home
- •Digital frame cluster: elegant, works in bright rooms, limited size
- •LED video wall: maximum wow factor, premium budget required
Picking the right display for your venue and lighting
Lighting is the single biggest constraint on display method. A TV or digital frame works in any light. A projector needs a dim room or a very high-lumen unit. Outdoor daytime receptions almost never work with projection. Indoor ballrooms with dimmed chandeliers are perfect for projectors. Tented receptions after sundown split the difference depending on how the ambient lighting is managed.
Venue size matters for digital displays. A 65-inch TV is visible from about 25 feet in a moderately sized room. For ballrooms with 200+ guests and 60-foot sight lines, you need either a projector at 120+ inch image or a cluster of screens. Printed walls do not have a sight line problem but they do have a traffic flow problem: guests need to walk up to them, which means placing them on a path people naturally travel (cocktail hour entry, bar area, photo booth line).
The hidden logistics most couples miss
Power outlets are always the first surprise. Digital displays need power at the spot they sit, which is rarely where the venue has outlets. Budget for two 25-foot extension cords and gaffer tape before the venue walk-through. Projectors need a clear throw path without guests or caterers walking through the beam, which is harder to guarantee than it sounds at 10 PM when the dance floor is crowded.
WiFi is the second surprise for digital setups. Venue WiFi is often terrible at the specific corner where the screen sits. Test on the day before with the same device you plan to use. If the venue has a business WiFi network (not the guest password), ask for credentials because it is usually faster. As a fallback, a $40-per-month mobile hotspot handles 200 simultaneous uploaders with no perceptible lag.
Explore more free wedding tools
Everything you need to make your wedding day stress-free and unforgettable.
QR Sticker Designer
Design custom print-ready stickers.
Hashtag Generator
Create unique wedding hashtags.
How to Collect Guest Photos
5 methods ranked by participation rate and ease.
Get Photos After the Wedding
Message templates to gather guest photos post-wedding.
Share Wedding Photos with Guests
Compare every sharing platform by ease and participation.
Best Way to Get Guest Photos
The single method with the highest participation rate.
How to Make a Shared Wedding Album
Step-by-step setup for every platform.
Alternative to Disposable Cameras
Better, cheaper options than disposable cameras.
Guest Photo Display FAQ
Everything you need to know about our free tools and how they help your wedding day.
A live digital screen driven by a QR-upload app like Pix Wedding is the cheapest all-in option. Screen rental runs $150-250, the software is a one-time $59, and no staff is needed. A clip-string printed wall is similar in cost but requires printing time and supplies. Photo booth rentals with print displays run $1,000-1,500, which is three to six times more for the same number of displays.
Yes. A short-throw projector connected to a laptop or streaming stick, with the Pix Wedding slideshow URL open in full-screen mode, updates within 30 seconds of a guest upload. The only requirement is a dim room and a clean wall or projection screen. In a bright reception hall a TV is more reliable since projectors wash out in ambient light.
The simplest method is a QR code on every table. Guests scan, land on an upload page, choose photos from their camera roll or take a new one, and submit. No app download or account needed. With Pix Wedding, photos upload in under 20 seconds on a decent venue WiFi and appear on the display within 30 seconds.
A printed photo wall is a physical display where printed photos are clipped or pinned to string lights, a wire mesh, or a lattice frame. For a real-time version, you collect photos from guests via QR upload during cocktail hour, print them on a portable photo printer (Instax Link Wide runs $130, prints cost $0.60 each), and pin them up before dinner. A 60-print wall covers a 6-foot panel and takes about 40 minutes to fill.
For a live digital screen, DIY is fine. The setup takes 30-45 minutes and runs itself after that. For a polaroid or instant-print station, one person needs to manage the printer queue, which is usually a bridesmaid or a family member with a type-A streak. Projection mapping and LED wall setups always need an AV technician because alignment mid-event is not a DIY task.
Freeze the display during speeches and the first dance. A rotating feed of uploaded photos competes with the speaker and dilutes the emotional weight of the first dance. Pause it with one tap in the Pix Wedding admin dashboard. Resume when the dance floor opens. Everything else, cocktail hour, dinner, late night, is a great time to run the live feed.