How to Dry Your Wedding Bouquet: 6 Methods Compared
Air drying, silica gel, microwave, pressing, glycerin, and professional freeze-drying: full step-by-step breakdowns so you can pick the right technique for your flowers and budget.
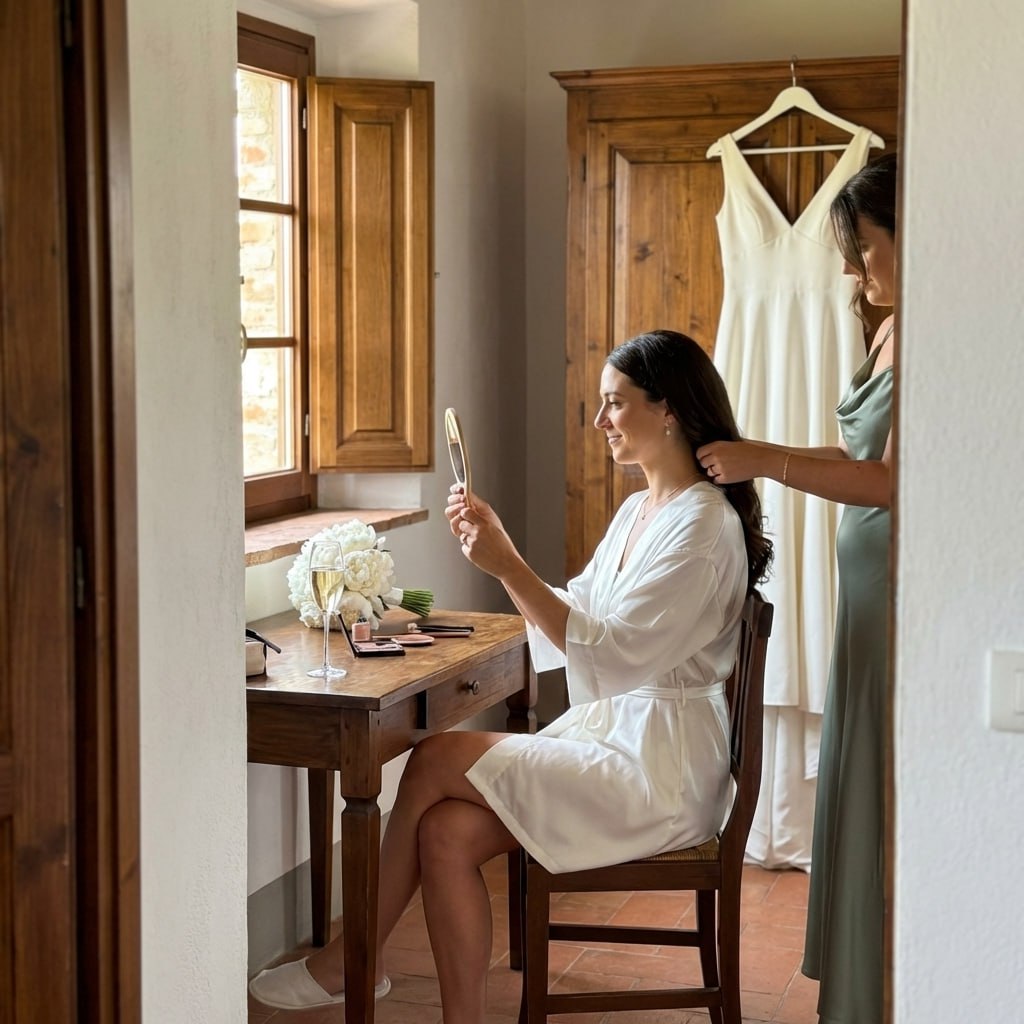
Start Within 24-48 Hours of Your Wedding
This is the single most important rule of bouquet drying. Flowers begin wilting, dropping petals, and losing color the moment they leave water. If you are honeymooning immediately, designate a family member or trusted friend to start the drying process before you leave. Every hour beyond 48 hours reduces your chances of a good result.
Method Comparison at a Glance
Each method has a different time investment, cost, and result quality. Use this table to narrow down your choice before reading the detailed steps below.
Air Drying Upside Down
Air drying is the most accessible method. It requires no special supplies and produces a naturally rustic aesthetic. The trade-off is that colors fade more than with silica, and the drying environment matters enormously.
Remove all foliage from stems to prevent mold.
Separate blooms into small bunches of 3-5 stems. Larger bunches trap moisture in the center.
Secure each bunch tightly with a rubber band (stems shrink as they dry, so rubber bands grip better than twine).
Hang bunches upside down in a dark, dry room with good airflow. A wardrobe, spare bedroom closet, or attic works well.
Space bunches so they do not touch each other.
Leave undisturbed for 2-3 weeks. Resist the urge to check daily as handling causes petal drop.
Once completely dry, apply a light coat of floral sealant spray from 12 inches away.
Pro tip: Humidity above 60% will cause mold. Place a small dehumidifier or silica gel packets near the hanging area if your home is humid.
Silica Gel (Best Color Retention)
Silica gel is a desiccant that absorbs moisture from flowers while preserving their three-dimensional shape and color far better than air drying. It is the most popular DIY method among brides and florists for good reason.
Purchase silica gel crystals from a craft store or online. You need enough to fully submerge your flowers.
Pour a 1-inch layer of silica into an airtight container.
Trim flower stems to 1 inch and remove all leaves.
Place flowers face-up in the silica. Use a wire stem to support heavy blooms.
Spoon silica gently between and over all petals until completely buried. Add a 1-inch layer on top.
Seal the container and leave at room temperature for 7-14 days.
Check by inserting a finger: petals should feel completely papery and crisp, not cool or yielding.
Remove carefully with tweezers. Brush off silica with a soft artist's brush.
Seal with floral sealant spray.
Silica gel is reusable: spread crystals on a baking sheet and dry in the oven at 250 degrees F for 30-60 minutes to restore them.
Microwave + Silica Gel (Fastest)
Combining silica gel with microwave heat accelerates drying from weeks to minutes. This method requires close attention to avoid overheating, which can brown or crisp petals.
Use a microwave-safe container. Do NOT use a sealed container: leave the lid off or cracked.
Place flower in silica gel following the same steps as the standard silica method.
Microwave on the lowest power setting (10-20%) for 2-3 minutes.
Let the container rest for 30 seconds, then check the flower. It should feel just slightly warm, not hot.
Repeat in 1-minute bursts until petals feel papery. Total time is typically 5-10 minutes.
Allow to cool completely (15-20 minutes) before removing the flower.
Brush off silica gently and apply sealant.
Caution: Different microwaves vary widely in power. Start on the lowest setting and test with a single flower before committing your whole bouquet.
Pressing (For Shadow Boxes and Framed Art)
Pressing is ideal for flat, delicate blooms like pansies, delphiniums, and individual petals. The result is two-dimensional, which makes it perfect for framed art, greeting cards, or shadow box designs that mix pressed flowers with photos.
Disassemble the bouquet and select individual blooms or petals to press.
Open a heavy book and lay a sheet of blotting paper or parchment on the page.
Arrange flowers face-down, ensuring petals do not overlap.
Cover with another sheet of blotting paper and close the book.
Stack additional heavy books on top for maximum pressure.
Change the blotting paper every 3-4 days to prevent mold from trapped moisture.
After 3-4 weeks, flowers should be fully flat and papery.
For faster results, use a dedicated flower press kit with wing nuts for added pressure ($15-$25).
Glycerin Preservation (Best for Foliage)
Glycerin replaces the water in plant cells, keeping foliage soft, flexible, and preserved for years. It is the go-to method for eucalyptus, ferns, and magnolia leaves that form the greenery in most wedding bouquets.
Mix one part food-grade vegetable glycerin with two parts warm water in a tall vase or jar.
Trim the bottom of each stem at a 45-degree angle and immediately place in the glycerin solution.
Leave in a warm location, not in direct sunlight.
The plant material draws the glycerin solution up through the stems over 2-3 weeks.
You will notice the leaves shift from green to a richer, slightly darker hue as glycerin replaces water.
Remove when foliage feels supple and no longer draws up liquid.
Wipe leaves gently with a soft cloth to remove any glycerin residue on the surface.
Professional Freeze-Drying (Best Overall Result)
Professional freeze-drying uses industrial equipment to remove moisture from flowers while they are frozen, locking in their shape and color at the cellular level. The result looks nearly identical to fresh flowers. This is the method chosen by most professional preservation studios.
Research a local or mail-in freeze-drying studio. Search "wedding bouquet freeze drying near me."
Contact the studio before your wedding to confirm availability and shipping requirements.
Ship or deliver the bouquet within 1-3 days of the wedding (keep in water until shipping).
The studio places your bouquet in a freeze-drying chamber at extremely low temperatures and pressure.
Expect a turnaround of 3-6 months. The process cannot be rushed.
Studios typically return flowers mounted or boxed in a display case.
Pros
Best color, best shape, works for all flowers, lasts decades
Cons
$200-$400+ cost, 3-6 month wait, must ship bouquet out
Which Flowers Dry Well vs. Which Ones Do Not
Not all wedding flowers are created equal when it comes to drying. Check this guide before committing to a method.
6 Common Bouquet Drying Mistakes
Waiting too long to start
Begin drying within 24-48 hours of your wedding. Wilted flowers dry poorly and lose color fast.
Drying in a humid room
Choose a dry, dark space with good ventilation. Bathrooms and basements are the worst places. A closet with a fan works well.
Leaving too many leaves on
Strip most foliage before drying. Leaves hold moisture and cause rot or mold.
Rushing the silica gel method
Check flowers every 2-3 days but do not pull them early. Damp petals will collapse when exposed to air.
Exposing dried flowers to direct sunlight
UV light fades colors quickly. Display in indirect light and consider UV-protective glass for frames.
Skipping a sealant spray
A light coat of floral sealant or unscented hairspray adds months to the life of dried flowers.
How to Display Your Dried Wedding Bouquet
Once your flowers are preserved, choosing a display method determines whether they last for years or fade in months.
Shadow Box Frame
Arrange dried blooms in a deep frame with your wedding date, ribbon, and a photo from the day. Hang above a mantle or in the bedroom.
Glass Cloche or Dome
Place a single dried rose or small cluster under a glass dome on a wooden base. A timeless keepsake that needs no adhesive.
Resin Casting
Embed individual petals or small blooms in clear resin to make paperweights, jewelry, or coasters. Requires a mold kit ($20-$40).
Pressed Flower Art
Arrange pressed petals on watercolor paper, glue lightly, and frame under glass. Works beautifully as a guest room print.
Keep Exploring Wedding Memories

First dance
You guys!!
Preserve the bouquet and every photo of it
You are drying the flowers - now make sure the wedding photos are equally well preserved. Guests upload shots directly to your shared album via QR code.

From Mom
Scan to join the album
No app, no account
UPLOADING
Saving your moment
THE ALBUM
Emma & Jack
June 21, 2026
647 photos · 95 guests


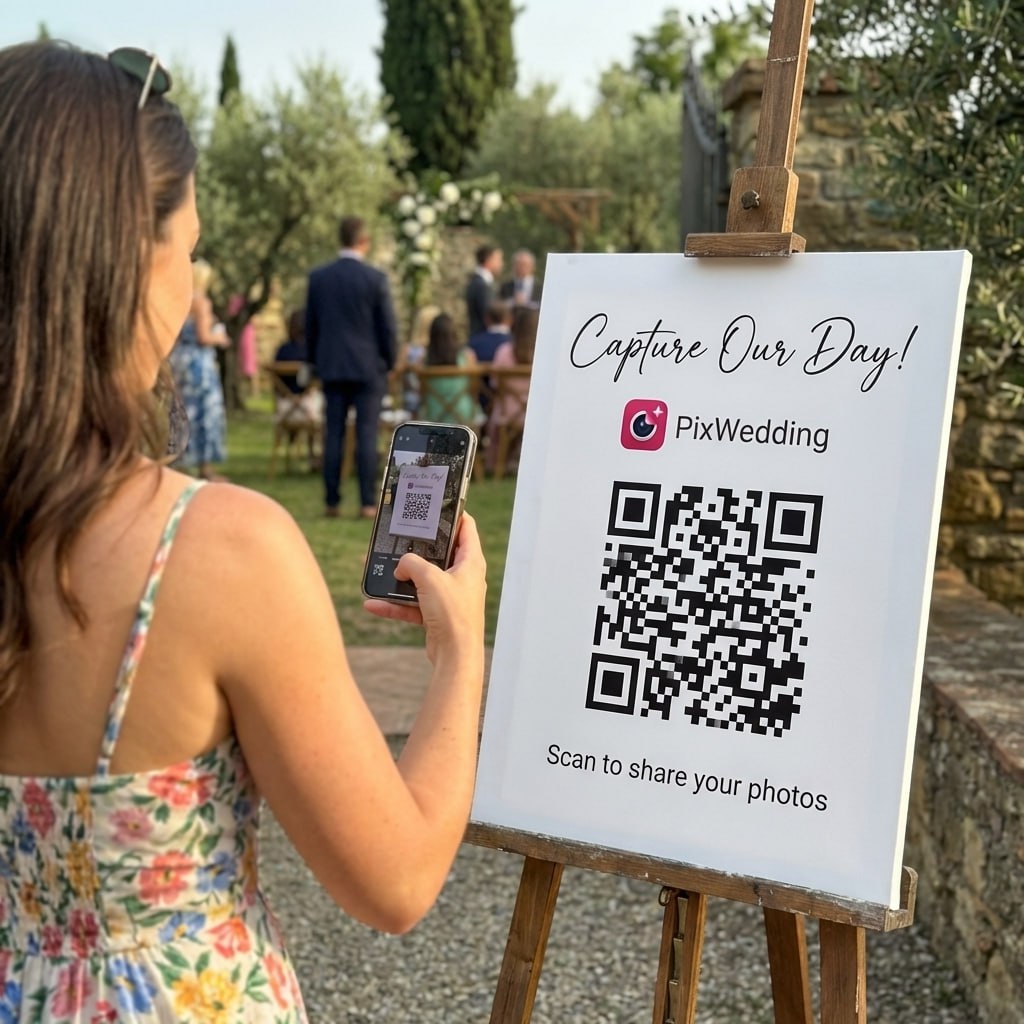


SCAN TO TRY
pix.wedding/
your-wedding
Supplies You Need Before You Start
Before you choose a method, gather your supplies so you can begin immediately after the wedding. The 24-48 hour window is critical.
For air drying: twine or rubber bands, a dark dry room with a hook or hanger, and optional floral sealant spray.
For silica gel: a resealable airtight container large enough for your blooms, at least 1-2 lbs of silica gel crystals (available at craft stores or online for $10-$20), wire stems if your flowers need support, and fine tweezers for careful flower placement.
For pressing: two heavy books or a flower press kit ($15-$25), blotting paper or parchment paper, and a flat dry surface. Some crafters add silica packets inside the press to absorb extra moisture.
For glycerin: one part vegetable glycerin mixed with two parts warm water, a tall vase or jar, and stems that have been freshly cut at a 45-degree angle.
- •Silica gel crystals (1-2 lbs minimum)
- •Airtight container with a lid
- •Wire floral stems and floral tape
- •Blotting paper (for pressing)
- •Floral sealant spray
- •UV-protective glass or frame
- •Fine tweezers for delicate positioning
Step-by-Step: Silica Gel Method (Most Recommended DIY)
The silica gel method preserves color better than any other DIY approach and works for most wedding flower types.
Step 1: Prepare your flowers within 24-48 hours of the wedding. Remove all foliage from the stems. Trim stems to about 1 inch below the bloom.
Step 2: Pour a 1-inch layer of silica gel into the bottom of your airtight container.
Step 3: Place flowers face-up (for open blooms like roses) or face-down (for cup-shaped flowers). Do not let blooms touch each other.
Step 4: Carefully spoon silica gel over and between all petals until the flower is completely buried. Cover with an additional 1-inch layer on top.
Step 5: Seal the container and leave in a room-temperature location, away from humidity.
Step 6: Check after 5-7 days. Roses typically take 7-14 days. Petals should feel papery and completely dry before removal.
Step 7: Gently brush off excess silica with a soft paintbrush. Apply floral sealant spray in a light coat and allow to dry.
The silica gel can be reused after drying it in an oven at 250°F for 30-60 minutes until the color indicator crystals change back to their original color.
Protecting and Storing Your Dried Bouquet Long-Term
Dried wedding flowers are fragile. With the right storage and display choices, they can last 5-10 years or longer.
Always apply a light coat of floral sealant or clear acrylic spray before final display. This seals pores in the petals and reduces moisture absorption.
Keep dried flowers away from direct sunlight, which causes rapid fading. North or east-facing walls are ideal. If displaying in a frame, request UV-protective glass.
Avoid kitchens and bathrooms where humidity fluctuates. Living rooms and bedrooms with stable temperature and humidity are best.
If storing rather than displaying, wrap gently in acid-free tissue paper and place in an archival box with silica packets. Never store in plastic bags, which trap condensation.
- •Apply floral sealant spray before displaying
- •Avoid direct sunlight to prevent color fading
- •Use UV-protective glass in frames
- •Keep away from kitchens and bathrooms
- •Store in acid-free boxes with silica packets
- •Never seal in plastic bags
Explore more free wedding tools
Everything you need to make your wedding day stress-free and unforgettable.
QR Sticker Designer
Design custom print-ready stickers.
Hashtag Generator
Create unique wedding hashtags.
How to Collect Guest Photos
5 methods ranked by participation rate and ease.
Get Photos After the Wedding
Message templates to gather guest photos post-wedding.
Share Wedding Photos with Guests
Compare every sharing platform by ease and participation.
Best Way to Get Guest Photos
The single method with the highest participation rate.
How to Make a Shared Wedding Album
Step-by-step setup for every platform.
Alternative to Disposable Cameras
Better, cheaper options than disposable cameras.
Bouquet Drying: Common Questions
Everything you need to know about our free tools and how they help your wedding day.
Drying time depends on the method. Air drying takes 2-3 weeks. Silica gel takes 1-2 weeks. Microwave with silica gel takes 5-10 minutes but requires careful monitoring. Pressing takes 3-4 weeks. Glycerin takes 2-3 weeks. Professional freeze-drying services take 3-6 months from the date you mail in the bouquet.
Silica gel gives the best color retention for DIY methods and works for most common wedding flowers including roses, peonies, and dahlias. Air drying is the easiest and cheapest option and works best for roses, lavender, and baby's breath. If budget allows, professional freeze-drying gives the most lifelike result.
Start within 24-48 hours of your wedding. Fresh flowers begin to wilt and lose petals quickly. If you cannot start immediately, keep the bouquet in a vase with fresh water in a cool room and begin drying as soon as possible after the honeymoon. Some couples ask a family member or maid of honor to start the process if they are traveling.
Flowers that dry well include roses, peonies (silica method), lavender, baby's breath, dahlias, and eucalyptus. Flowers that do not dry well include lilies (thick fleshy petals rot), orchids (lose shape in 3D methods), and fresh hydrangeas (petals crumble). Tulips can be dried with silica gel but require extra care as petals detach easily.
The most common silica gel mistake is pulling flowers out before they are fully dry. Damp petals collapse immediately when exposed to air. Check every 2-3 days by gently touching the petals. They should feel papery and stiff, not cool or soft. Also avoid burying flowers too shallowly; blooms must be fully surrounded by silica on all sides.
Popular display options include shadow box frames (arrange blooms with the wedding date and a ribbon), glass cloches or domes, clear resin casting to make paperweights or jewelry, and pressed flower art under UV-protective glass. Wherever you display them, keep out of direct sunlight to prevent fading. A coat of floral sealant spray before display extends their life significantly.