
Disposable Cameras for a Wedding: The Complete Buying and Setup Guide
You have decided you want real disposable cameras on your tables. Here is exactly how many to buy, what to look for, how to set them up, what to tell guests, and how to get them all back at the end of the night.
What this guide covers (and what it does not)
This is a committed-to-disposables buying and using guide for couples who already know they want physical film cameras on their tables, covering how many to buy against your table and guest count, what specs to look for, table setup ideas, instruction card wording guests will actually read, and a collection plan for getting every camera back before it walks out the door. It is not a debate about whether disposable cameras are the right choice or a roundup of digital substitutes: for that comparison, see are disposable cameras worth it at a wedding, and for the full list of modern substitutes, see alternatives to disposable cameras at weddings.
How Many Disposable Cameras Do You Need?
The starting formula: figure out your table count at roughly 8 guests per table, then add 20% so you are not caught short if a camera malfunctions or gets used up early. Here is what that looks like across common guest counts, along with the total exposures and a realistic usable-photo estimate at a 65% keep rate.
| Guests | Tables (8/table) | Cameras (+20% buffer) | Total exposures | Est. usable photos |
|---|---|---|---|---|
| 50 | 7 | 9 | 243 | 158 |
| 75 | 10 | 12 | 324 | 211 |
| 100 | 13 | 16 | 432 | 281 |
| 125 | 16 | 20 | 540 | 351 |
| 150 | 19 | 23 | 621 | 404 |
| 200 | 25 | 30 | 810 | 527 |
An alternative check: divide total guests by 8 directly (skipping the table-count step) for weddings with irregular table sizes or a standing reception. The two methods usually land within a camera or two of each other. Usable-photo estimates assume a mixed indoor and outdoor reception; expect the higher end of usable rates outdoors in daylight and the lower end in a dim reception hall.
Table 6
Got the whole table!
Pair your disposables with a backup that can't get lost.
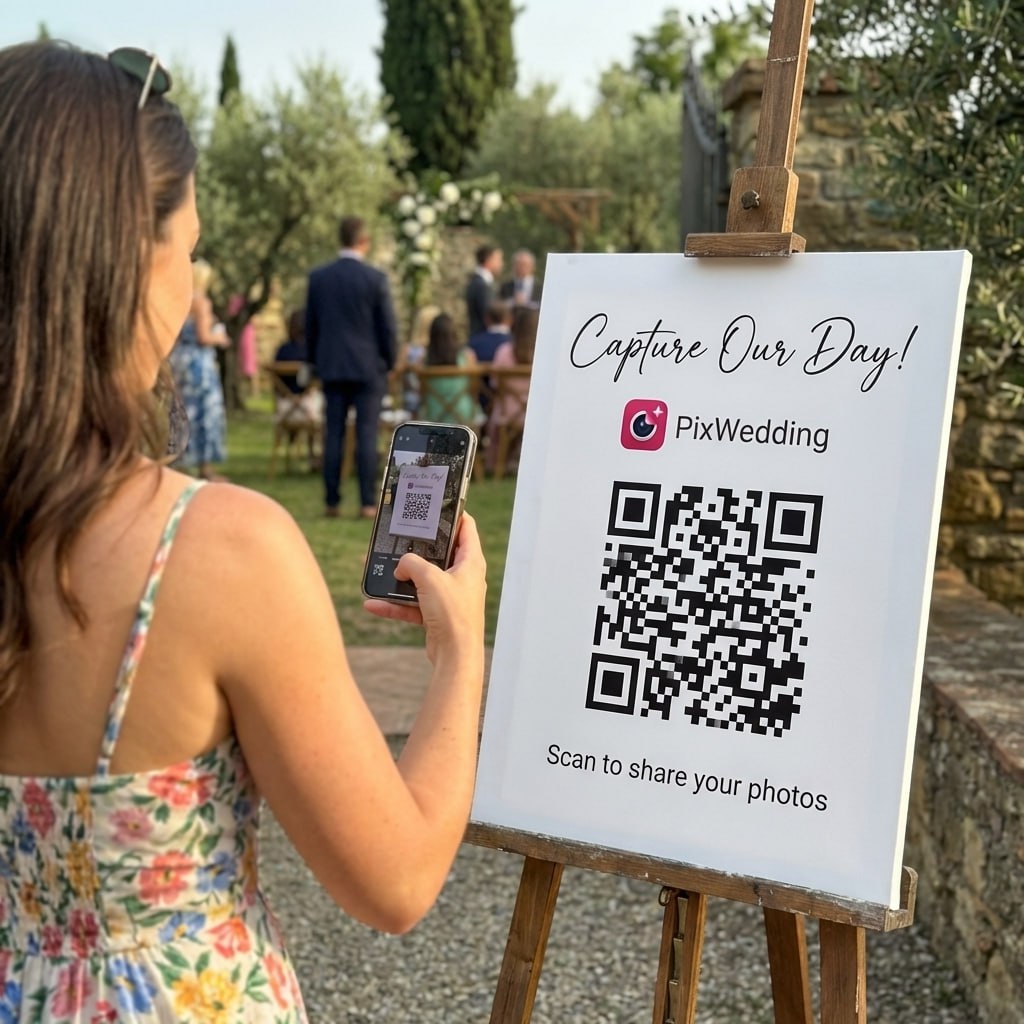
Film takes weeks and loses a chunk of every roll to the dark. Add a QR photo album so no shot is trapped on undeveloped film, or gone with a camera that never made it back.
From a guest
Scan to join the album
No app, no account
UPLOADING
Saving your moment
THE ALBUM
Emma & Jack
June 21, 2026
647 photos · 95 guests


SCAN TO TRY
pix.wedding/
your-wedding
What to Look For When You Buy
Not every disposable camera is built the same. Four specs decide whether you end up with usable photos or a stack of dark frames.
A built-in flash
Most reception venues are dim, and a disposable camera has no way to boost exposure beyond its flash. Skip flash-free cameras for anything indoors. The Fujifilm QuickSnap Flash 400 and Kodak FunSaver both include a built-in flash rated for roughly 4 to 11 feet, which is enough for tabletop shots but not for the far side of a dance floor.
ISO 400 vs ISO 800 film
ISO is how sensitive the film is to light. ISO 400 (used in the standard Fujifilm QuickSnap) handles daylight and flash-lit shots well. ISO 800 (used in the Kodak FunSaver) is more forgiving when a guest forgets to slide the flash switch, which makes it the safer pick for evening receptions.
A standard 27-exposure roll
Most disposable cameras ship with 27 exposures, occasionally a 39-exposure "extended" version. More exposures per camera means fewer cameras to buy, but it also means more chances for a guest to burn through a roll on ceiling shots before it reaches the dance floor.
Waterproof, if you need it
For a poolside cocktail hour or a beach ceremony, some manufacturers make waterproof or splash-resistant disposable cameras. Availability shifts from year to year, so confirm current stock with the retailer before you build a table plan around one.
Verified retail examples: the Fujifilm QuickSnap Flash 400 uses ISO 400 film with 27 exposures and a built-in flash, while the Kodak FunSaver uses more light-forgiving ISO 800 film, also with 27 exposures and a built-in manual flash. Want a deeper brand-by-brand comparison including black-and-white options? See the brand table on our disposable camera calculator.
What It Actually Costs to Buy and Use Them
Two line items make up your total: buying the cameras and developing them afterward. Buying loose single units runs highest per camera; multi-packs (a verified example: a 10-pack of Kodak FunSaver cameras runs about $17 per camera at Walmart) bring the per-unit cost down. These ranges use the camera counts from the table above.
| Guests | Cameras | Camera cost | Developing cost | Total |
|---|---|---|---|---|
| 50 | 9 | $90 - $162 | $90 - $135 | $180 - $297 |
| 75 | 12 | $120 - $216 | $120 - $180 | $240 - $396 |
| 100 | 16 | $160 - $288 | $160 - $240 | $320 - $528 |
| 125 | 20 | $200 - $360 | $200 - $300 | $400 - $660 |
| 150 | 23 | $230 - $414 | $230 - $345 | $460 - $759 |
| 200 | 30 | $300 - $540 | $300 - $450 | $600 - $990 |
These ranges use $10-18 per camera and $10-15 per camera to develop, which is the same developing range used in our developing guide. Your actual cost depends heavily on whether you buy loose units or multi-packs, and whether you develop at a drugstore or a mail-in lab.
Where to Buy Disposable Cameras for a Wedding
Amazon
The widest selection of multi-packs (2, 4, 8, and 10-count). Bulk packs bring the per-camera price down noticeably compared to buying single units.
Walmart
Carries both Fujifilm QuickSnap and Kodak FunSaver in-store and online, including multi-packs, usually at some of the lowest per-unit prices among national retailers.
Target
Stocks disposable cameras in the photo or electronics aisle, though selection and pack sizes vary more by location than at Walmart or Amazon.
CVS and Walgreens
Convenient if you are also planning to develop through the same chain, though per-camera prices at drugstores tend to run higher than buying multi-packs online.
Craft and party supply stores
Stores like Michaels sometimes carry disposable cameras seasonally near the wedding and party favor section, useful if you want to grab a few in person alongside table decor.
Table Setup Ideas
A camera sitting alone in the middle of a table gets ignored. A camera that is styled into the table gets picked up.
Centerpiece tie-in
Rest the camera against the base of the centerpiece or bud vase so it reads as part of the table styling instead of a stray object.
Small basket or jar
A mini basket, mason jar, or lined box keeps the camera upright and visible, and doubles as the drop-off point later in the night.
Tent card in front
A folded card with the instructions faces the guest directly, so no one has to flip the camera over to figure out how it works.
One per table, extras roaming
Keep one camera per table for coverage, then hand 2 to 3 loose cameras to the wedding party or a few chatty relatives to roam and shoot candids.
Welcome table display
A small stack of cameras with a sign at the welcome or escort card table lets guests grab one on the way in rather than discovering it cold at dinner.
Label by table number
A tiny sticker or tag with the table number on each camera makes end-of-night sorting and any later "who took this" questions much easier.
Instruction Card Wording Examples
Plenty of guests have never used a disposable camera. A short, clear card fixes most of the dark and blurry photos before they happen. These are illustrative examples, adapt the tone to match your wedding.
"You're the photographer tonight! Slide the flash switch right, get close, and wind after every shot. Leave the camera on the table when the film runs out. Have fun with it."
"1. Slide the flash switch. 2. Look through the viewfinder and shoot. 3. Turn the wheel to advance. 4. Leave the camera here when you're done."
"A little film, a little you. Snap a few frames of tonight and leave the camera on the table when you're through. Thank you for celebrating with us."
Your Collection Plan for the End of the Night
The cameras you bought are only useful if they come back to you. A collection plan set in advance is the difference between developing 16 cameras and developing 11.
Name one collector before the day starts
A bridesmaid, groomsman, or the day-of coordinator, not you or your partner, should be the one responsible for gathering cameras. Put it on their timeline, not just in a group text.
Set a collection window, not a vague "later"
Plan the sweep for just before the last song or right as the send-off begins, while most guests are still on-site and tables are easy to reach.
Put a labeled bin near the exit
A basket or bin at the door with a sign ("Leave your camera here!") catches guests who are already on their way out and might otherwise pocket one.
Do a table sweep, not just the bin
Cameras left on tables get bussed with the dishes or thrown out by venue staff during cleanup. Physically walk the room and check every table, not just the drop-off point.
Count them against your buying list
Check the collected count against how many you handed out. Knowing you are missing 3 of 16 cameras before you leave the venue is far easier than trying to figure it out a week later.
Getting the Film Developed
Once cameras are collected, they go in as complete units, not just the film canister, to a lab. Drugstores like CVS, Walgreens, and Walmart handle basic development with low-resolution scans for roughly $13-18 per camera and a 7-14 day turnaround. Mail-in professional labs cost a bit more but return higher-resolution scans and your negatives, which matters if a camera holds shots you cannot reshoot.
This page intentionally keeps developing brief since it is a whole process on its own. For the full breakdown of every option, current pricing, turnaround times, and how to avoid the most common developing mistakes, see our complete guide to how to develop disposable cameras.
Common Pitfalls to Plan Around
Guests forgetting the flash switch
This is the single biggest cause of dark, unusable photos. Write "FLASH ON" in bold on the instruction card and, if you have time, on the camera body itself.
Cameras leaving with guests
Some cameras end up in a handbag or coat pocket as an accidental souvenir. A visible bin at the exit and a table sweep during the last song both cut this down significantly.
Shooting past flash range
Flash on most disposable cameras tops out around 10 to 11 feet. A shot across a wide table or a dark dance floor will come back underexposed no matter how good the camera is.
Kids burning through a whole roll
Children love the physical shutter button. It is common for a camera meant for 8 to 10 adult guests to be finished off on a handful of close-up ceiling or floor shots. A couple of "kid cameras" set aside separately can help.
Heat and direct sun before developing
Exposed but undeveloped film can fog if it sits in a hot car or a sunny windowsill for days. Store collected cameras somewhere cool and get them to a lab within a few weeks.
Related Guides
If you prefer a phone-based roll and reveal, compare Digital disposable camera apps.
Once You Have Decided on Real Disposable Cameras
This guide is for couples who have already decided they want real, physical disposable cameras on their tables, not the case for or against them. If you are still weighing disposable cameras against a digital or QR-code option, our full roundup of alternatives to disposable cameras at weddings and the head-to-head look at whether disposable cameras are worth it at a wedding cover that decision in depth. This page focuses on the mechanics of actually pulling it off: how many to buy, what to buy, how to set them up, what to tell your guests, and how to get every camera back at the end of the night.
Buying the cameras is the easy part. The details that actually determine whether you end up with a stack of usable film or a box of dark, half-empty rolls are the ones most couples skip: matching camera count to table count with a real buffer, writing instructions guests will actually read, and having a specific person responsible for collection instead of hoping cameras find their way back on their own.
Pairing Disposables With a Backup Plan
Even with a solid buying and setup plan, disposable cameras are still film: shots you will not see for one to three weeks, and a portion of the roll that will likely come back dark or blurry regardless of how careful your instructions are. Many couples who commit to disposables for the aesthetic still run a QR code photo album alongside them for the reception, so the candid coverage does not depend entirely on undeveloped rolls sitting in a drawer.
Once your cameras are collected, the next step is developing. Our separate guide to developing disposable cameras walks through where to take them, what each option costs, and how long it takes, so this page can stay focused on the buying and table-setup side of the process.
Explore more free wedding tools
Everything you need to make your wedding day stress-free and unforgettable.
QR Sticker Designer
Design custom print-ready stickers.
Photo Sharing QR
The best way to collect guest photos.
Hashtag Generator
Create unique wedding hashtags.
How to Collect Guest Photos
5 methods ranked by participation rate and ease.
Get Photos After the Wedding
Message templates to gather guest photos post-wedding.
Share Wedding Photos with Guests
Compare every sharing platform by ease and participation.
Best Way to Get Guest Photos
The single method with the highest participation rate.
How to Make a Shared Wedding Album
Step-by-step setup for every platform.
Buying Disposable Cameras for a Wedding: FAQ
Everything you need to know about our free tools and how they help your wedding day.
A simple starting formula is one camera per table (tables of 8 guests) plus a 20% buffer for cameras that get used up quickly or malfunction. For 100 guests, that works out to roughly 13 tables and 16 cameras. For 150 guests, plan for about 19 tables and 23 cameras. Round up rather than down, since running short mid-reception means guests simply go without.
Prioritize a built-in flash, since most receptions are too dim to shoot without one. ISO 800 film (used in the Kodak FunSaver) is more forgiving of a guest forgetting the flash switch than ISO 400 film. Stick with a standard 27-exposure roll unless you specifically want fewer, higher-effort shots per camera. Buying in multi-packs rather than single units brings the per-camera price down substantially.
Budget for two costs: the cameras themselves and developing afterward. For a 100-guest wedding with about 16 cameras, expect roughly $160-$288 to buy the cameras (bulk multi-packs run lower per unit than single cameras) and another $160-$240 to develop and scan them, for a total of about $320-$528. Larger and smaller guest counts scale roughly in proportion.
Keep it to three or four short steps: slide the flash switch on, look through the viewfinder and shoot, turn the wheel to advance the film, and leave the camera on the table when finished. The flash reminder matters most, since a forgotten flash is the most common reason indoor photos come back too dark to use.
Assign one specific person, such as a bridesmaid, groomsman, or your day-of coordinator, to handle collection rather than leaving it to chance. Set a collection window just before the last song or send-off, place a labeled bin near the exit for guests already on their way out, and physically sweep every table since cameras left out often get bussed with the dishes or forgotten.
Amazon and Walmart typically carry the widest selection of multi-packs at the lowest per-camera prices, including the Fujifilm QuickSnap Flash 400 and Kodak FunSaver. Target, CVS, and Walgreens also stock disposable cameras, usually at a higher per-unit cost unless you catch a multi-pack. Craft and party supply stores sometimes carry them seasonally near the wedding favor section.