
Bridal Emergency Kit Checklist
Not just what to pack, but which category it belongs in, how much of it to bring, and when to buy it. This is the kit built specifically for the bride, not the bridal party.
What Should Be in a Bridal Emergency Kit?
The short answer
A bridal emergency kit needs four things: beauty touch-up items (lip color, blotting papers, setting spray), attire repair supplies (safety pins, fashion tape, a mini sewing kit, a stain pen), health and comfort items (pain reliever, band-aids, tissues), and a small documents pouch (vows backup, timeline, cash for tips).
The long answer
Wedding day guides consistently point to the same handful of items as the ones that actually get used. According to The Knot's bridal emergency kit checklist, fashion tape and safety pins are among the most universally packed wardrobe fixes, while a stain pen and a mini sewing kit cover most of what is left. Loverly's emergency kit guide adds heel grips and blister pads for comfort, plus a note that whoever holds the kit (usually the maid of honor) should be the one carrying it, not the bride.
The version below goes one step further and breaks every item into a category with a suggested quantity, so you are not guessing whether one stain pen or two bobby pin packs is enough. It also covers when to buy each item, roughly what the kit costs to build, and what to skip, since most guides load kits with items that never get opened.
The Kit by Category, With Quantities
Four categories cover a bride's entire kit. Each item below lists how much to actually pack, since "bring safety pins" is less useful than "bring 12 or more in assorted sizes."
Beauty & Makeup Touch-Up
Attire & Dress Repair
Health & Comfort
Documents & Logistics

First dance
You guys!!
Kit packed. Now protect the photos too.
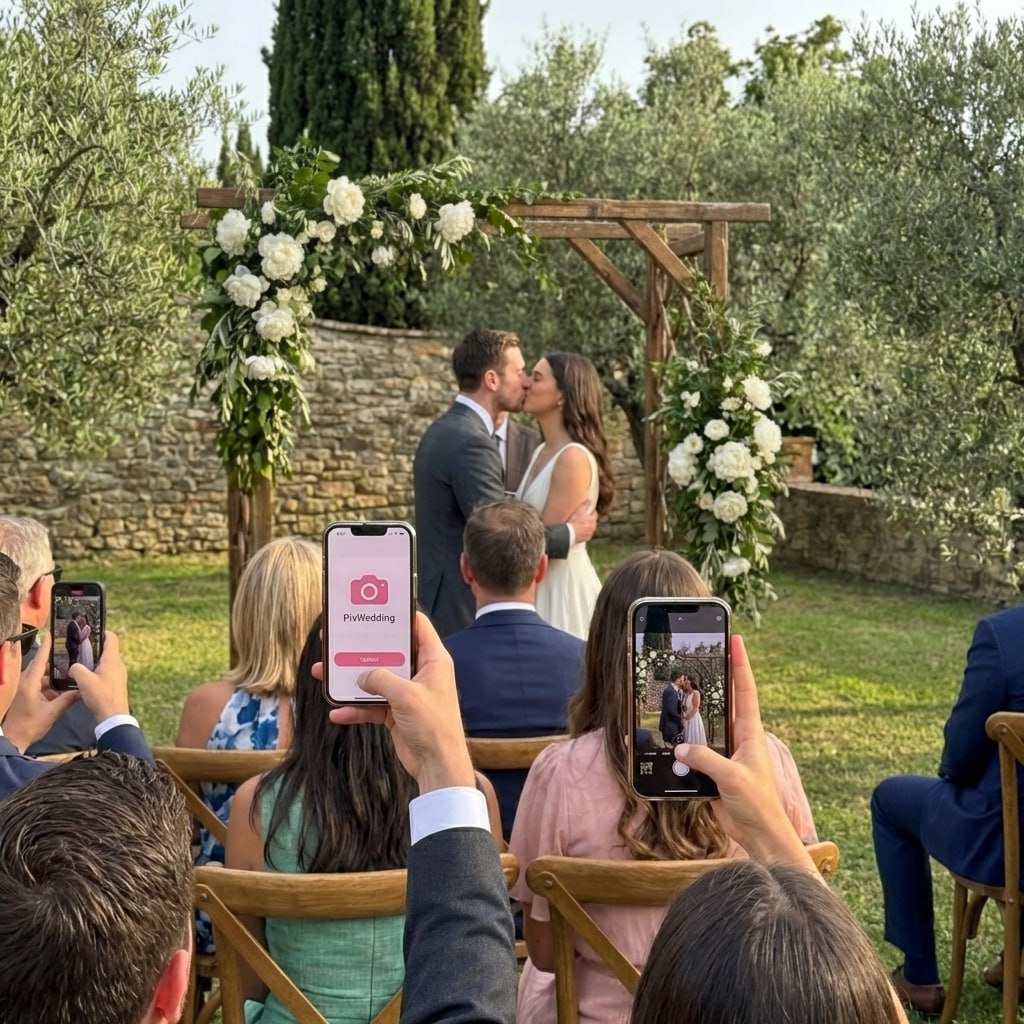
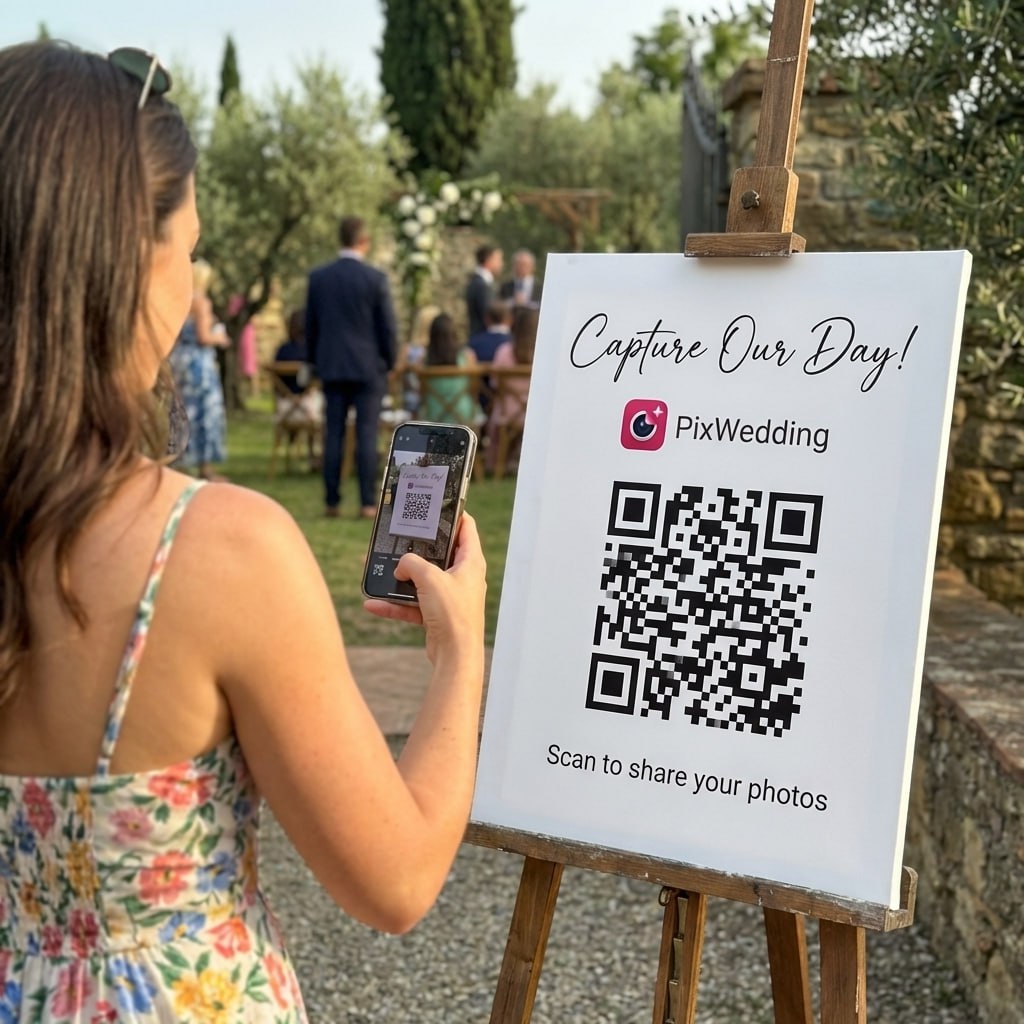
You've planned for every wardrobe malfunction and makeup meltdown, but there's one thing the kit can't fix: photos stuck on 100 different phones. A Pix Wedding QR code solves that before the day even starts.
From Mom
Scan to join the album
No app, no account
UPLOADING
Saving your moment
THE ALBUM
Emma & Jack
June 21, 2026
647 photos · 95 guests



SCAN TO TRY
pix.wedding/
your-wedding
When to Buy and Pack Each Item
The category list above tells you what goes in the kit. This timeline tells you when to actually buy and pack it, spread across 14 days so nothing gets left to the morning of the wedding.
2 Weeks Before the Wedding
Buy and gather everything1 Week Before the Wedding
Test, charge, and organizeDay Before the Wedding
Pack everything into the bagWhat It Costs to Build the Kit
You do not need a pre-packaged "emergency kit" product. Most items are dollar-store or drugstore basics, and the difference between tiers is mostly which items get a name-brand upgrade.
Budget kit
Dollar store + one drugstore tripCovers the must-haves only: safety pins, fashion tape, pain reliever, tissues, bobby pins, a stain pen, and a mini sewing kit. This tier handles the vast majority of wedding day emergencies.
Mid-range kit
Budget kit plus a few upgradesAdds a portable phone charger, a name-brand setting spray, blister pads, and a nicer compact mirror. Worth it if your reception runs long or the venue has limited outlets.
Gifted or premium kit
Pre-packed as a giftBridesmaids or a mother often assemble this as a surprise: the same core items in a monogrammed pouch with a handwritten note. The added cost is mostly presentation, not different contents.
Do This, Not That
Do
- Delegate the kit to your maid of honor or a trusted bridesmaid. Do not carry it yourself.
- Test the stain remover pen on a scrap of similar fabric during the week before.
- Pack a second mini pouch with just fashion tape, mints, and tissues for the ceremony location.
- Take a photo of the packed kit and send it to your bridal party group chat.
- Assign one person as the "kit keeper" for the entire day so nobody has to search for it.
Don't
- Pack full-size bottles. Travel-size only, the kit needs to stay light and portable.
- Break in brand-new shoes the day of. Wear any new pair at least twice beforehand.
- Rely on a single tissue pack. Happy tears happen more than once.
- Wait until the morning of the wedding to buy anything. Shop from the timeline below.
- Skip labeling. Unlabeled ziplock bags slow everyone down during an actual emergency.
How to Organize Inside the Bag
A clear toiletry bag or a structured tote with compartments works best for a bridal kit. Whatever bag you use, organize the inside by section so anyone can find an item in seconds without asking the bride.
Top or front pocket
Lip color, mints, tissues, compact mirror, blotting papers
The items you will reach for five or more times during the day
One side of the main compartment
Beauty supplies: bobby pins, hair spray, setting spray, cotton swabs
Group everything beauty-related together
Other side of the main compartment
Wardrobe fixes: fashion tape, safety pins, stain pen, sewing kit
Group everything wardrobe-related together
Bottom or inner pocket
Health items: pain reliever, antacid, band-aids, allergy medication
Accessed less often, fine to store deeper in the bag
Small side pocket
Phone charger and cable
Keep cables separate so they do not tangle with loose items
Who Gets a Copy of This Checklist?
Maid of Honor
She carries the kit and needs to know every item inside. Send her this page or print it for her. She is the first line of defense for any emergency.
Wedding Planner
Your planner may have their own kit. Sharing yours avoids duplicates and gaps. They can also remind you of items specific to your venue or season.
Venue Coordinator
Let them know you have a kit and where it will be stored so they can direct people to it. Venue staff are often asked for emergency items and can point to your kit.
Mother of the Bride
She will want to help and having a copy lets her check items off or bring duplicates of things she already owns. She can also manage the kit during the ceremony.
Season-Specific Additions
Summer Wedding
Sunscreen SPF 50, mini fan, bug spray, blotting papers (extra pack), cold water bottles, sweat-proof setting spray
Winter Wedding
Hand warmers, lip balm (extra moisturizing), static guard, lotion for dry skin, warm socks, umbrella for snow or rain
Outdoor Wedding
Bug repellent, heel protectors for grass, rain poncho (clear), extra sunscreen, portable fan, antihistamine
Destination Wedding
Anti-nausea medication, waterproof phone pouch, TSA-approved liquids bag, insect repellent, sunburn aloe gel
Common Bride Worries
What if I get my period on my wedding day?
Pack a few tampons or pads in the health section regardless of your cycle timing, since stress can shift timing. It takes almost no space and removes one source of anxiety.
What if I cry off my makeup during the vows?
Blotting papers and a travel setting spray fix this in under a minute. Ask your makeup artist during your trial which products hold up best to tears, and pack the matching touch-up version.
What if my dress rips right before the ceremony?
Fashion tape handles small tears and loose hems on the spot. For anything bigger, the mini sewing kit with white thread and small scissors covers most fixes a bridesmaid can do in five minutes.
What if I forget the kit at home?
This is exactly why delegation matters. If your maid of honor or a bridesmaid is responsible for the bag, it gets double-checked and loaded into a car that is not yours, which is often the one running smoothest that morning.
Quick Packing Tips
Use ziplock bags inside the main bag to separate categories: medical, beauty, wardrobe, and documents.
Label each ziplock bag with a small sticker or marker so anyone can find what they need fast.
Keep travel-size everything. Full-size products are too bulky and heavy for a kit bag.
Take a photo of the packed kit and send it to your bridal party group chat as a reference.
Pack a second mini kit with just fashion tape, mints, and tissues for the ceremony location.
Assign a "kit keeper" for each phase: MOH for getting ready, planner for ceremony, coordinator for reception.
Related Guides
Why the Bride Needs Her Own Version of the Kit
Most emergency kit content online is written for the maid of honor or the bridal party in general. The bride's version is different: she is the one wearing the dress that can rip, the makeup that can smudge during vows, and the shoes that will hurt by hour six. Her kit leans harder into beauty touch-ups and comfort items, and lighter into the generic first-aid supplies a planner's kit already covers.
The bride should never be the one carrying this bag. According to Loverly's wedding day emergency kit guide, the maid of honor or a designated bridesmaid typically keeps it close at hand throughout the day, which is exactly the delegation habit built into the do/don't list above.
- •Beauty and wardrobe items make up more of the bride's kit than a generic planner's kit
- •Someone else should always carry and manage the bag, never the bride herself
- •A second mini pouch at the ceremony location covers the highest-stress window of the day
- •Testing new products (stain pens, mascara, setting spray) a week out prevents day-of surprises
Delegating Kit Responsibilities
You do not have to prepare the entire kit yourself. Share this checklist with your maid of honor or a trusted bridesmaid and split the purchasing. Many items are duplicates of everyday products that multiple people already own.
On the wedding day, make sure at least two people know where the kit is and what is inside. The most common complaint about emergency kits is not that items were missing, but that nobody could find the kit when they needed it.
Explore more free wedding tools
Everything you need to make your wedding day stress-free and unforgettable.
Seating Chart Planner
Plan your reception seating visually.
Guest List Manager
Track RSVPs and dietary needs.
Budget Allocator
Turn your total into a category-by-category plan.
Timeline Builder
Plan your entire wedding day.
Venues by State
Explore venues across all 50 states.
Countdown Timer
Count down the days to your big day.
Wedding Checklist
Month-by-month planning checklist.
Bachelorette Party Games
15+ games with rules, supplies, and timing.
Bridal Emergency Kit Checklist FAQ
Everything you need to know about our free tools and how they help your wedding day.
Four categories: beauty and makeup touch-up items (lip color, blotting papers, setting spray), attire and dress repair supplies (safety pins, fashion tape, a mini sewing kit, a stain pen), health and comfort items (pain reliever, band-aids, tissues), and a documents pouch (vows backup, day-of timeline, cash for tips).
Pack 12 or more safety pins in assorted sizes and a full pack (about 20 strips) of double-sided fashion tape. These two items alone fix the majority of wardrobe issues, from loose hems to shifting necklines.
Not the bride. Delegate it to your maid of honor or a trusted bridesmaid so it is never something you have to think about on the wedding day. Share a copy of this checklist with her, your planner, your venue coordinator, and your mother.
A budget kit built from dollar-store and drugstore basics covers the essentials. A mid-range kit adds a portable phone charger and a few name-brand upgrades. A gifted or premium kit is the same core items pre-packed in a nicer pouch, usually assembled by bridesmaids as a surprise.
Start 2 weeks before the wedding: buy and gather everything. One week before: test the products and organize by category. The day before: do a final pack and place the kit somewhere you will not forget, then tell your maid of honor exactly where it is.
Skip full-size bottles of anything, a second or third backup shoe option, and any product you have not tested beforehand. Travel-size versions of what is already listed cover the same ground without the bulk.