
Wedding Photo Upload QR Code: Setup Guide for Couples and Planners
From album creation to QR code printing in 5 minutes. Everything you need to set up guest photo uploads for your wedding.
Start Setup Now (Free)Complete Setup Walkthrough
Step 1: Create Your Wedding Album
Go to Pix Wedding and create a new album. Enter your names, wedding date, and choose a cover design. The album is the container where all guest photos will be collected. This step takes about 60 seconds.
Pro tip: Use both names in the album title (e.g., "Sarah & James - June 2026") so guests know they are uploading to the right wedding.
Step 2: Configure Album Settings
Choose your preferences: enable or disable photo moderation (review photos before they appear in the album), allow or block video uploads, set a password for extra privacy, and choose whether guests can view other uploads.
Pro tip: For most weddings, disable moderation so photos appear instantly. You can always remove unwanted photos after the event.
Step 3: Generate Your QR Code
Your unique QR code is generated automatically when the album is created. Download it as a high-resolution PNG or SVG file. The QR code links directly to your album upload page, so anyone who scans it can upload photos immediately.
Pro tip: Download the SVG version for printing. SVG scales to any size without losing quality, from tiny stickers to large posters.
Step 4: Customize the Upload Page
Add a personal welcome message that guests see when they scan the QR code. Include instructions, your wedding hashtag, or a fun message. You can also customize colors to match your wedding palette.
Pro tip: Keep the welcome message short: "Welcome to our wedding! Share your favorite moments with us." is plenty.
Step 5: Test With Friends and Family
Before your wedding day, send the QR code to 3-5 people and ask them to test the upload process. Test on different phones (iPhone, Samsung, older Android). Verify that uploaded photos appear in your album correctly.
Pro tip: Test at least 2 weeks before the wedding. This gives you time to troubleshoot any issues with specific phone models.
Step 6: Print and Place at Your Venue
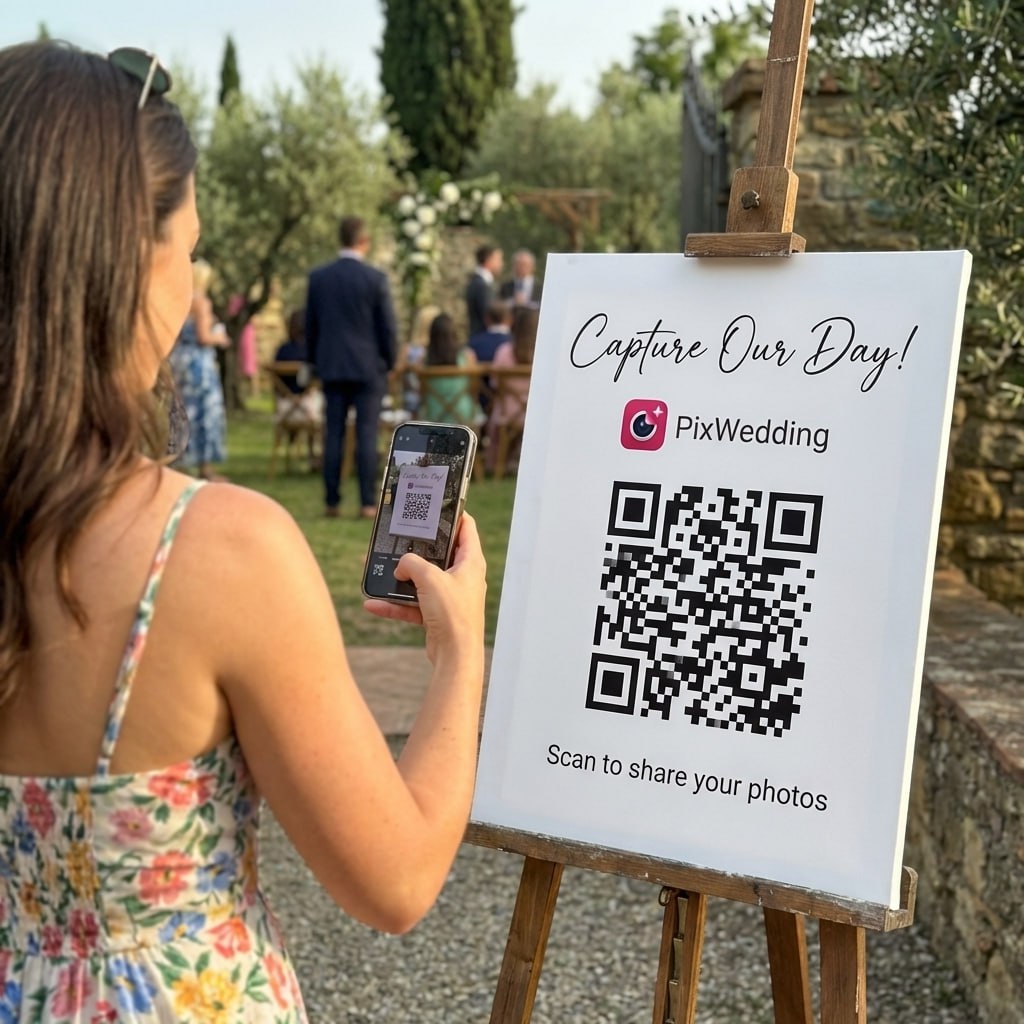
Use the Pix Wedding QR sticker designer to add your wedding colors and call-to-action text. Print on quality cardstock or sticker paper. Plan for one QR code per table plus 4-6 signs for high-traffic areas (entrance, bar, bathrooms).
Pro tip: Print extras. You will want replacements for any that get wet, knocked over, or moved during the reception.
Recommended Album Settings
Photo Moderation
Off for most weddingsWhen on, uploaded photos are hidden until you approve them. This adds a delay before photos appear in the album. Most couples prefer instant visibility and clean up afterward.
Video Uploads
On if using premiumAllow guests to upload short video clips in addition to photos. Captures toasts, first dances, and candid moments that photos cannot. Available on premium tier.
Album Password
OptionalAdd a password so only guests with the code can upload. Useful for very private weddings. Most couples skip this since the QR code itself limits access.
Guest Viewing
OnAllow guests to browse other uploads in the album. This encourages more participation as guests enjoy seeing each other's photos. Creates a live shared experience.
Preparation Timeline
Create your album on Pix Wedding and generate the QR code
Design your QR code materials using the sticker designer
Test with 3-5 friends on different phone types
Print all QR code materials (cards, signs, stickers)
Coordinate with venue/planner on QR code placement locations
Place QR codes at all locations. Do a final scan test at the venue.
Have MC announce QR code once after dinner and once before dancing
Related Setup Guides

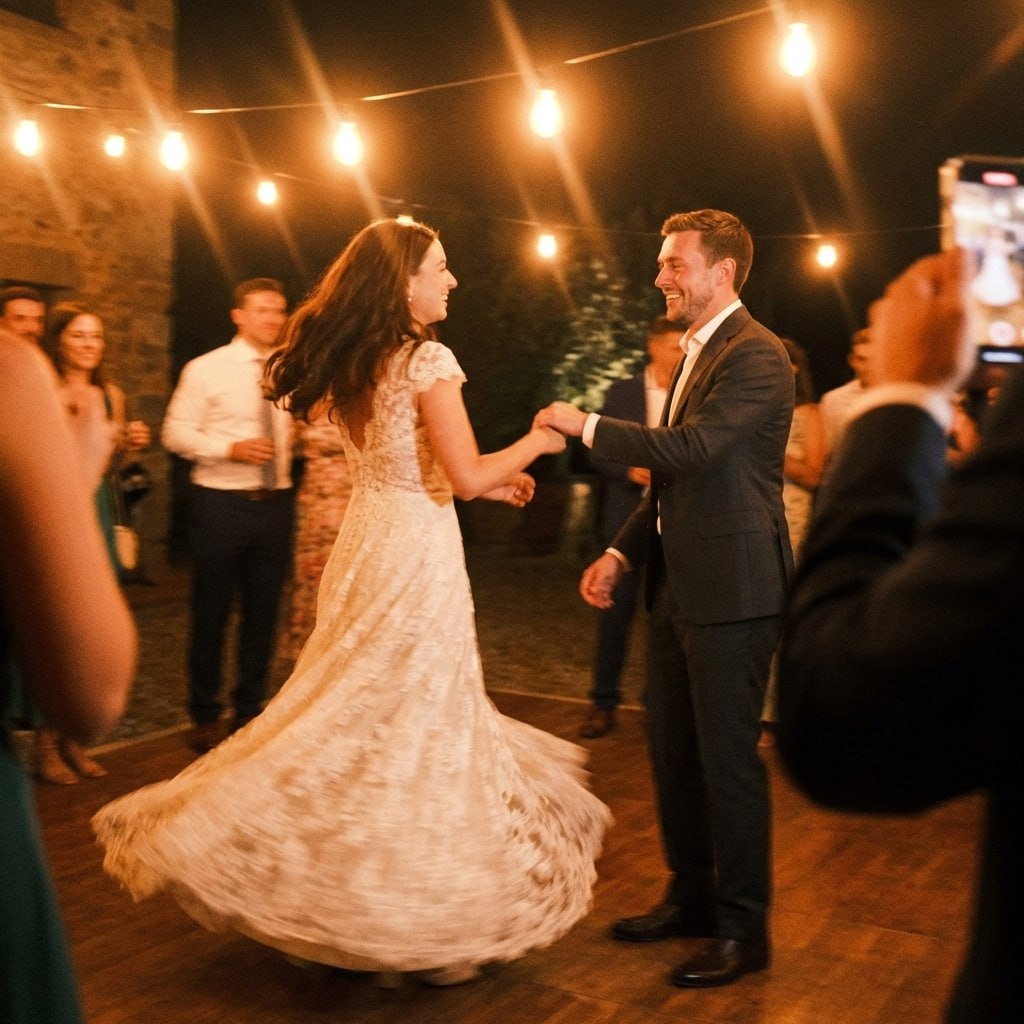
First dance
You guys!!
Set up your photo upload QR code in 5 minutes.
Create your album, generate the code, tweak your settings, and send it to print. Complete setup guide included so nothing is missed before the big day.
From Mom
Scan to join the album
No app, no account
UPLOADING
Saving your moment
THE ALBUM
Emma & Jack
June 21, 2026
647 photos · 95 guests




SCAN TO TRY
pix.wedding/
your-wedding
The Complete Setup Timeline for Wedding Photo Upload QR Codes
While the technical setup of a wedding photo upload QR code takes just 5 minutes, the overall preparation timeline spans 4-6 weeks for best results. Starting early gives you time to test with friends, coordinate with your venue, and design materials that match your wedding aesthetic.
The most important step many couples skip is testing. Sending your QR code to 3-5 people on different phone models catches potential issues before 150 guests encounter them. Common testing discoveries include: the QR code needs to be larger for certain scanning distances, the welcome message needs editing, or specific older phones require a direct URL link instead of a QR scan.
- •Start setup 4-6 weeks before the wedding
- •Test on at least 3 different phone models
- •Design printed materials 2-3 weeks out
- •Coordinate with venue on placement locations
- •Print extra copies as backup
- •Brief your MC on the announcement script
Explore more free wedding tools
Everything you need to make your wedding day stress-free and unforgettable.
QR Sticker Designer
Design custom print-ready stickers.
Hashtag Generator
Create unique wedding hashtags.
How to Collect Guest Photos
5 methods ranked by participation rate and ease.
Get Photos After the Wedding
Message templates to gather guest photos post-wedding.
Share Wedding Photos with Guests
Compare every sharing platform by ease and participation.
Best Way to Get Guest Photos
The single method with the highest participation rate.
How to Make a Shared Wedding Album
Step-by-step setup for every platform.
Alternative to Disposable Cameras
Better, cheaper options than disposable cameras.
QR Code Setup FAQ
Everything you need to know about our free tools and how they help your wedding day.
The entire setup takes about 5 minutes. Creating the album takes 1-2 minutes, customizing settings takes 1 minute, and generating the QR code is automatic. Designing the printed materials with the QR sticker designer takes an additional 5-10 minutes. Testing with friends should be done 2 weeks before the wedding.
Yes. You can create the album yourself and share the admin login with your planner, or your planner can create it entirely. Many wedding planners are now familiar with QR code photo sharing setup. Share this guide with them if needed.
Most couples leave moderation off. Moderation adds a delay between upload and visibility, which reduces the live shared experience. If you are concerned about inappropriate content, you can enable moderation, but in practice, wedding guests rarely upload anything problematic.
This is a great idea. Adding the QR code to your invitation suite (RSVP card insert or invitation back) primes guests for photo sharing before the wedding day. Include a short note: "Scan on our wedding day to share your photos with us." Guests will recognize the code when they see it at the venue.
The QR code links to your album, so changing album settings (moderation, password, welcome message) does not change the QR code itself. You do not need to reprint if you adjust settings. However, if you delete the album and create a new one, you will get a new QR code and must reprint.
Calculate one per table plus 5-8 extra for high-traffic areas. For a 150-guest wedding with 15 tables, print 20-25 QR code cards/signs. Always print 5-10 extras as backup for replacements during the event.