
Sparklers for Your Wedding Send-Off: The Complete Planning Playbook
A coordinator script, 60-minute countdown, lighting techniques, photographer cues, guest positioning, weather contingencies, and kid-safe alternatives -- everything you need to nail the moment.
See the Buying Guide FirstWhy the Send-Off is the Most Photographed Moment of the Night
The sparkler exit is the one moment where the entire reception community -- every guest -- participates simultaneously. It is kinetic, luminous, and deeply emotional. Photographers universally rank it among their favorite wedding moments to shoot because the combination of warm light, motion, and genuine emotion produces images that look cinematic without any editing.
Photography Gold
Sparkler tunnels create natural light rigs that produce magazine-quality images even from smartphone cameras. Guests' photos are often just as striking as the professional shots.
Full Guest Participation
Unlike a first dance or cake cutting where guests watch, a send-off makes everyone an active participant. It is a communal farewell that guests remember for years.
Emotional Peak
The combination of "last chance" energy, physical warmth, and crowd cheering creates an emotional intensity that is hard to replicate with any other reception moment.
The 60-Minute Send-Off Countdown
Print this timeline and give it to your coordinator, DJ/MC, and lead photographer. Coordination between these three roles is what separates a chaotic send-off from a seamless one.
Coordinator Check-In
Confirm sparkler count, lighter supply, and bucket locations. Alert the DJ/band that the send-off is in 60 minutes and to prepare the announcement script.
Hype Starts
Bridesmaid/groomsman begins circulating the room, reminding guests that a sparkler send-off is coming and to hold off leaving early. DJ plays a crowd-energizing set.
First Announcement
DJ or MC makes first announcement: "In 20 minutes, we are sending the newlyweds off with sparklers! Head toward the main exit when we call you." Coordinator pre-stages sparkler distribution bags.
Photographer Positions
Photographer and second shooter take position at the end of the exit path. Videographer confirms camera angle. Coordinator confirms the couple is still inside and ready.
Guests Move Outside
DJ announces: "Everyone outside now! Line up in two rows along the path." Coordinator and helpers distribute sparklers and brief guests: DO NOT light yet, hold upright.
Light the Tunnel
Station lighters begin lighting on coordinator's signal. Chain-lighting starts from the far end working back toward the couple's starting point so everyone is still burning when the couple reaches them.
The Couple Exits
Photographer gives the go-signal. Couple begins walking (or running) through the tunnel. Pause once near the middle for a posed frame if agreed with the photographer.
Cleanup
Coordinator guides guests to sand buckets. Safety lead confirms all sparklers are fully extinguished before guests re-enter. Couple is in getaway vehicle for departure photos.
The Coordinator Script (Word for Word)
Give this exact script to your day-of coordinator. Consistent language prevents confusion and keeps the energy high.
"Attention everyone -- in about 20 minutes, we are going to give [Couple] the most magical send-off of the night. We need everyone outside with a sparkler in hand. Start making your way toward the [main exit / garden doors] when you hear our next announcement. This is the moment you do NOT want to miss."
"Everyone grab a sparkler from the helpers at the door. Hold it upright -- DO NOT light it yet. We will give you the signal. Line up in two rows facing each other, about 3 feet apart, to create a tunnel. The couple will walk through the middle."
"Our photographer [Name] is in position. When I count down from 3, our lighting helpers will start at the far end and work toward [Couple]. Light your sparkler from the person next to you. Remember: sparkler goes UP, and when it is done, place the hot end DOWN in the sand bucket. Ready? Three, two, one -- light!"
"[Couple's names], you are clear to go. Walk slowly, look at each other, and enjoy every single second. We love you!"
"Beautiful! Everyone place your sparklers in the sand buckets at each end. DO NOT hold the wire -- it stays hot for a few minutes. Let's give [Couple] one final round of applause as they begin their happily ever after!"
Guest Positioning: How to Build the Perfect Tunnel
The visual quality of your sparkler photos depends almost entirely on how the tunnel is shaped. A tight, organized double row creates a dramatic arch of light. A scattered crowd produces muddy, unfocused images.
Tunnel Width and Spacing
- Two rows, approximately 3-4 feet apart from row to row
- Guests stand shoulder-to-shoulder within each row
- Taller guests to the outside edges, shorter to the inside -- creates a visual arch
- Arm angle: sparkler held at about 45 degrees inward over the path
- Tunnel length: at least 15-20 feet minimum for a dramatic photo corridor
Where to Place Specific Groups
- Parents and grandparents: near the start where couple will pause for a hug
- Wedding party: first 4-6 positions for highest-energy cheering section
- Children (with glow sticks): at the very end of the tunnel, well back from the aisle
- Guests with mobility limitations: positioned at the end near the couple's exit
- Photographer's assistant or coordinator: at the start to direct positioning
Weather Contingency Matrix
Weather is the single biggest variable in sparkler send-off planning. Have a response pre-planned for every condition and brief your coordinator on the decision trigger point.
| Weather Condition | Action Plan | Feasibility |
|---|---|---|
| Clear and dry | Full sparkler tunnel, standard plan | Ideal |
| Light breeze | Orient tunnel perpendicular to wind; shield lighters | Fine with adjustment |
| High wind | Shorten tunnel or move to a sheltered wall | Challenging but doable |
| Light drizzle | Use pre-packaged waterproof matches; light in pairs | Difficult; have backup ready |
| Rain | Switch to ribbon wands, glow sticks, or LED wands | Use backup plan |
| Heavy rain | Indoor tunnel with low-smoke gold-wire sparklers if permitted | Venue confirmation required |
The Kid-Friendly Send-Off: Keeping Everyone Safe and Included
According to the U.S. Consumer Product Safety Commission, sparklers burn at temperatures of about 2,000 degrees Fahrenheit, hot enough to cause a third-degree burn in seconds, making them genuinely dangerous for young children. But excluding kids from the send-off creates logistical and emotional complications. The solution is to include children with age-appropriate alternatives.
Option: LED glow sticks or foam wands
Position: Stay with a parent, off to the side of the tunnel
Give them something bright and exciting to wave -- the photos will still include them beautifully.
Option: LED wand sparklers or ribbon wands
Position: End of tunnel, supervised by a designated adult (not a parent in the main line)
Pre-brief the supervising adult before the event -- do not leave it to chance in the moment.
Option: Real sparklers with adult supervision
Position: In the main tunnel line next to a responsible adult
Remind teens to hold sparklers upright and keep arms extended -- not crossed toward the person next to them.
Lighting Techniques That Actually Work
Failed lighting is the second most common send-off problem after bad timing. Sparklers can be stubborn in humidity or wind. Here is what your lighting team needs to know.
Use Long-Neck BBQ Lighters
Standard cigarette lighters force hands dangerously close to the wire. Long-neck BBQ lighters allow lighting from 6-8 inches away and work better in moderate wind. Bring at least 6 for a wedding of 80+ guests.
Shield the Flame in Wind
Have the lighter holder cup their non-dominant hand around the sparkler tip as a wind shield while lighting. In high wind, turn the sparkler tip slightly downward to catch the flame better, then immediately level it once lit.
Light from the Far End First
Start lighting at the end farthest from the couple and work toward them. This ensures the guests closest to the couple's starting position are freshly lit when the couple begins walking, giving maximum burn time for the most photographed section.
Have a Lighting Rehearsal
At the rehearsal dinner, light one sparkler from your purchased batch. This confirms burn time and smoke level but more importantly teaches your lighting team the feel of the lighter-to-wire contact. Do not let your first lighting be on the wedding night.
Should You Do a Fake Send-Off?
A "fake send-off" means scheduling the public exit tunnel 1-2 hours before the reception actually ends, while all guests are still present and energy is peak. The couple walks through, gets in a car, and returns via a side entrance.
Why Couples Choose It
- All guests are present -- bigger tunnel, higher energy
- Photos are more dramatic with a full crowd participation
- Couple can return and enjoy the rest of the night
- Less pressure on latenight timing with exhausted guests
- Photographer can better control lighting at a planned early hour
What to Watch Out For
- Some guests may leave early thinking the event is over
- Coordinator must brief all vendors on the fake exit plan
- DJ must not play a "closing song" during the fake exit
- Getaway vehicle driver needs to know to circle and return
- Do not post to social media until the actual departure
Day-of Send-Off Checklist
Print this and hand it to your coordinator the morning of the wedding. Nothing should be left to memory on the day itself.
1 Week Before
- Confirm sparkler order has shipped and check tracking
- Do a test burn with one sparkler from the batch
- Confirm with venue that sparklers (or your backup) are allowed
- Brief photographer and second shooter on send-off plan
- Prepare tip envelopes and give to coordinator
Day Before (Rehearsal)
- Pack sparklers in a sealed waterproof bag
- Pack at least 6 long-neck lighters in the same bag
- Pack 2 metal sand buckets
- Check local weather forecast for send-off time
- Confirm backup plan with coordinator if rain is likely
Day of (Pre-Reception)
- Deliver sparkler bag and buckets to coordinator
- Confirm send-off time with DJ and photographer together
- Walk the exit path and confirm no obstacles or hazards
- Designate lighting station leads and brief them in person
- Pre-position sand buckets at each end of planned tunnel
How Many Sparklers to Order and What to Ask Your Venue
Two planning steps get skipped more than any others: buying enough sparklers, and confirming the venue actually allows them. Handle both at least a month out.
Quantity Math
- Order 2 sparklers per guest, not 1 -- some will fumble the lighting or drop a dud
- 20-inch sparklers burn roughly 2-3 minutes; 36-inch sparklers burn roughly 3-4 minutes
- For 100 guests, that means 200+ sparklers plus 10-15 spares for lighting-station tests
- Buy from a single batch/lot so burn time is consistent across the whole tunnel
- Smokeless gold or bamboo sparklers cost more but photograph and video far more cleanly than wire sparklers
Questions to Ask Your Venue
- Are sparklers permitted at all, and is there a specific exit area designated for them?
- Is there a local or county fire code restriction on sparklers or open flame that overrides the venue's own policy?
- Does the venue require a fire extinguisher or water source on site during the send-off?
- Is there a curfew or noise ordinance that affects how late the send-off can happen?
- Who is responsible for sparkler disposal and cleanup -- the couple, the coordinator, or the venue staff?
Many municipalities restrict or ban consumer fireworks and sparklers outright, and rules vary widely by state and even by county. Confirm local legality with your venue and local fire marshal before ordering, not the week of the wedding.
Related Wedding Guides
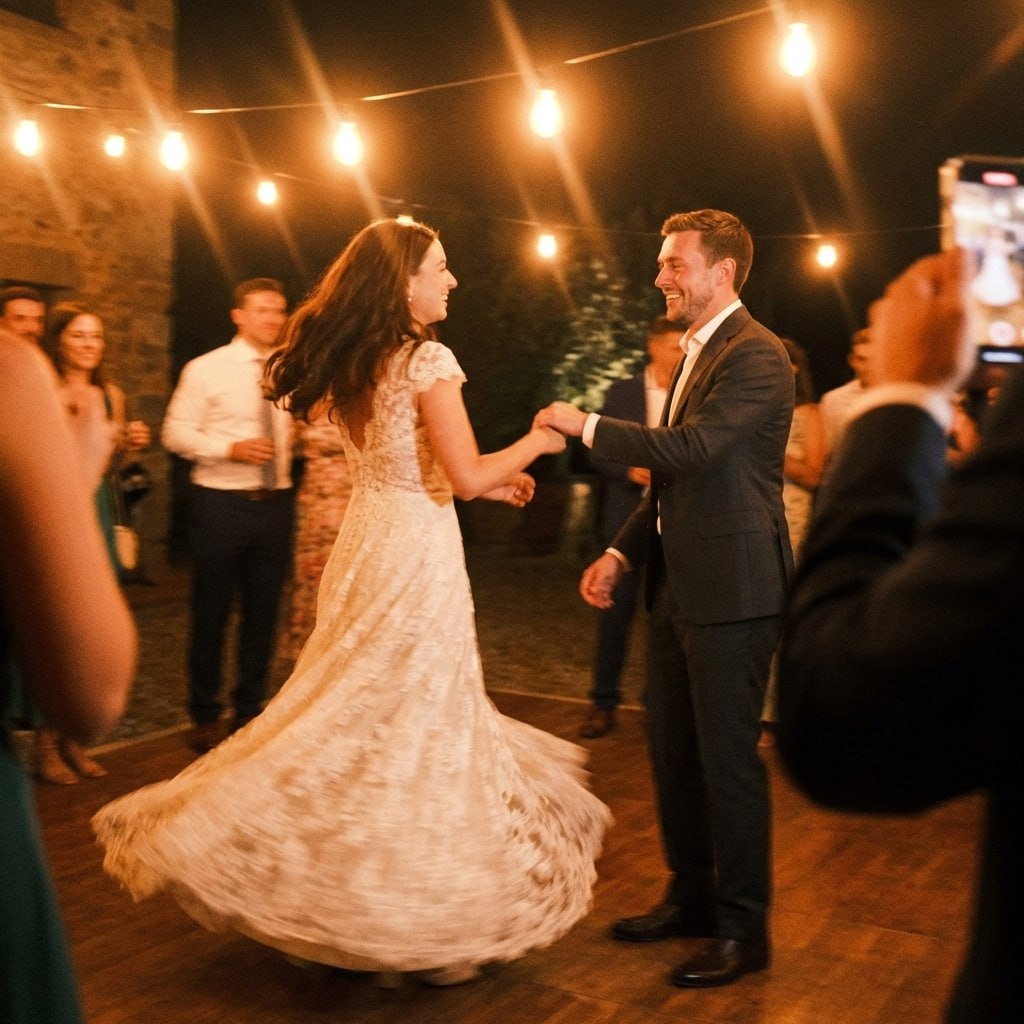
First dance
You guys!!
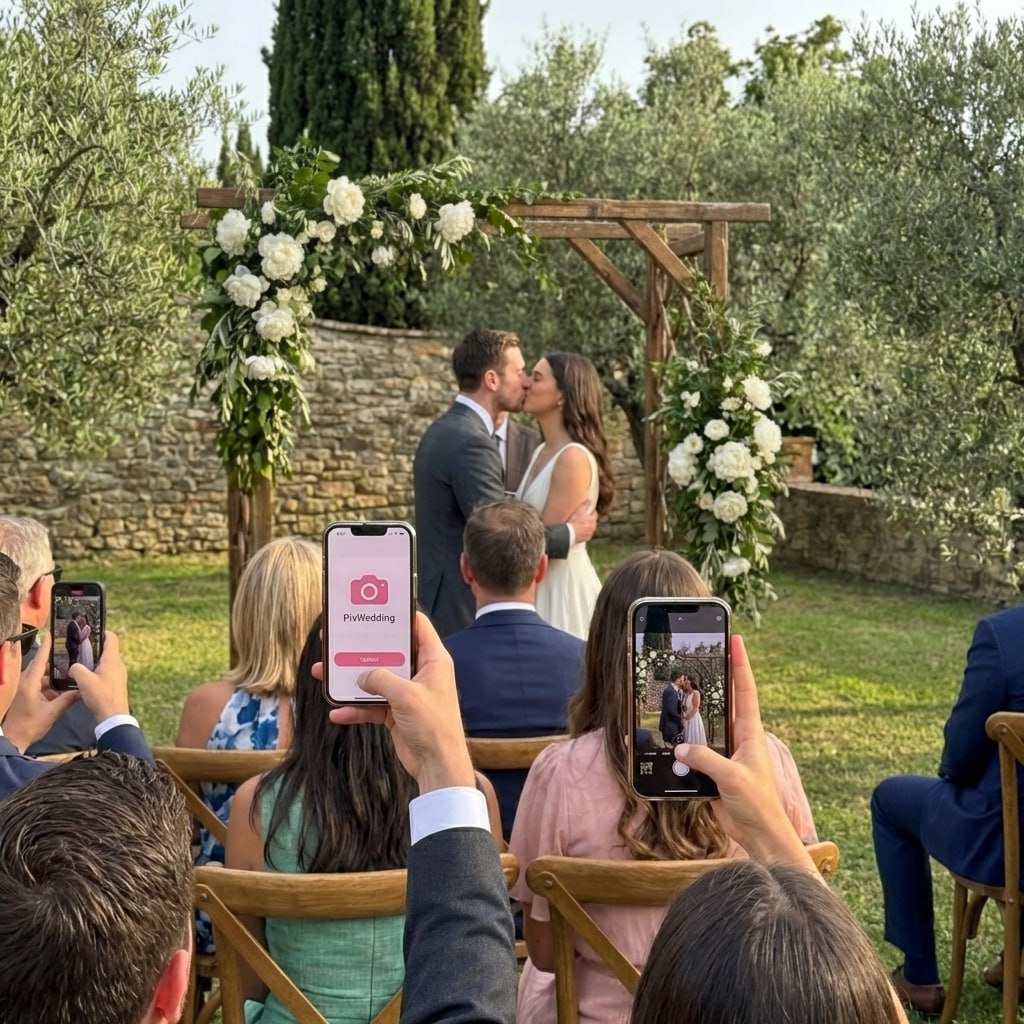
Guests in the sparkler tunnel take great shots.
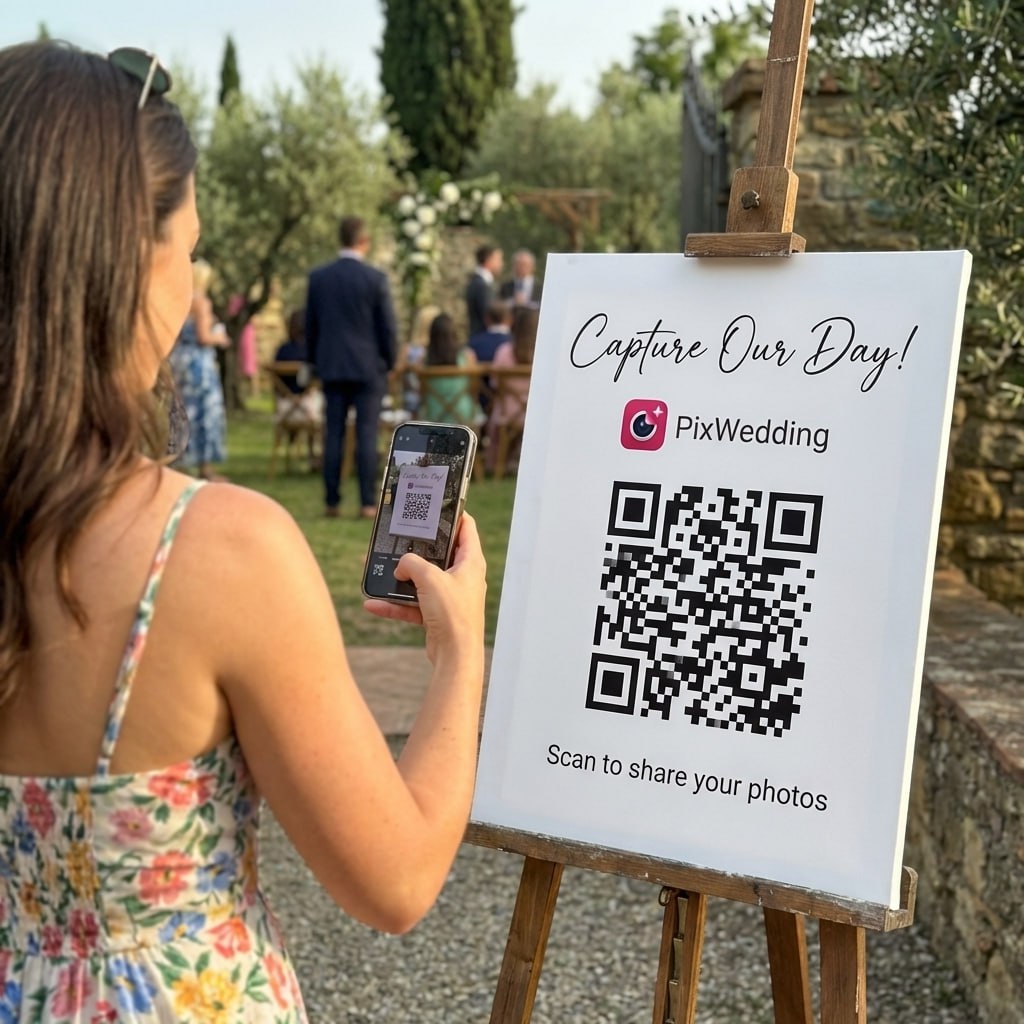
Add a Pix Wedding QR code to the send-off area and every phone photo guests snap goes straight into your shared album. No app download needed.
From Mom
Scan to join the album
No app, no account
UPLOADING
Saving your moment
THE ALBUM
Emma & Jack
June 21, 2026
647 photos · 95 guests


SCAN TO TRY
pix.wedding/
your-wedding
How to Brief Your Photographer Before the Send-Off
Your photographer needs to be in position at least 5 minutes before the first sparkler is lit. Share the exact exit route, the direction you will walk, and whether there is a second shooter or videographer who needs a different angle. The best sparkler photos are taken from the end of the tunnel looking back at the couple as they approach -- this captures the tunnel effect with sparkles converging in the frame.
Ask your photographer what signal they will give when they are ready for you to start walking. Many photographers use a code word ("go") shouted from the end of the tunnel. Agree on whether you will pause for posed shots mid-tunnel or walk straight through for a natural motion-blur effect. Both approaches work, but the photographer needs to know in advance to adjust settings accordingly.
- •Share exit route and walk direction in writing before the wedding day
- •Confirm whether second shooter will be at the start or end of the tunnel
- •Agree on a start signal -- usually a shouted word from the photographer
- •Decide: full walk-through for motion blur OR pause for posed shots
- •Ask if they need extra time for setup -- most need 5-10 minutes minimum
Lighting Technique: Chain-Lighting vs. Station Lighting
Chain-lighting means one person lights their sparkler, then lights the next guest's sparkler, passing the flame down the row. This is efficient but can cause uneven timing where the guests at the far end of the tunnel are only just lighting as guests at the start are already burning down.
Station lighting uses 4-6 people with long-neck lighters positioned at intervals along the tunnel. All guests get lit within a tighter time window, creating a more uniform tunnel when the couple walks through. Station lighting requires more preparation but produces a more consistent visual result.
For large guest counts (80+), always use station lighting. For smaller weddings under 40 guests, chain-lighting works fine as long as everyone has 36-inch sparklers with plenty of burn time to spare.
Handling Alcohol and the Sparkler Send-Off
By the time of the send-off, your guests have typically been drinking for 4-6 hours. This requires extra safety mindfulness. Designate sober or low-alcohol family members as your lighting station leads. Brief your catering staff to stop serving alcohol 30 minutes before the send-off if possible.
Post a coordinator or usher at each bucket station to guide guests on disposal. Remind guests verbally as sparklers are distributed: hold the sparkler upright, light from the bottom, do not wave it near other people, and place the hot end down into the sand bucket immediately after use.
Explore more free wedding tools
Everything you need to make your wedding day stress-free and unforgettable.
QR Sticker Designer
Design custom print-ready stickers.
Hashtag Generator
Create unique wedding hashtags.
How to Collect Guest Photos
5 methods ranked by participation rate and ease.
Share Wedding Photos with Guests
Compare every sharing platform by ease and participation.
Best Way to Get Guest Photos
The single method with the highest participation rate.
How to Make a Shared Wedding Album
Step-by-step setup for every platform.
Alternative to Disposable Cameras
Better, cheaper options than disposable cameras.
Alternative to Wedding Photo Booth
5 cheaper alternatives to a $1,000+ photo booth rental.
Sparkler Send-Off FAQ
Straight answers to the questions people ask most about this topic.
The sparkler send-off works best as the very last moment of the reception, typically between 10 PM and midnight when it is dark enough for sparklers to photograph dramatically. Schedule it for exactly 15 minutes before the venue's hard-out time to allow for a 5-minute assembly, 3-minute lighting window, and 7-minute buffer for the couple's exit and cleanup.
The coordinator should distribute sparklers before calling guests outside, but instruct everyone to hold unlit sparklers upright. Designate 4-6 "lighting stations" with trusted family members holding lighters. Only signal lighting when the photographer confirms they are ready and the couple is in position at the start of the tunnel.
Children under 12 should not hold lit sparklers. Instead, seat them at the end of the tunnel holding glow sticks or LED wands. This keeps them involved without the burn risk. Brief parents in advance so there are no last-minute negotiations at the exit.
This is more common than couples expect. Pre-assign a "hype person" (usually a bridesmaid or groomsman) to circulate the reception floor 20 minutes before the send-off and get people excited. Announce the send-off twice: 15 minutes before and again 5 minutes before. A DJ or band announcement carries more weight than a coordinator's whisper.
Budget 20-25 minutes from when you announce the send-off to when the couple is in the getaway car. Gathering guests takes 5-7 minutes. Positioning the tunnel takes 3-4 minutes. Lighting all sparklers takes 3-5 minutes. The couple's walk takes 60-90 seconds. Then 5 minutes for the photographer to get last shots and guests to dispose of sparklers.
Have ribbon wands or glow sticks pre-packaged in a labeled tote bag that your coordinator knows about. If it rains, announce the switch early -- do not wait until guests are standing in the rain. Covered porticos or indoor barn exits can work with low-smoke gold wire sparklers if your venue permits. Confirm the backup plan with your venue in advance.