
Sparkler Exit Wedding Photography: Camera Settings, Angles, and a 10-Shot List
Exact shutter speeds, ISO values, rear-curtain sync technique, second shooter positioning, drone shot feasibility, 6 common mistakes -- and a printable shot list for your photographer.
Plan the Send-Off MomentCamera Settings by Photo Style
There is no single "correct" sparkler exit exposure. Different styles require fundamentally different settings. Decide which look you want and dial it in before guests light their sparklers.
| Style | Shutter Speed | Aperture | ISO | Flash | Tripod |
|---|---|---|---|---|---|
| Motion Blur (Light Trails) | 1/8 - 1/30 sec | f/2.8 - f/4 | 800 - 1600 | Rear-curtain sync recommended | Required |
| Frozen Sparkle Moment | 1/200 - 1/500 sec | f/1.8 - f/2.8 | 1600 - 3200 | Front-curtain or none | Optional |
| Golden Hour Blend | 1/60 - 1/125 sec | f/2.8 | 400 - 800 | Rear-curtain at lower power | Recommended |
| High-Drone Overhead | 1/30 - 1/60 sec | N/A (drone camera) | 400 - 1600 | None (too far) | N/A |
All settings are starting points. Adjust based on ambient light levels at your specific venue on the night.
The Three Essential Angles for Sparkler Exit Coverage
Angle 1: The Tunnel Approach
Position: Ground level at the far end of the tunnel, shooting toward the couple
This is the signature sparkler exit shot. The couple walks toward the lens with sparkles converging on both sides, creating the classic tunnel of light perspective. The lens compresses the tunnel, making it look longer and more dramatic than it actually is.
Angle 2: The Elevated Overview
Position: Standing on a ladder or step stool at the couple's starting end, shooting down the tunnel
This shot shows the full tunnel length with all guests visible and sparkles arcing toward the vanishing point. It tells the story of the event holistically -- every guest, the full length of the send-off, and the couple at center.
Angle 3: The Guest Reaction
Position: Perpendicular to the tunnel from the side, capturing faces and expressions
Guest reaction photos are consistently the most emotionally powerful images from sparkler exits. Tears, laughter, pure joy. These side-angle shots are often overlooked because photographers focus on the couple, but they are the images families treasure most.
Drone Shots: When They Work and When They Don't
An overhead drone shot of a sparkler tunnel is one of the most breathtaking wedding images possible -- the full tunnel shape visible from above, sparkles glowing against a dark backdrop, the couple as a tiny silhouette at center. But it comes with real constraints. Under FAA Part 107, 400 feet is the maximum altitude above ground, not a distance requirement from guests. The rule that actually matters for a sparkler exit is that Part 107 restricts flying directly over people or crowds who are not participating in the operation, unless the aircraft is certified for Category 1-4 operations over people or the pilot holds a waiver.
When Drone Shots Work
- Open outdoor venue with no overhead power lines or tree cover
- Airspace over the venue is uncontrolled or the pilot has cleared it in the FAA's B4UFLY app
- Venue has no contractual drone prohibition
- Drone operator holds FAA Part 107 certification
- The shot is framed from the side rather than directly over the guest crowd, or the pilot holds a waiver for flight over people
- Wind speed is under 15 mph for stable hovering
When Drone Shots Fail
- Venue sits in controlled airspace near an airport and the flight has not been cleared through the FAA's LAANC system
- Venue has tall trees or overhead string lights blocking flight path
- Venue insurance policy prohibits aerial photography
- Send-off location is inside or under a tent structure
- Drone operator lacks Part 107 certification -- a liability issue
- Send-off happens after winds pick up in the evening
The 10-Shot Sparkler Exit Shot List
Share this list with your photographer and second shooter at least two weeks before the wedding. Review it together at the rehearsal.
Wide angle: full tunnel from the end, couple at start, all sparkles lit
Couple walking mid-tunnel, sparkles arching overhead -- motion blur
Couple paused mid-tunnel, looking at each other (or kissing)
Rear shot: couple from behind, walking away through tunnel of light
Couple emerging at end of tunnel, guests cheering in background
Guest reactions: close-up faces, smiles, tears, raised sparklers
Overhead drone shot: full tunnel layout from above
Detail shot: clasped hands with sparkle bokeh in background
Couple in getaway car doorway, guests and sparkles visible behind them
Lone spent sparkle in sand bucket: symbolic closing detail shot
6 Sparkler Exit Photo Mistakes (and How to Fix Them)
Mistake: Shooting without a tripod on slow shutter
Fix: Even 1/15 sec handheld creates unwanted camera shake that blurs the couple, not the sparkles. Use a tripod or at minimum brace against a wall.
Mistake: Not testing focus before the walk
Fix: Use autofocus with face detection. Test focus on a stand-in person in the couple's starting position before guests light sparklers.
Mistake: Using front-curtain flash for light trails
Fix: Switch to rear-curtain sync. Front curtain creates trails that appear to move backward -- unnatural and confusing visually.
Mistake: Letting smoke fill the frame
Fix: Position at the downwind end of the tunnel. Gold-wire sparklers help. A faster shutter speed freezes rather than blurs smoke.
Mistake: Missing the guest emotion shots
Fix: Station your second shooter perpendicular to the tunnel, not in a parallel position. Guest reaction photos are often the most moving images from the night.
Mistake: Not briefing the couple on natural movement
Fix: Have a 2-minute conversation with the couple before guests line up. Outline where to walk, whether to pause, and that they should look at each other, not the camera.
Managing Smoke in Sparkler Exit Photos
Smoke is the most underestimated enemy of sparkler exit photography. Even gold-wire sparklers produce visible smoke, and in still air it accumulates in the tunnel within 60-90 seconds. Here are professional techniques for minimizing its impact.
Work with Wind Direction
Determine wind direction before setting up the tunnel. Orient the tunnel so the prevailing breeze blows smoke to the side, not through the frame.
Shoot from the Downwind End
Position yourself at the end smoke is drifting away from. The smoke will be behind the couple, adding atmospheric depth rather than obscuring their faces.
Use Faster Shutter for Crisp Smoke
At 1/200 sec or faster, smoke particles freeze into a hazy texture rather than blurring into a dense gray mass. This can actually look moody and intentional.
Embrace It as Atmosphere
Some of the most iconic sparkler exit photos have wisps of smoke framing the couple. Train yourself to see smoke as a compositional element, not a flaw.
Posing the Couple: 6 Directions That Work Every Time
The best sparkler exit images happen when the couple is moving naturally -- but a few directed poses captured at key moments can anchor your gallery with images that will be printed and framed. Give these directions before the walk, not during it.
The Natural Walk
Direction: "Walk slowly toward me, hold hands, and look at each other. Do not look at the camera. If you feel like laughing, laugh. If you feel like crying, cry. Just walk."
Result: Genuine motion, authentic expression -- the signature sparkler exit frame.
The Mid-Tunnel Pause
Direction: "At roughly the midpoint, I will call out "pause." Stop, face each other, and hold that moment for 3 seconds. You can kiss, you can press foreheads together -- whatever feels natural."
Result: A symmetrical, portrait-quality frame with sparkles arcing on both sides.
The Look Back
Direction: "Near the end of the tunnel, both of you turn and look back at your guests with a big smile or a wave. You are saying goodbye. Feel it."
Result: Captures both the couple and the full tunnel of guests in one emotional frame.
The Lift or Dip
Direction: "If you are comfortable, one partner dips or lifts the other at the tunnel midpoint on my signal. Hold it for a two-count."
Result: A dramatic editorial pose that looks cinematic against a backdrop of sparkle light.
The Run
Direction: "On my signal, run the last 10 feet of the tunnel together. Hold hands, run toward the car. Do not look back."
Result: Joyful, kinetic motion blur -- one of the most popular sparkler exit photo styles.
The Forehead Press
Direction: "Stop at the tunnel midpoint, press your foreheads together, close your eyes, and just breathe for 3 seconds. One quiet moment inside all that chaos."
Result: The most intimate sparkler exit pose -- often the one couples say feels most true.
Videography Considerations: How Video Changes the Plan
If you have a videographer, the sparkler exit adds a layer of complexity. Video requires continuous motion, audio, and a different shutter speed range than photography. Brief your videographer separately and coordinate their position with the photographer.
Videographer Position
Video works best from a side angle perpendicular to the tunnel, moving alongside the couple with a gimbal. This captures the full sparkle arc without blocking the photographer's end-of-tunnel shot.
Video Exposure Settings
Video requires a shutter speed of roughly 2x the frame rate (50 fps = 1/100 shutter). This is much faster than the 1/15-1/30 used for photo light trails. Videographers may need a fast prime lens (f/1.4-2) and ISO 3200+ for adequate exposure.
Coordinate, Do Not Compete
Photographers and videographers must agree on positions before the walk begins. Two people moving at the end of the tunnel creates chaos. Establish who has the prime axis and who takes the supplementary angle.
Audio is Gold
The audio from a sparkler exit -- the cheering, the crackling, the couple laughing -- is among the most moving audio in a wedding film. Ensure the videographer has a directional mic or a separate audio recorder with a lavalier on one of the couple.
Watch: A Full Walkthrough of the Sparkler Exit Setup
If you would rather see the tunnel positioning, rear-curtain sync, and second-shooter angles in motion before you read the tables above, this walkthrough covers the same core setup.
Source: Jesse Rinka Photography, "How to Nail Sparkler Exit Photos - Wedding Photography Tips!"
Related Wedding Guides
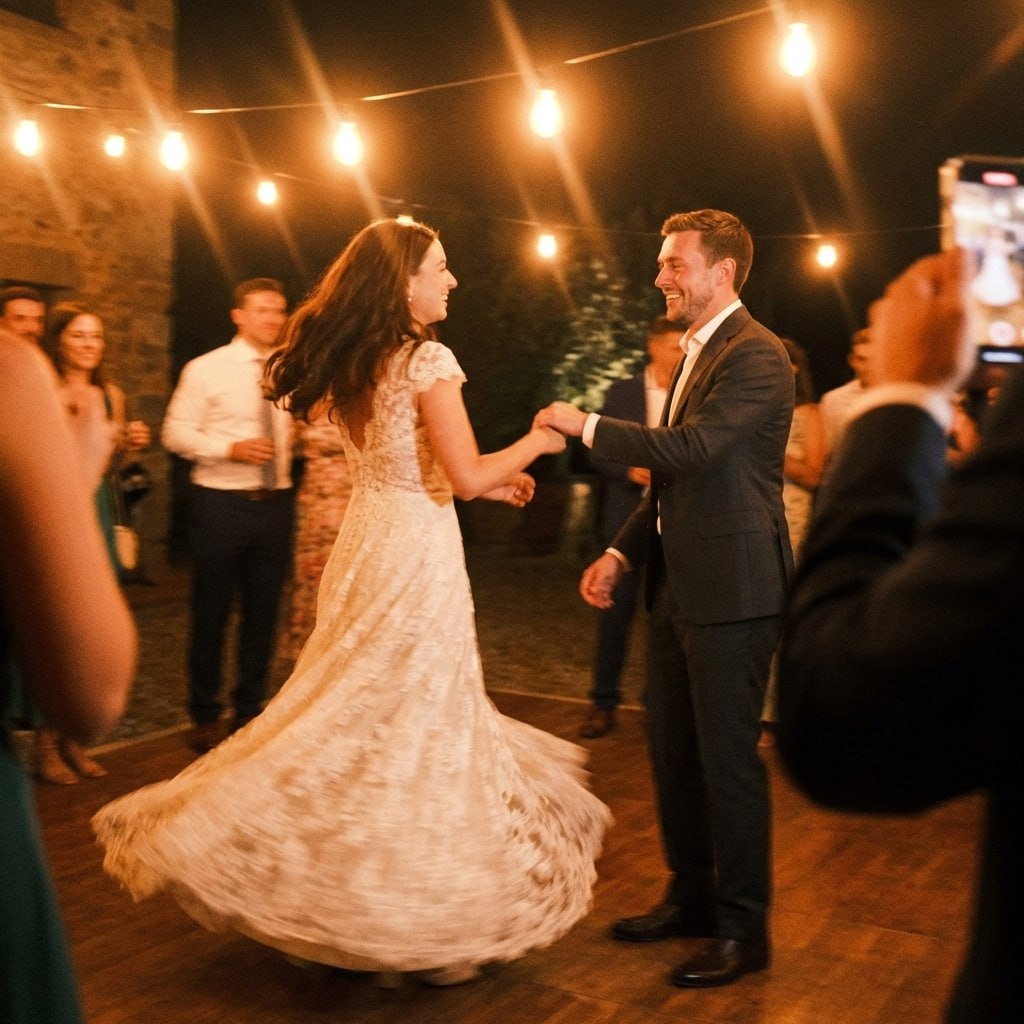
First dance
You guys!!
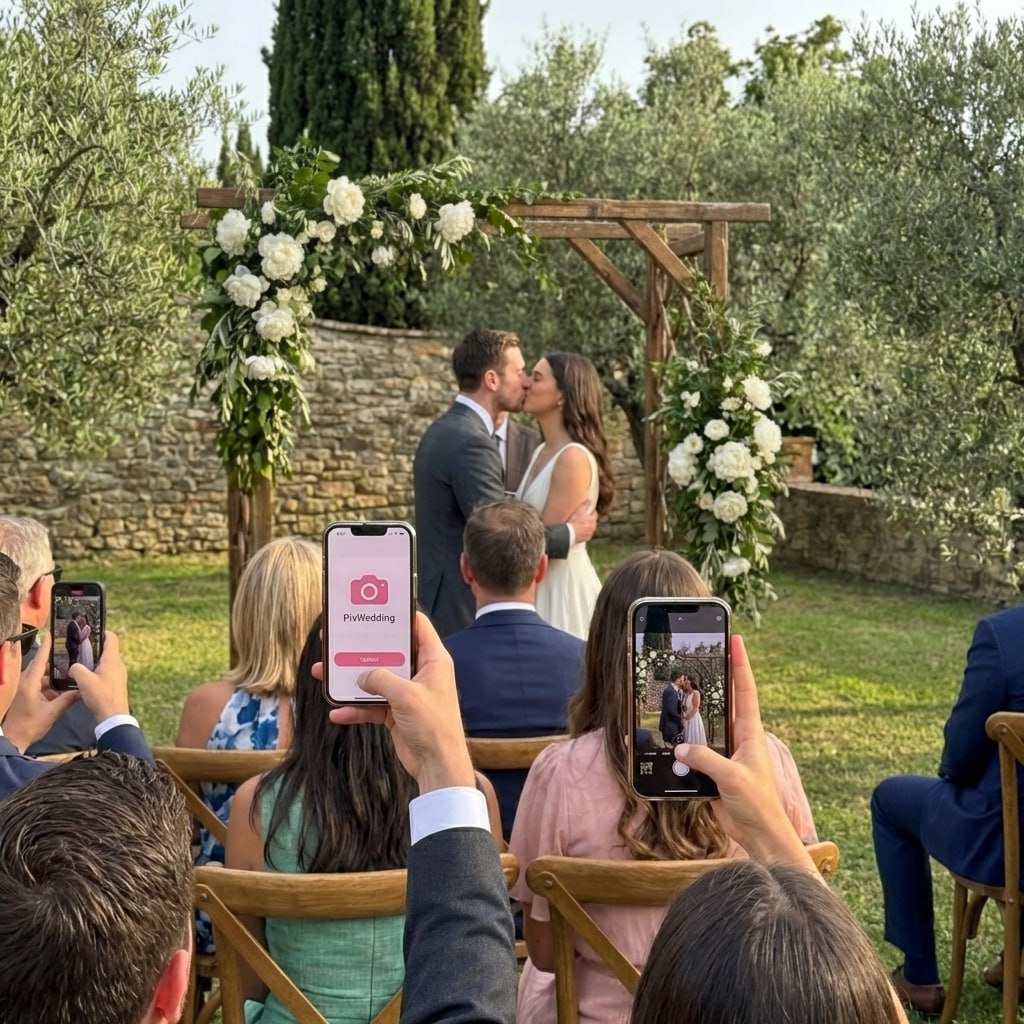
Your guests shoot the exit from angles you never will.
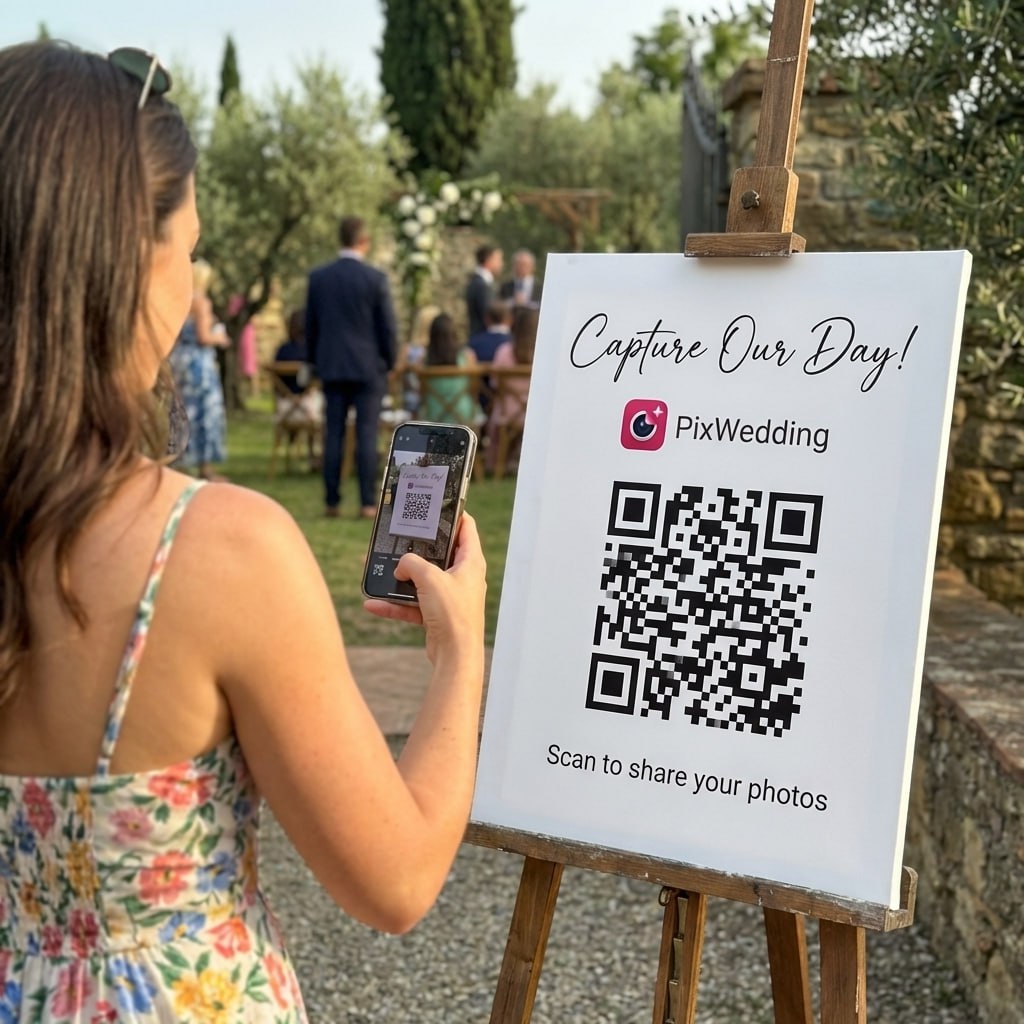
Phone shots of a sparkler tunnel can be incredible. A QR code at the exit pulls every one of those shots into a shared album before the night is over.
From Mom
Scan to join the album
No app, no account
UPLOADING
Saving your moment
THE ALBUM
Emma & Jack
June 21, 2026
647 photos · 95 guests


SCAN TO TRY
pix.wedding/
your-wedding
How to Get Better Photos from Guest Smartphones
Even with a professional photographer, your best candid sparkler exit photo might come from a guest's phone. Modern smartphones in the right mode can produce stunning results. Share these tips with guests via your wedding website or program.
iPhone
- Use Portrait mode with Night mode enabled
- Tap on the couple's faces to set exposure, then lock focus
- Turn off flash -- it kills the sparkle ambiance
- Use Burst mode (hold shutter) to capture movement
Android
- Use Pro/Manual mode and set shutter to 1/60-1/100
- Night Sight (Pixel) or Nightography (Samsung) modes help
- Disable HDR -- it flattens sparkle highlights
- Set ISO to auto and let the camera manage noise
Any Phone
- Steady yourself against a wall or fence for sharper images
- Stay in portrait orientation to maximize tunnel length in frame
- Shoot early -- first 20 seconds are the brightest
- Get closer rather than zooming in digitally
Photographer Pre-Wedding Checklist for the Sparkler Exit
Week Before
- Confirm exit time, location, and route with coordinator in writing
- Test rear-curtain sync flash with your specific flash unit
- Check that tripod head is not loose (vibration ruins long exposures)
- Bring extra batteries -- cold spark machines and drone drain your lighting triggers
- Walk the exit path if possible during venue visit
Day of (Pre-Exit)
- Set camera to Manual mode with tested sparkler settings
- Switch flash to rear-curtain sync mode now -- not in the moment
- Brief second shooter on their specific angle assignment
- Scout wind direction and confirm shooting from the downwind end
- Confirm drone operator has a clear flight path if applicable
How Lighting Conditions Change Everything
Sparkler exit photos taken before full darkness are fundamentally different from those taken at 10 PM or later. In the golden hour window (30-60 minutes after sunset), the ambient sky provides a blue-purple backdrop that makes sparkle colors pop with a cinematic quality. After full darkness, sparklers become the primary light source, creating a more intense and dramatic effect.
Golden hour sparkler exits require a higher shutter speed and lower ISO because the ambient light is much brighter relative to the sparklers. Full-darkness exits need a slower shutter or flash to expose the couple's faces while capturing sparkle trails. Both are beautiful -- the key is knowing which you are shooting and setting camera accordingly before you arrive.
If you have scheduling flexibility, the ideal sparkler exit time is approximately 45-60 minutes after sunset. The sky transitions from deep blue to charcoal while sparklers reach their maximum visual impact against the fading ambient light.
- •Golden hour (30-60 min after sunset): beautiful blue sky backdrop, moderate sparkle contrast
- •Civil twilight (10-30 min after sunset): sky glows, sparkles very visible -- the sweet spot
- •Full dark (1+ hour after sunset): maximum sparkle drama, faces need flash or slow shutter
- •Indoor barn: constant conditions, but ceiling height and fire suppression system may limit sparkler type
Rear-Curtain Sync Flash: The Technique That Changes Everything
Standard flash (front-curtain sync) fires at the beginning of the exposure. For sparkler photos, this freezes the sparkle at its starting position and blurs any subsequent motion forward -- which looks unnatural, as if the sparkle trail is moving backward.
Rear-curtain sync (also called second-curtain sync) fires the flash at the END of the exposure. This means the sparkle trails are captured during the long exposure and the flash freezes a sharp image of the couple on top of those trails. The result is motion trails that appear to flow naturally toward the frozen couple -- the sparkle photo technique that professional wedding photographers swear by.
To use rear-curtain sync: set your flash to rear-curtain mode, set shutter speed to 1/15 - 1/30 sec, aperture to f/2.8-4, ISO to 800-1600. Mount camera on a tripod or monopod. The flash pop at exposure end freezes the couple while trailing light streaks arc naturally around them.
Posing the Couple: Natural Movement vs. Directed Poses
The most iconic sparkler exit photos feature the couple in genuine motion -- laughing, running, kissing mid-stride, or looking back at the crowd. These natural moments cannot be forced, but they can be invited. Brief the couple before the exit: "Walk toward me slowly, look at each other, and feel free to stop and kiss if the moment calls for it."
Directed poses also have value for specific shots. Asking the couple to stop at the tunnel midpoint and face each other creates a symmetrical, portrait-like image with sparkles arcing symmetrically on both sides. A dip pose (one partner dipping the other) at the tunnel midpoint creates a dramatic, editorial-quality frame.
The worst sparkler exit photos are ones where the couple is clearly looking at the photographer for direction. Communicate all direction before the walk begins, then let them move naturally. Your job during the walk is to anticipate and capture, not to direct.
Explore more free wedding tools
Everything you need to make your wedding day stress-free and unforgettable.
QR Sticker Designer
Design custom print-ready stickers.
Hashtag Generator
Create unique wedding hashtags.
How to Collect Guest Photos
5 methods ranked by participation rate and ease.
Share Wedding Photos with Guests
Compare every sharing platform by ease and participation.
Best Way to Get Guest Photos
The single method with the highest participation rate.
How to Make a Shared Wedding Album
Step-by-step setup for every platform.
Alternative to Disposable Cameras
Better, cheaper options than disposable cameras.
Alternative to Wedding Photo Booth
5 cheaper alternatives to a $1,000+ photo booth rental.
Sparkler Exit Photography FAQ
Straight answers to the questions people ask most about this topic.
For intentional motion blur (light trails), use 1/8 to 1/30 sec. This creates the flowing light arc effect most couples love. For frozen-sparkle photos with sharp detail, use 1/200 to 1/500 sec with a flash pop at the end of the exposure (rear-curtain sync). Both styles work -- decide in advance and set camera before guests light their sparklers.
Start at ISO 800-1600 for dark outdoor settings. In brighter venues or when there is ambient lighting from string lights, ISO 400-800 may be sufficient. Modern full-frame cameras handle ISO 3200 well. Avoid ISO 6400+ if you want clean, print-ready images -- grain becomes distracting around the sparkle details.
f/1.4 to f/2.8 gives beautiful subject separation but narrows your focus plane -- risky if the couple is moving. f/2.8 to f/4 is the practical sweet spot: enough light gathering without losing sharpness on both faces. For motion-blur tunnel shots where the couple is blurred intentionally, f/4 to f/5.6 with a longer shutter gives a cleaner background.
Main shooter: at the far end of the tunnel on the ground, shooting toward the couple. Second shooter: elevated on a ladder or step stool at the starting end, shooting down the length of the tunnel from above. This gives you both the classic tunnel approach shot and the aerial overview shot. A third camera position (perpendicular from the side) captures guest reactions.
Wind is your friend. Position the tunnel perpendicular to the prevailing breeze so smoke drifts to one side rather than filling the tunnel. Shoot from the downwind end with smoke blowing away from the lens. Gold-wire sparklers produce less smoke. If smoke is heavy, a faster shutter speed freezes smoke particles rather than blurring them into a haze.
Yes, but with real legal limits. Under FAA Part 107, 400 feet is the maximum altitude above ground, not a minimum distance from people. Separately, Part 107 restricts flying directly over people or moving crowds unless the drone is certified for Category 1-4 operations over people or the operator holds an FAA waiver. A hovering shot from off to the side of the tunnel, rather than directly above the guests, keeps most sparkler exit shoots compliant without a waiver. Some venues also carry their own drone prohibitions in the rental contract. Brief the drone operator 2 weeks before and verify venue rules and current FAA guidance at faa.gov before the wedding.