
Shared Album for Wedding: Create, Collect, and Cherish Every Moment
From setup to printing. The five-phase guide to building a shared wedding album that captures every guest's perspective.
Create Your Shared Album FreeThe Album Lifecycle: Create to Archive
Create
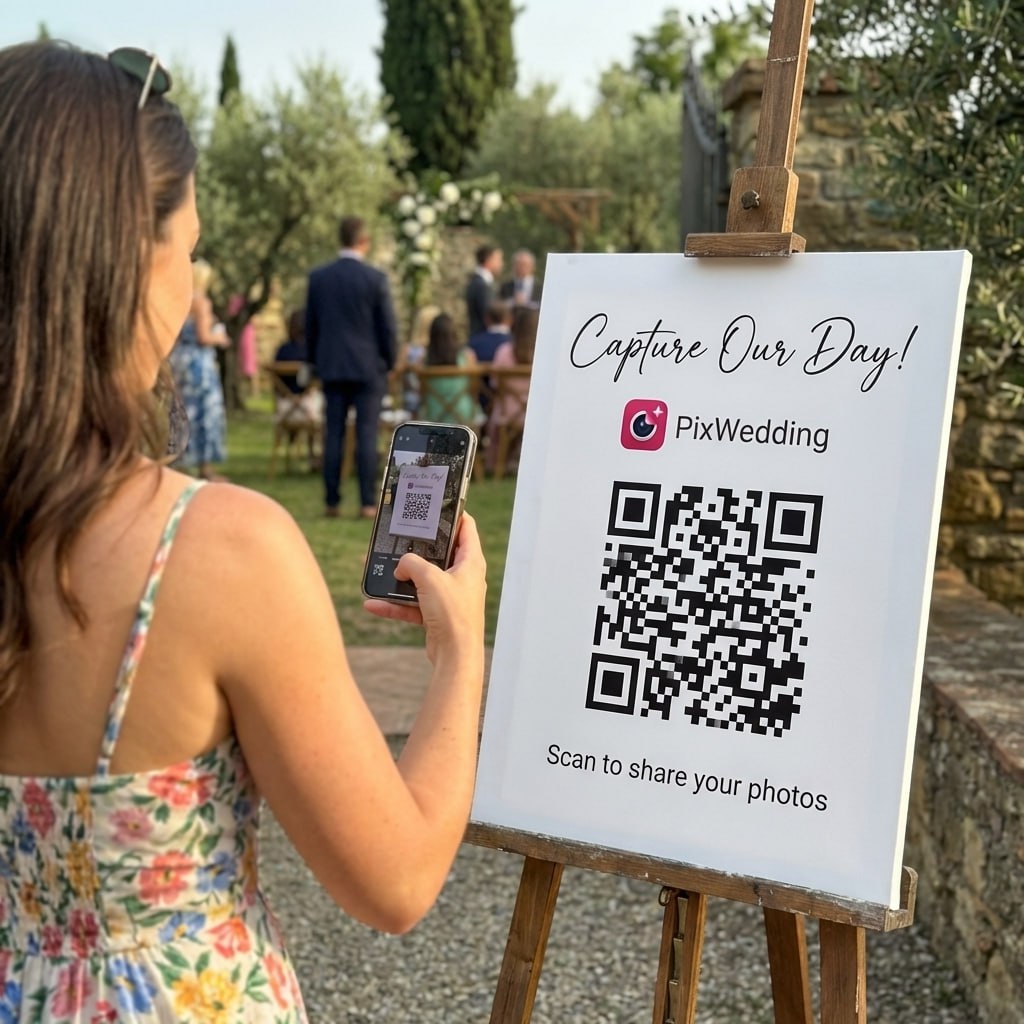
Set up your shared album on Pix Wedding. Name it, customize the upload page, and generate your unique QR code. The album is live and ready to accept uploads as soon as it is created.
Collect
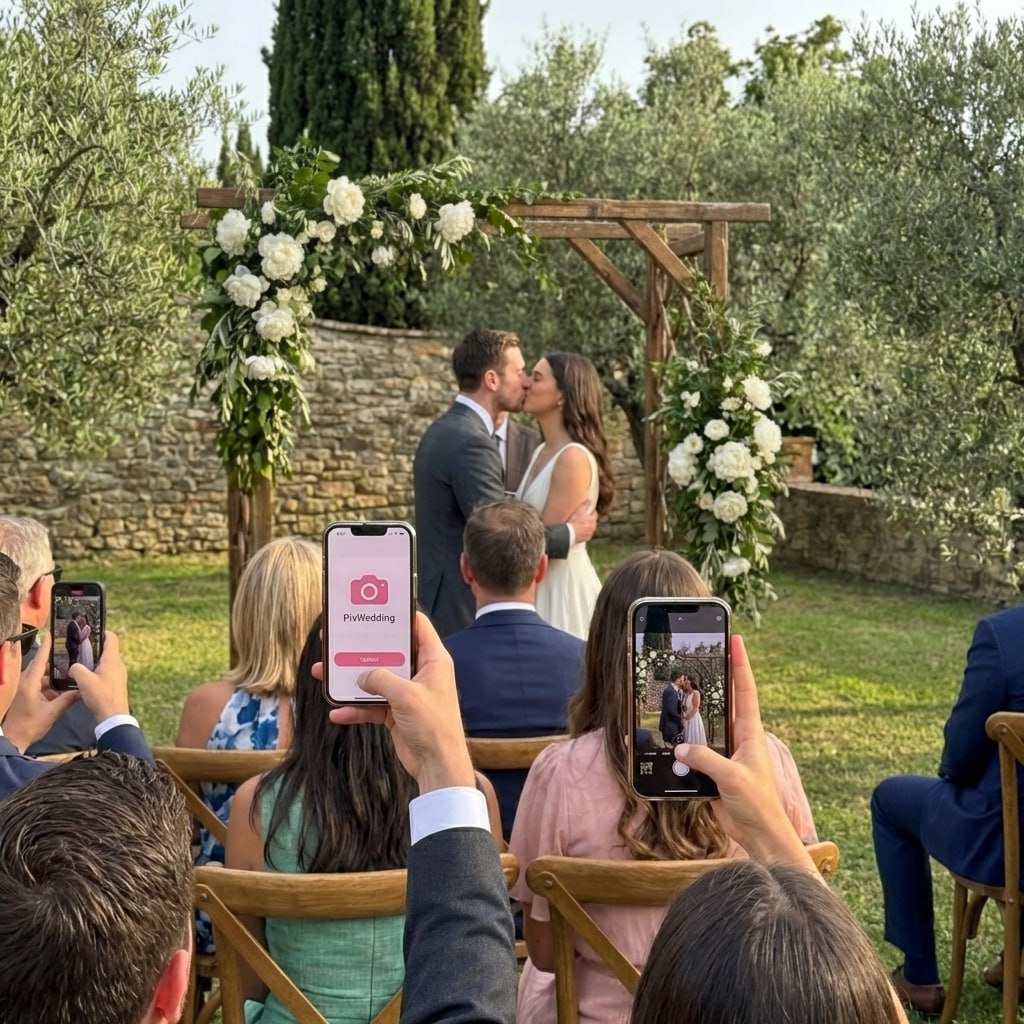
During your wedding, guests scan the QR code and upload photos. The album fills in real-time with perspectives from every table, every dance, and every quiet moment. Post-wedding, send a follow-up link for late uploads.
Curate
Browse every photo. Favorite the standouts, remove duplicates or blurry shots, and organize by event (ceremony, cocktail hour, reception, after-party). Create a highlights collection of your 50-100 best guest photos.
Share
Share the curated album with all guests via a link in your thank-you cards or a post-wedding email. Guests love seeing the wedding from other perspectives. Many couples include a QR code on their thank-you cards that links to the gallery.
Archive
Download the complete album as a ZIP file for permanent backup. Upload to your preferred cloud storage (Google Drive, iCloud, Dropbox). Consider printing a physical photo book from the best photos.
Shared Album vs. Asking Guests to Send Photos
Backup Your Shared Album
Download ZIP to Computer
Download the full album as a ZIP file to your laptop or external hard drive. This is your primary backup.
Upload to Cloud Storage
Copy the downloaded photos to Google Drive, iCloud, or Dropbox for cloud redundancy.
External Hard Drive
Store a copy on a physical external drive kept in a different location from your computer.
Print a Photo Book
Turn the best 100-200 photos into a physical photo book. Print cannot be deleted by accidental clicks.
Related Album Guides

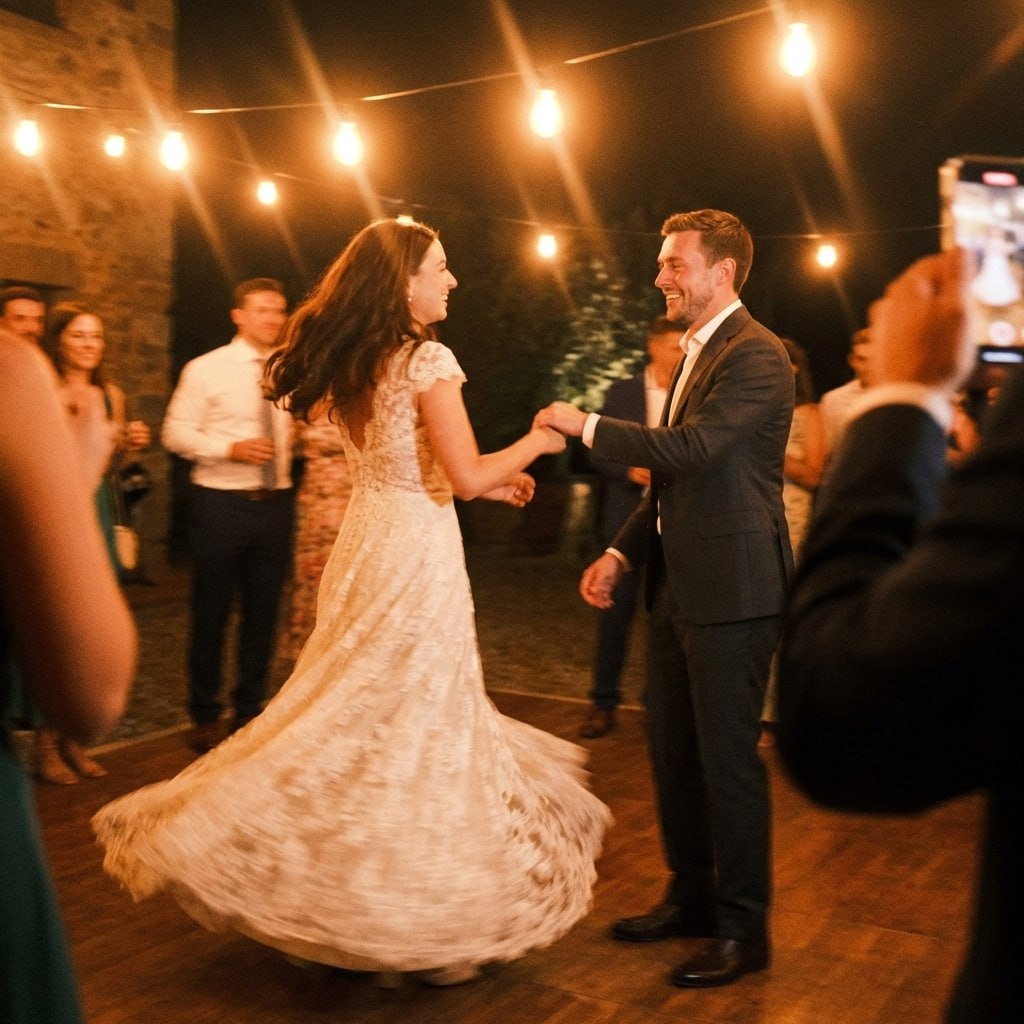
First dance
You guys!!
Create your shared wedding album today.
One album, every guest, every angle. Collect, organize, and archive all your wedding photos in one place that you can share with family forever.
From Mom
Scan to join the album
No app, no account
UPLOADING
Saving your moment
THE ALBUM
Emma & Jack
June 21, 2026
647 photos · 95 guests


SCAN TO TRY
pix.wedding/
your-wedding
The Complete Lifecycle of a Shared Wedding Album
A shared wedding album is more than a folder where people dump photos. Done well, it becomes a curated visual narrative of your entire wedding day, told from dozens of perspectives. The key is treating it as a project with five phases: create, collect, curate, share, and archive.
Most couples focus only on the collection phase (getting guest photos) and neglect curation and sharing. But the magic happens when you spend a few hours selecting the best photos, organizing them by event, and then sharing the result with all your guests. This turns a random collection of uploads into a keepsake that people actually look at and share.
- •Create the album 4-6 weeks before the wedding
- •Collect photos automatically via QR code during the event
- •Curate the best photos 1-3 weeks after the wedding
- •Share the curated album with all guests via thank-you cards
- •Archive everything with multiple backup copies
Shared Album vs. Individual Photo Requests
The traditional approach to getting guest photos is asking people to text or email them after the wedding. This results in 10-20% participation at best, with photos arriving in different formats, qualities, and sizes over weeks or months. Organizing these into a coherent collection requires significant effort.
A shared album with QR code access flips this process. Photos arrive in one place, at full resolution, during the wedding itself. Post-wedding collection is just a bonus. The result: 5-10x more photos with zero organizational overhead.
Explore more free wedding tools
Everything you need to make your wedding day stress-free and unforgettable.
QR Sticker Designer
Design custom print-ready stickers.
Hashtag Generator
Create unique wedding hashtags.
How to Collect Guest Photos
5 methods ranked by participation rate and ease.
Get Photos After the Wedding
Message templates to gather guest photos post-wedding.
Share Wedding Photos with Guests
Compare every sharing platform by ease and participation.
Best Way to Get Guest Photos
The single method with the highest participation rate.
How to Make a Shared Wedding Album
Step-by-step setup for every platform.
Alternative to Disposable Cameras
Better, cheaper options than disposable cameras.
Shared Album FAQ
Everything you need to know about our free tools and how they help your wedding day.
Go to Pix Wedding and create a free album. Enter your names and wedding date, customize the upload page, and generate your QR code. Print the QR code and place it at your venue. Guests scan and upload photos throughout the event. The entire setup takes about 5 minutes.
A shared album is collaborative, meaning multiple people contribute to it. A gallery is typically view-only. Pix Wedding shared albums allow every guest to upload photos while also letting everyone browse the collection. After the wedding, you can switch it to view-only if you prefer.
Pix Wedding keeps your album active and accessible indefinitely. There is no 30 or 90-day deletion window. However, we recommend downloading a backup copy for your own records within the first month after your wedding.
Yes. After receiving your professional photos (typically 4-8 weeks after the wedding), you can upload them to the same shared album. This creates one complete collection combining professional quality shots with candid guest perspectives.
After curating, share a view-only link via email, text, or on your thank-you cards. Guests can browse and download any photos they want. You can also generate a new QR code that links to the gallery for inclusion on printed thank-you cards.
One album is best for most weddings. It keeps everything in one searchable, browsable collection. If you have multi-day wedding events (rehearsal dinner, ceremony, reception, day-after brunch), you can create separate albums for each event, but one album is simpler for guests.