Free Wedding Planning Checklist Printable: Binder Setup Guide
Everything you need to build a complete wedding planning binder - categories to include, printing tips, formats compared, and the free interactive checklist for day-to-day planning.
No signup required. Free forever.
Your Wedding Planning Binder: 7 Essential Sections
A well-tabbed binder makes vendor meetings faster and keeps every important document in one place. Here is the section structure that works best.
Month-by-month overview. Review at the start of each month to see what is due.
Budget allocations, deposit tracker, and payment due dates for every vendor.
Contract copy, venue contact, setup/breakdown schedule, floor plan.
One sub-tab per vendor (photographer, caterer, florist, etc.) with contract and notes.
Full guest list, RSVP tracker, dietary restrictions, and seating assignments.
Minute-by-minute schedule shared with all vendors and the wedding party.
Bookings, itinerary, travel documents, and packing list.
Checklist Formats Compared: PDF vs Excel vs Google Docs vs Interactive
Pick the format that matches how you actually plan. Most couples end up using two or three of these in combination.
PDF Printable
Best for: vendor meetings and sharing with family
Excel / Google Sheets
Best for: couples who want to customize every section
Word / Google Docs
Best for: couples building their checklist from scratch
Interactive Web Tool
Best for: day-to-day planning and vendor coordination
6 Printing Tips for a Professional Wedding Binder
Small printing decisions make a big difference in how usable your binder is during the planning process.
Print on 60-80 lb cardstock for pages that will be handled frequently, especially your master checklist.
Use color printing for divider pages and cover sheets to make the binder easier to navigate quickly.
Print double-sided to keep binder thickness manageable and reduce the paper you carry to meetings.
Leave wide margins on printed lists so you can hand-write notes and updates during vendor conversations.
Print a cover page for each binder section with the vendor name, contact details, and contract summary on one sheet.
Laminate your venue floor plan and seating chart template so you can write on them with dry-erase markers and reuse them.
How to Create Your Own Printable Wedding Checklist
Sometimes the best checklist is one you build yourself, customized to your exact wedding. Here is a step-by-step method for creating a printable from scratch in Google Docs.
Start with a table structure
Open a Google Doc. Insert a table with three columns: Task, Deadline, and Status. Set column widths to roughly 60% / 20% / 20%.
Add your sections as headers
Use heading rows in your table (with a light background color) to separate sections: 12 Months Out, 9 Months Out, 6 Months Out, etc.
Fill in tasks by section
Use the month-by-month breakdown in the Pix Wedding guide as your reference. Add, remove, or modify tasks to match your actual wedding needs.
Add a category index at the top
Create a quick reference table at the top of the document with your binder section names so you can jump to the right section quickly.
Set page layout for printing
Go to File > Page Setup. Set margins to 0.75 inches on all sides. Use portrait orientation for most lists; landscape for the budget tracker.
Print and organize
Print each section separately and add to your binder behind the appropriate tab. Print a fresh copy of the master checklist at the start of each month.
When to Print and When to Stay Digital
Print When...
Stay Digital When...
Related Wedding Planning Resources

First dance
You guys!!
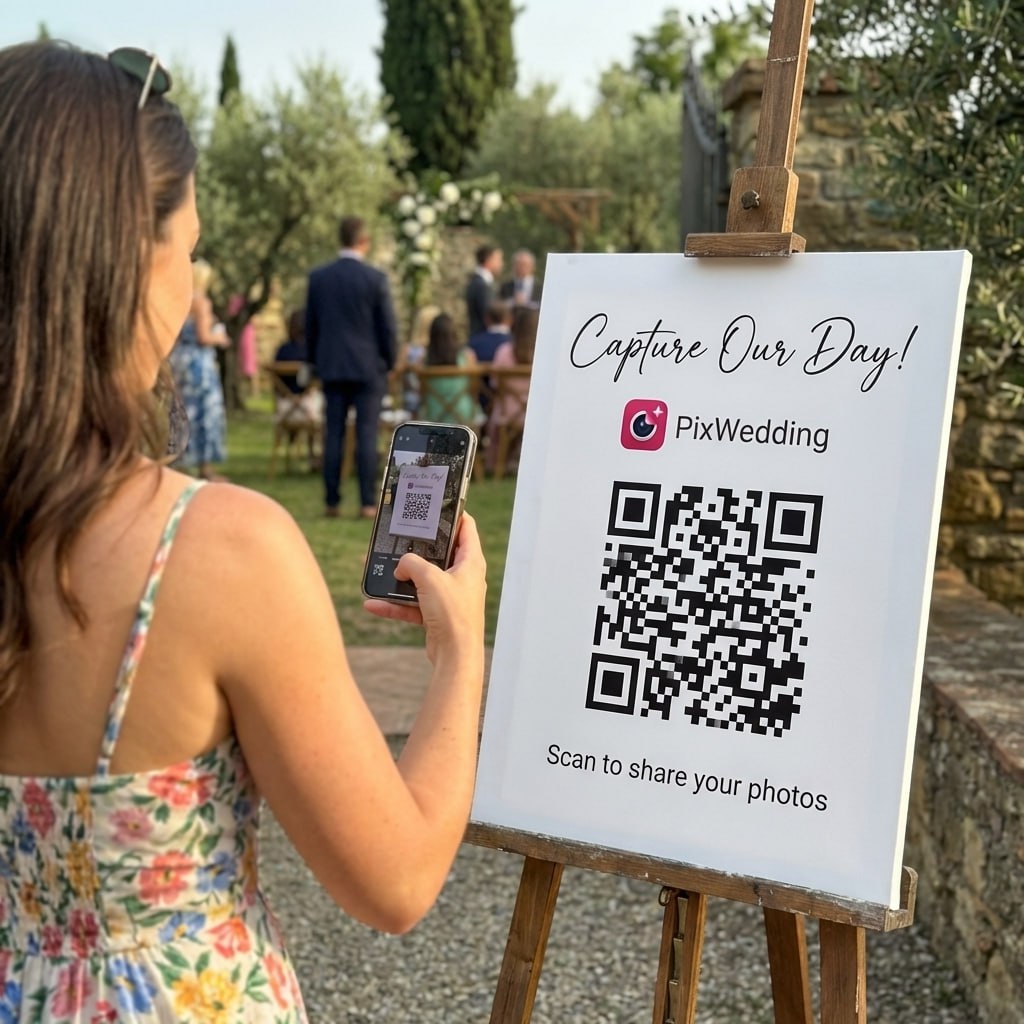
Checklist printed. Album set up for free.
Your printable binder keeps planning on track. Pix Wedding keeps photos on track, no printing needed, just a QR code and guests do the rest.

From Mom
Scan to join the album
No app, no account
UPLOADING
Saving your moment
THE ALBUM
Emma & Jack
June 21, 2026
647 photos · 95 guests


SCAN TO TRY
pix.wedding/
your-wedding
Building Your Wedding Planning Binder: A Complete Setup Guide
A wedding planning binder is the physical backbone of your planning process. While digital tools handle real-time updates and collaboration, a well-organized binder gives you everything in one tangible place for vendor meetings, site visits, and offline planning sessions.
The most useful binders are organized by vendor category, not by timeline. This way, when you are sitting across from your florist, you can flip directly to the florist section without hunting through month-by-month pages. Keep your master month-by-month checklist at the very front as a progress overview.
- •Use a 3-inch binder with color-coded tabbed dividers per vendor
- •Keep your master checklist at the front as a one-page overview
- •Store contracts and deposit receipts in plastic sleeves behind the relevant tab
- •Add a notes page to each vendor section for meeting notes and decisions
- •Keep a running question list at the back for your next vendor meeting
Printable Checklist Categories: What Every Section Should Cover
A well-structured printable checklist is organized into clear categories that match the structure of your planning. Generic month-by-month lists work for timelines, but category-based sections are more useful when you are in a meeting with a specific vendor and need all the relevant tasks visible at once.
Use the category structure below as the basis for your binder tabs and your printable checklist sections.
- •Budget: total budget, per-category allocations, deposits paid, final balances
- •Venue: capacity, catering options, setup and breakdown windows, parking
- •Photography: shot list, delivery timeline, second shooter confirmation
- •Catering: menu selections, dietary accommodations, service style, bar options
- •Floral: ceremony arrangements, reception centerpieces, bridal party flowers
- •Music: ceremony songs, cocktail hour, reception playlist, must-play and do-not-play lists
- •Attire: dress fitting dates, alterations deadlines, accessories checklist
- •Guest List: RSVPs, dietary restrictions, plus-ones, children attending
- •Logistics: accommodation blocks, transportation, rehearsal dinner, day-of timeline
Explore more free wedding tools
Everything you need to make your wedding day stress-free and unforgettable.
Seating Chart Planner
Plan your reception seating visually.
Guest List Manager
Track RSVPs and dietary needs.
Timeline Builder
Plan your entire wedding day.
Venues by State
Explore venues across all 50 states.
Countdown Timer
Count down the days to your big day.
Bachelorette Party Games
15+ games with rules, supplies, and timing.
Alternative to Wedding Guest Book
15 creative alternatives guests actually enjoy.
Wedding Menu Builder
Design and print your reception menu.
Wedding Planning Checklist Printable FAQ
Everything you need to know about our free tools and how they help your wedding day.
A complete printable wedding checklist should have sections for: budget tracking, venue research and booking, vendor categories (photographer, caterer, florist, officiant, band/DJ), guest list management, invitation timeline, attire, rings, rehearsal, and honeymoon. Organize each section by the month the tasks should be completed so you can pull out just the relevant pages each month.
Use a 3-inch three-ring binder with tabbed dividers. Sections to include: Budget, Venue, Catering, Photography, Florist, Music, Attire, Guest List, Invitations, Accommodation, Rehearsal, Honeymoon, Day-of Timeline, and Vendor Contacts. Keep your master checklist at the front. Use plastic sleeves for contracts and deposit confirmations. Color-code tabs by category for quick access at vendor meetings.
A printable checklist is a static document you print and physically check off. It is great for sharing in person with family or bringing to vendor meetings. A digital interactive checklist (like the free one at Pix Wedding) updates in real time, saves automatically, and can be accessed from any device. The best approach for most couples is a digital checklist as the live master, with selective printed pages for specific meetings or for sharing with non-digital family members.
Letter size (8.5" x 11") works for most standard binders and printers. If you want a more compact planner, A5 (half letter, 5.5" x 8.5") fits nicely in a smaller binder you can carry to appointments. Print on cardstock (60-80 lb weight) if the pages will be handled frequently. For pure functionality, regular copy paper is fine.
Yes. Start with a simple Word document or Google Doc. Create a table with three columns: Task, Deadline, and Done. Group tasks into monthly sections from 12 months out to the wedding week. Customize the tasks to match your actual wedding - skip the band section if you have a DJ, skip the caterer section if the venue handles food. Once you are happy with the content, print it and put it in a binder or use the Pix Wedding free interactive checklist tool as your digital version.
Review and reprint your checklist whenever significant changes happen: a vendor cancels, the date shifts, or the guest count changes substantially. For day-to-day updates, mark changes in pen on the printed version and batch update the printed pages monthly. This is one reason many couples use a digital master list (easy to update) and only print when they need a physical copy for a specific purpose.