
2 Weeks Before Wedding Checklist: Your 14-Day Countdown
Two weeks out is the sweet spot. Close enough to feel real, far enough to fix anything that needs fixing. Here are 40+ tasks split between your final two weeks.
How to Use This Checklist
This checklist is designed to be printed and worked through with a pen. Print one copy per partner, split tasks by the delegation guide below, and physically tick each item as it is done. The two-column format (Week 2 on the left, Week 1 on the right) lets you see at a glance how the final fortnight is progressing without reopening a planning app every five minutes.
- Print the checklist and post it somewhere visible, not buried in a tab or folder.
- Assign each item an owner (you, your partner, coordinator, or MOH) before week two begins.
- Review it together each evening for five minutes, not as a stress session but as a quick sync.
Week 2: Confirm and Finalize Everything
This is your logistics week. Every vendor needs confirmation, every detail needs a final sign-off, and every number needs to be locked in.
Days 14 to 8: Logistics and Confirmations
- Send your absolute final headcount to the caterer and venue
- Confirm every vendor booking with a direct phone call
- Finalize your seating chart now that all RSVPs are in
- Review and lock the wedding day timeline with your coordinator
- Confirm transportation arrangements for the wedding party and guests
- Finalize the playlist, first dance song, and do-not-play list with the DJ
- Confirm rehearsal dinner details, headcount, and any speech plans
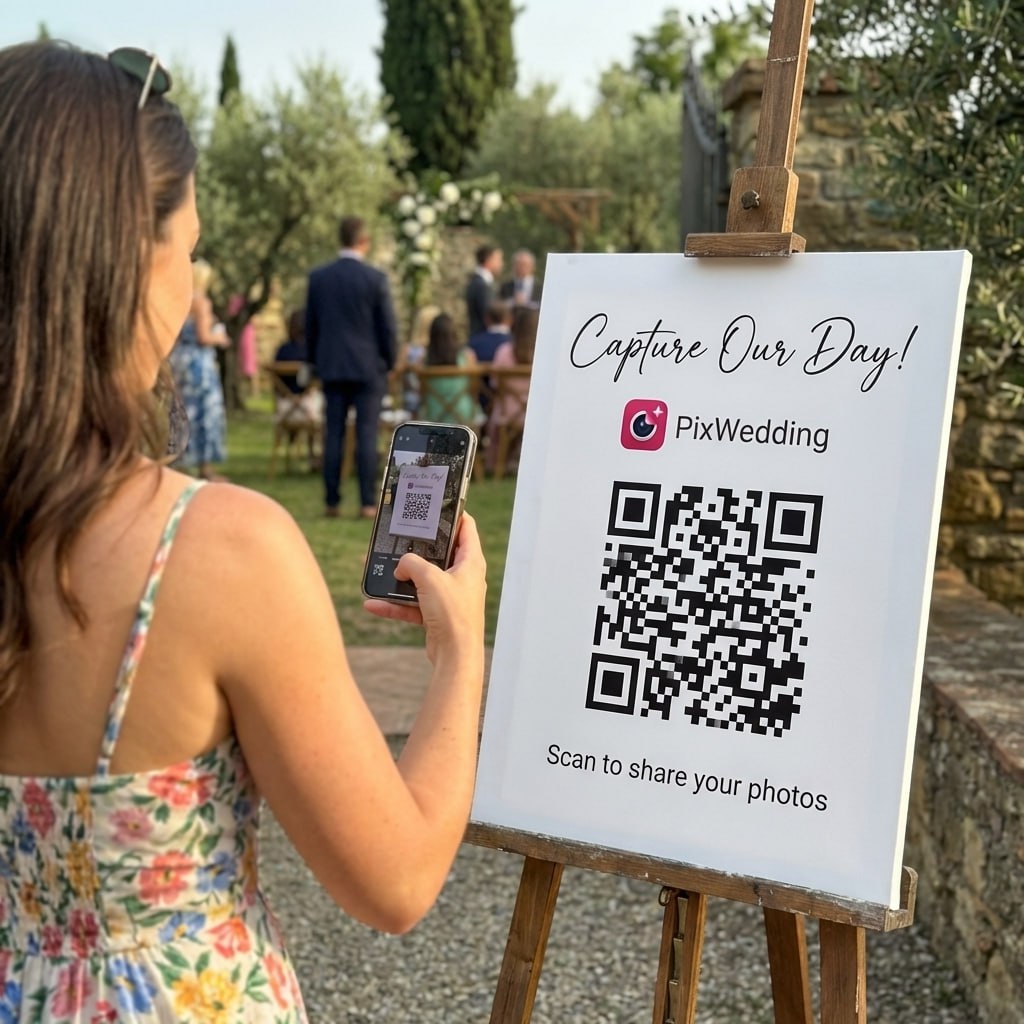
- Set up your Pix Wedding account and print QR code table signs
- Order or assemble welcome bags for out-of-town guests
- Double check weather forecasts and activate any outdoor backup plan
The Day-14 Sprint: What to Do First
Day 14 is not just the start of the countdown. It is its own sprint. These eight tasks should ideally happen on the very first day of your two-week window, because they unlock everything else that follows.
Day 14 Kickoff Tasks
Complete all 8 on the first day- 1Send caterer the final headcount -- this number locks your minimum charge
- 2Call venue and confirm final room layout and table configuration
- 3Email all vendors the finalized day-of timeline (one PDF, all names cc'd)
- 4Confirm rehearsal dinner guest count and any dietary restrictions
- 5Check every vendor contract for outstanding balances due in the next 14 days
- 6Lock the seating chart layout (tables are set, but name swaps are still fine)
- 7Start the tip envelope list: write each vendor name and the planned amount
- 8Set up your Pix Wedding account and generate the QR code if not done yet
Completing these eight tasks on day 14 sets a clear baseline for the rest of the two weeks. Every subsequent task is either a follow-up to something on this list or a personal preparation item that can wait until week one.
The Vendor Call Blitz (Days 14 to 12)
Block two hours on day 14 or 13 and call every vendor back-to-back. Do not email. Do not text. Call. A five-minute conversation surfaces problems that a confirmation email never would. Know exactly what to confirm with each one.
Final headcount, dietary restrictions, service start time, kitchen access time, who receives the final count sheet on the day
Arrival time, shot list hand-off, who they report to at the venue, backup plan if they run late
Arrival time, ceremony audio setup, any rooms they need access to in advance
Load-in time, song list delivery, do-not-play list, MC duties and any announcements needed
Delivery time, who accepts the flowers at the venue, setup location for boutonnieres and bouquets
Start time for the first person in the chair, order of the wedding party, location, and any products to avoid
After each call, send a brief email recap: "Great speaking with you. Confirming arrival at 2pm, final headcount of 87." This creates a paper trail and gives the vendor one last chance to flag anything before the day.
Week 1: Prepare Yourself and Your People
The logistics are handled. This week is about personal preparation, emotional readiness, and making sure you actually enjoy the lead-up to your wedding.
Days 7 to 1: Personal and Emotional Prep
- Final dress or suit fitting and pickup from the tailor
- Break in wedding shoes by wearing them at home on carpet
- Prepare vendor tip envelopes with labeled names and correct cash amounts
- Write your personal vows if they are not already finished
- Practice reading your vows out loud until they feel natural
- Arrange for someone to return rental items the day after the wedding
- Write thank-you notes to parents and members of the wedding party
- Schedule a date night with your partner and ban all wedding talk
- Book a massage or spa treatment for mid-week stress relief
- Pack your honeymoon bags so they are completely ready before Friday
Beauty and Attire: The Week-by-Week Timeline
Beauty prep has its own internal schedule within the two weeks. Rushing any of these will show in photos. Follow this order and give each step the lead time it needs.
Printable Format: Save or Print This
A clean two-column view of every task. Print it, pin it to the fridge, and tick items off with a pen as you go.
Tip: use Ctrl+P (or Cmd+P on Mac) to print this page and tick off tasks by hand.
Week 2 vs Week 1: Who Owns What
The biggest mistake couples make in the two-week window is both partners trying to handle everything together. Divide the responsibilities clearly and you will each get through the list faster with less friction.
Logistics (Partner A or Coordinator)
- Vendor confirmation calls
- Final headcount submission
- Transportation coordination
- Day-of timeline distribution
- Weather contingency activation
Personal Prep (Partner B or Both)
- Attire pickup and final fitting
- Vow writing and practice
- Honeymoon packing
- Tip envelope preparation
- Wedding-free date night planning
Wedding Party (MOH + Best Man)
- Rehearsal dinner logistics
- Welcome bag delivery to hotel
- Emergency kit assembly
- Holding tip envelopes on the day
- Gathering wedding party at ceremony on time
If you have a full-service coordinator, shift the logistics column to them and let both partners focus entirely on personal preparation during week one. That is exactly what you are paying for.
Rehearsal Dinner: The 2-Week Confirmation List
The rehearsal dinner often gets treated as an afterthought while the main wedding logistics consume all attention. Confirm these details in week two so the night before your wedding is relaxed rather than reactive.
Venue and Logistics
- Confirm restaurant or venue reservation with final headcount
- Confirm arrival time for wedding party and immediate family
- Arrange a point of contact at the venue for the evening
- Confirm any AV or slideshow setup if you are presenting one
- Clarify who is handling the bill and how it will be split or comped
Speeches and Ceremony Prep
- Confirm who is speaking and for how long at the rehearsal dinner
- Brief the officiant on any ceremony wording changes since the initial meeting
- Walk through the processional order with the whole wedding party
- Confirm who holds the rings during the ceremony and when they hand them over
- Agree on a signal for the officiant to begin if music is cuing the processional
Common Mistakes at the 2-Week Mark
These are the errors that are unique to this specific phase. Most of them are easy to avoid once you know they exist.
Printing place cards before confirming every last RSVP. Even one late response can force a full reprint -- wait until day 12 at the earliest.
Booking a brand-new beauty treatment (chemical peel, lash extensions, keratin) for the first time this close to the wedding. Stick to services your skin and hair already know.
Leaving honeymoon packing for the night before the wedding. Pack at least four days out, so a missing item can be replaced without stress.
Skipping vendor confirmation calls because "we already confirmed months ago." Vendor staff change. Bookings get mixed up. A five-minute call prevents a day-of disaster.
Not building in a wedding-free evening for you and your partner. Two weeks of nonstop wedding talk strains even the strongest relationships -- protect at least one night.
Waiting until week one to calculate tip amounts. Research vendor gratuity norms now, decide the amounts, and have envelopes ready by day 7.
Why 2 Weeks Is the Sweet Spot
Wedding planners consistently say the two-week mark is the most productive phase of the entire planning process. Here is why.
Close enough to feel real
At two weeks out, the wedding stops being abstract and becomes concrete. This mental shift helps you focus on execution rather than planning.
Far enough to fix problems
If a vendor has a conflict or a bridesmaid gets sick, you still have two full weeks to find a solution. One week out, options shrink dramatically.
RSVP deadline has typically passed
Most couples set their RSVP deadline 2 to 3 weeks before the wedding. By now, you know your final numbers and can make real decisions.
No more major decisions to make
Everything should be booked and planned. This is the phase where you confirm, finalize, and prepare. Decision fatigue is over.
Vendor Payment Reminder
Check your contracts this week. Many final balances are due at the two-week mark or shortly after. Do not get surprised.
Related checklists and guides

First dance
You guys!!
Fourteen days out. Photos sorted early.
While final fittings and vendor confirmations are still fresh, set up your guest photo album now. Two weeks is the perfect window, plenty of time, zero stress.

From Mom
Scan to join the album
No app, no account
UPLOADING
Saving your moment
THE ALBUM
Emma & Jack
June 21, 2026
647 photos · 95 guests







SCAN TO TRY
pix.wedding/
your-wedding
The Two-Week Wedding Countdown Strategy
Two weeks before your wedding is when everything shifts from planning to execution. The decisions are made. The bookings are locked in. What remains is making sure every piece actually comes together on the day.
The most effective strategy is to split your two weeks into two distinct phases. Week two (days 14 to 8) is your logistics week: vendor confirmations, final numbers, seating charts, and payments. Week one (days 7 to 1) is your personal week: attire pickup, vow practice, beauty prep, and emotional readiness.
This split works because it prevents the feeling of being overwhelmed. When you try to handle logistics and personal preparation at the same time, both suffer. Separate them and each gets your full attention.
- •Days 14 to 8: Focus exclusively on logistics, vendors, and confirmations
- •Days 7 to 1: Shift to personal preparation, beauty, and emotional readiness
- •Complete vendor calls in one focused session rather than spreading them out
- •Use the first week to handle everything you cannot control (vendors, venues)
- •Use the second week for everything you can control (yourself, your partner, your peace of mind)
What Most Couples Underestimate at the Two-Week Mark
The emotional shift. At two weeks out, the wedding becomes real in a way it was not before. You might feel excited, anxious, overwhelmed, or all three at once. This is completely normal and happens to nearly every couple.
The best thing you can do for yourself at this point is schedule at least one completely wedding-free day during each week. Go on a date. See friends. Do something you enjoy that has nothing to do with seating charts or vendor payments. Your mental health is just as important as your day-of timeline.
Handling Last-Minute RSVP Stragglers
If some guests still have not responded to your RSVP, now is the time to chase them down. Call or text directly. Be polite but direct. You need final numbers for the caterer and the seating chart, and you cannot wait any longer.
For guests who do not respond despite multiple attempts, assume they are not coming and plan accordingly. It is better to have a slightly empty table than to over-order food and waste money. If they show up unexpectedly, your coordinator can handle the seating adjustment.
Explore more free wedding tools
Everything you need to make your wedding day stress-free and unforgettable.
QR Sticker Designer
Design custom print-ready stickers.
Photo Sharing QR
The best way to collect guest photos.
Hashtag Generator
Create unique wedding hashtags.
How to Collect Guest Photos
5 methods ranked by participation rate and ease.
Share Wedding Photos with Guests
Compare every sharing platform by ease and participation.
Best Way to Get Guest Photos
The single method with the highest participation rate.
How to Make a Shared Wedding Album
Step-by-step setup for every platform.
Alternative to Disposable Cameras
Better, cheaper options than disposable cameras.
Frequently Asked Questions
Straight answers to the questions people ask most about this topic.
Seating chart, final guest headcount, all vendor timelines, music playlist, transportation arrangements, and rehearsal dinner details. These items need to be locked in so that week one can focus on personal preparation rather than logistics.
Yes. Wear them around the house for 30 minutes to an hour each day on carpet. By your wedding day they will be comfortable and you will walk in them naturally. Start during week one for the best results.
The beginning of week one, about 7 to 10 days before the wedding. Label each envelope with the vendor name and the dollar amount inside. Keep them in a safe place and give the full set to your coordinator or best man the night before.
Yes, assuming your RSVP deadline has passed. Chase any non-responders immediately, then finalize the chart. Print place cards by the beginning of week one so there is time to reprint if you catch errors.
Schedule at least one completely wedding-free day during each of the two weeks. Go on a date, see friends, exercise, or do something you enjoy. The tasks will still be there tomorrow. Burning out before the wedding is worse than leaving one small task undone.
Two weeks out is the ideal time. Create your Pix Wedding account, generate the QR code, and order or print table signs. This crosses a significant item off your list early and requires zero effort on the actual wedding day.