Transform your photo booth from an afterthought into the most addictive corner of your reception with design psychology, prop strategy, and seamless QR workflows.
Start with a 10'x10' footprint so groups can move. Layer a textured backdrop (velvet drape, neon sign, metallic fringe) with side lighting that flatters every skin tone. Keep stools and risers nearby so guests of all heights can join.
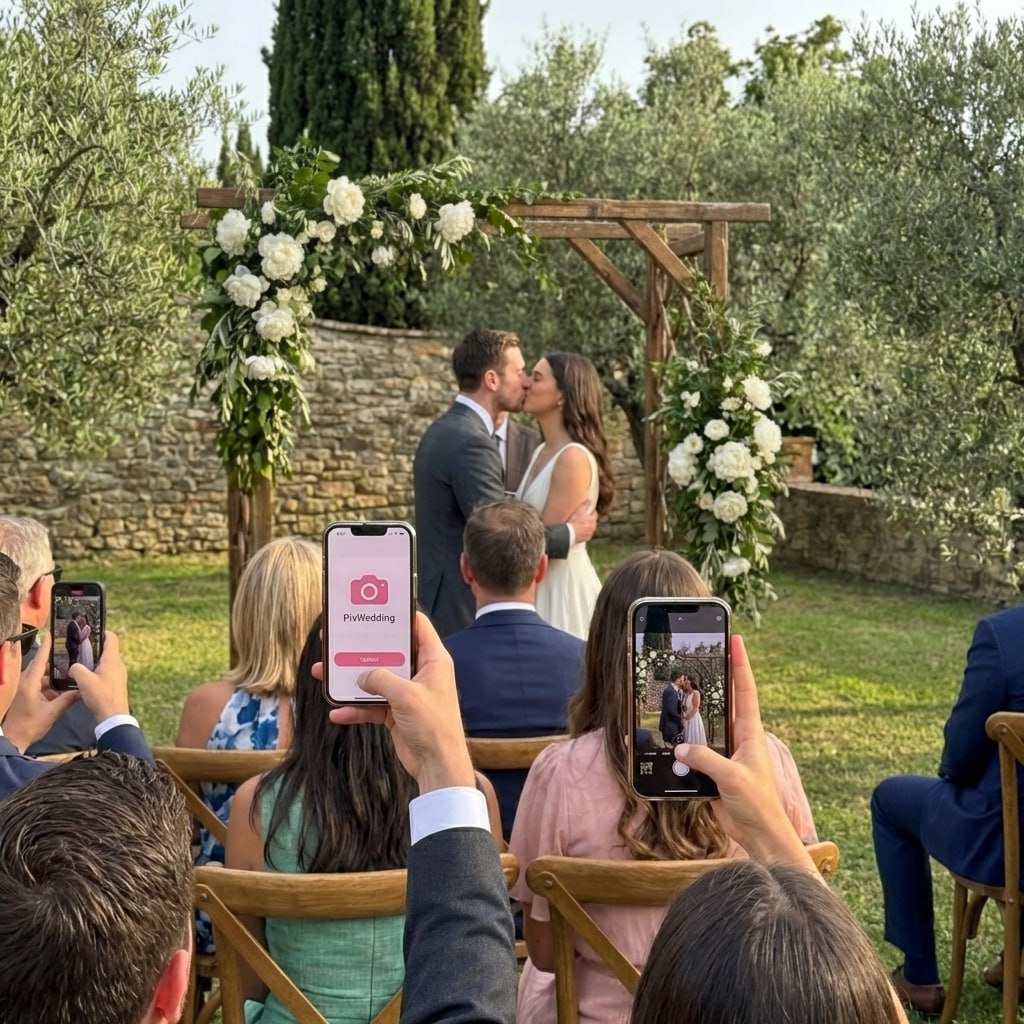
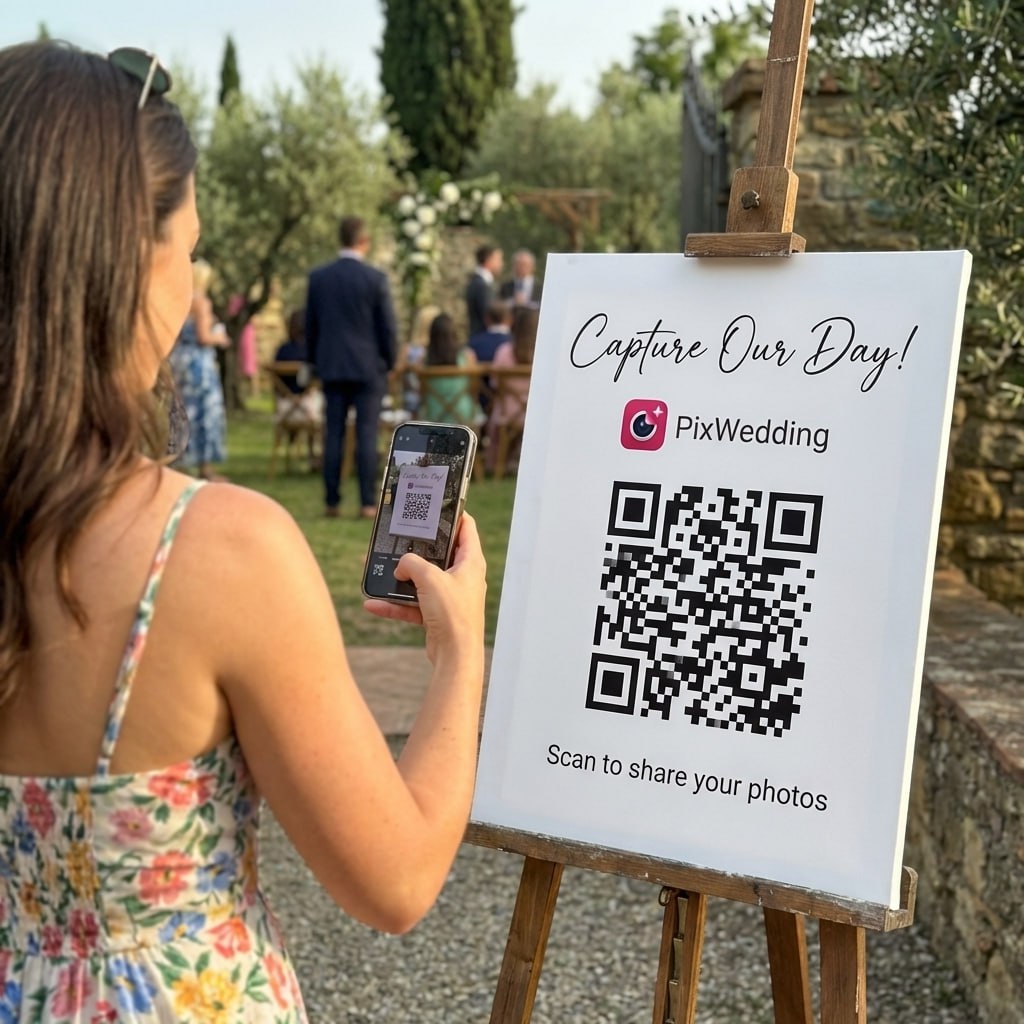
Skip email kiosks and go straight to Pix Wedding. Print a bold QR sign that says “Scan to drop your photos + leave us a note.” Guests upload in seconds, and you get every file in one cloud gallery-plus heartfelt messages.
Turn the booth into your digital guestbook. After guests upload to Pix Wedding, prompt them to add a video toast or quick piece of advice. You’ll end the night with heartfelt messages plus ready-to-share content.
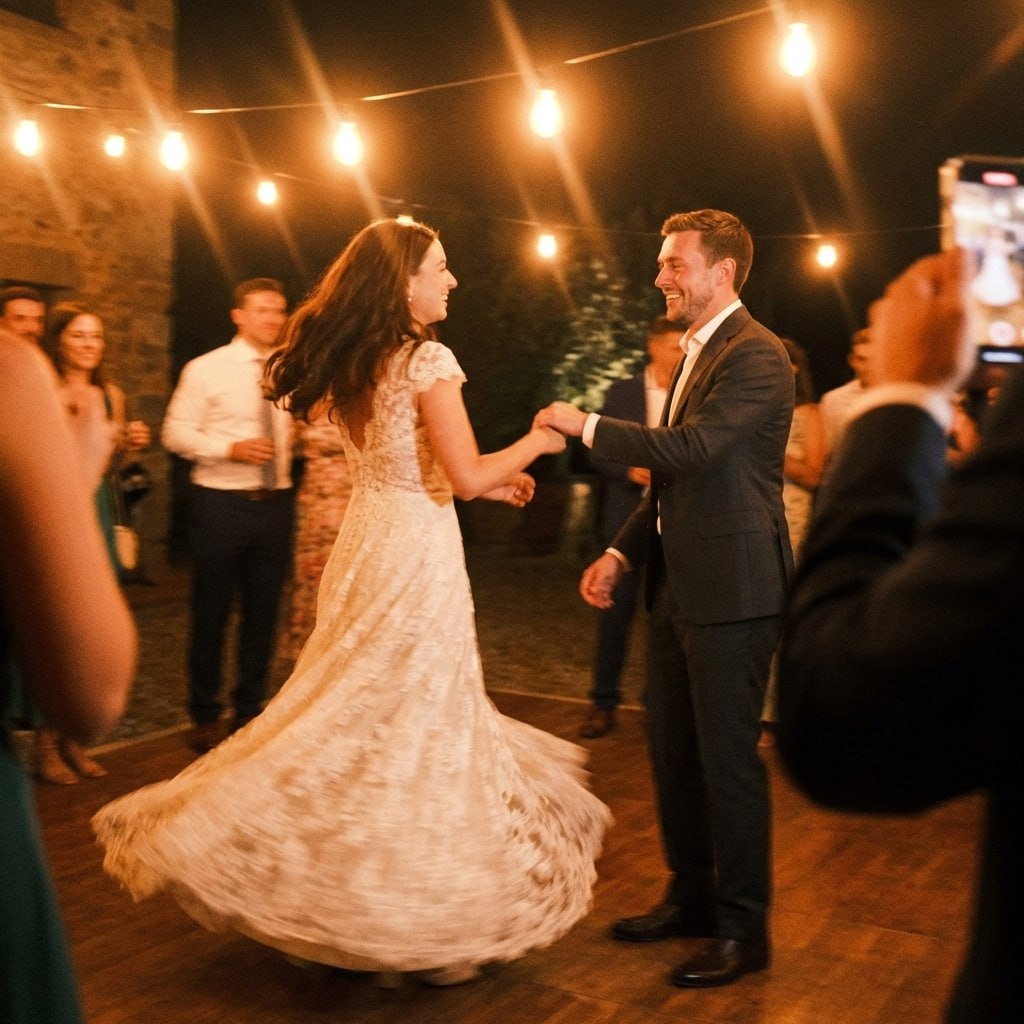
Position the booth within 20 feet of the dance floor so guests can bounce back and forth. Use two LED panels at 45° angles plus an overhead string-light wash to stay flattering all night. Schedule a dedicated attendant (or outgoing cousin) to reset props, encourage uploads, and troubleshoot QR questions.

First dance
You guys!!
Create a free Pix Wedding album, grab your QR codes, and watch the booth become the most addictive corner of your reception.
From Mom
Scan to join the album
No app, no account
UPLOADING
THE ALBUM
June 21, 2026
647 photos · 95 guests


SCAN TO TRY
pix.wedding/
your-wedding
The most common photo booth mistake at weddings has nothing to do with the booth itself: it is placement. Couples put the booth in a corner near the entrance, which means guests walk past it once at arrival and rarely return. The booth sits quiet for most of the night.
The optimal position is within 15 to 20 feet of the dance floor, accessible from multiple directions, and visible from the main dining area. Guests need to be able to see the booth from their seats, see other guests using it, and feel the pull of the activity without having to seek it out. Proximity to the bar is a close second consideration.
A photo booth is not a set-and-forget element. It has three distinct performance windows during a reception, and treating them differently maximizes its impact.
Wedding photographers, florists, and venues all want photographs of the booth area because it documents their work in a natural, joyful context. If you tag your vendors in booth photos you share, many will reshare to their own audiences. Ask your florist if they would like to see booth-area shots that show the backdrop florals. Ask your venue if you can share a wide shot that shows the room setup.
This creates a mutual benefit: your wedding gets wider organic distribution, vendors get portfolio content, and guests get the social validation of seeing their photos celebrated across multiple platforms. It costs nothing and requires only one organized afternoon after the honeymoon.
The DIY photo booth path is tempting when you see rental quotes of $700 to $2,500. With an iPad, a ring light, and a backdrop, you can create a functional booth for $150 to $400. Here is an honest accounting of the trade-offs.
The middle path that many couples do not consider: a simple backdrop and ring light rental (from a party rental company, not a photo booth specialist) for $200 to $400, combined with Pix Wedding QR codes so guests use their own phones to photograph each other and upload directly. You get the visual experience of a dedicated photo area without the technical complexity or full booth cost.
Not all backdrops look as good in photos as they do in person. Some popular options that disappoint on camera: overly shiny sequin backdrops that blow out highlight details in ring light; very pale or white backdrops that blend into bridesmaid dresses or wedding attire; and outdoor greenery walls that look stunning in person but photograph flat without proper backlighting.
Design custom QR stickers that match your wedding aesthetic. Print them for your booth, tables, and welcome signs.
Try QR Code Sticker Designer FreeHigh energy lighting, multi-level props, clear instructions, and immediate gratification. Combine bright wash lights, a dynamic backdrop, props guests actually want, and a feedback loop (live slideshow or instant upload confirmation).
Absolutely. The booth is for candid chaos; your photographer captures timeless portraits. The magic happens when both ecosystems share images into one gallery powered by <a href="/" class="bg-yellow-100 px-1 rounded inline-block font-semibold">Pix Wedding</a>.
Place a Pix Wedding QR placard on both sides of the booth. After every session, guests scan, upload, and drop a digital note. No lines at printers, no email kiosks, just instant sharing.
Guests scan a QR code placed on tables or signs with their phone camera. It opens a browser page where they can upload photos and videos directly to your private album. No app download or account creation needed.
Yes. With Pix Wedding, your QR code stays active for 12 months. Guests can continue uploading photos and videos long after the celebration, so you never miss a memory.
A private QR code album is the easiest method. Place QR codes on tables, in the welcome area, and on signage. Guests scan, upload, and you get every perspective in one gallery.
First dance
You guys!!
Guests scan one QR code and upload from their phone browser. No app, no account. Free for your first 20 uploads, one-time payment from $49 for unlimited.
From Mom
Scan to join the album
No app, no account
UPLOADING
THE ALBUM
June 21, 2026
647 photos · 95 guests
SCAN TO TRY
pix.wedding/
your-wedding