
How to Make a Bustle for a Wedding Dress
Three bustle types explained step by step. Learn which one suits your dress, what materials you need, and when it is smarter to hire a seamstress.
Materials You Will Need
Type 1: American Bustle (Overbustle)
The most common bustle type. The train folds up and hooks to the outside of the waistline, creating visible gathers at the back. Best for A-line and ball gown silhouettes with moderate trains.
Put on the dress with your wedding shoes and stand on a flat surface.
Identify the center back seam and locate the heaviest point of the train.
Pin the bottom edge of the train up to the waistline seam at center back.
Sew a hook at the pinned point on the train and an eye at the waistline seam.
Repeat on each side, spacing attachment points 4 to 6 inches apart.
Test the bustle by hooking all points and walking, sitting, and turning.
Type 2: French Bustle (Underbustle)
The train tucks underneath itself, creating a smooth, waterfall-like drape. Best for dresses with lace detailing, beading, or any design you want to keep visible. Works beautifully on sheath and trumpet silhouettes.
Turn the dress inside out and locate the underskirt layer.
Find the center back of the outer layer at the desired bustle height.
Create ribbon loops on the inside of the outer skirt at each attachment point.
Sew corresponding ribbon ties on the underskirt directly below each loop.
Tie the outer layer to the inner layer, pulling the train under and up.
Adjust the drape from the outside, ensuring even folds on both sides.
Type 3: Ballroom Bustle (Fold-Under)
The entire train folds up at once, creating a clean, floor-length hemline. Ideal for very long cathedral trains or dresses with heavy fabric. The simplest to execute but requires strong fasteners.
Put on the dress and identify where the train hits the floor behind you.
Gather the very bottom hem of the train and lift it to the center back waist.
Create a single, dramatic fold by bringing the entire hem edge upward.
Sew a heavy-duty snap at the hem center and a corresponding snap at the waist.
Add two supporting snaps on each side, about 8 inches from center.
Release and re-bustle three times to make sure the snaps hold under movement.
Cost Comparison: DIY vs Seamstress
DIY Bustle
$10 - $25- Materials only (hooks, thread, pins)
- 2 to 4 hours of work
- Full control over placement
- Requires basic sewing skills
Professional Seamstress
$50 - $200- Expert craftsmanship
- Done in one fitting session
- No risk of damaging the dress
- Best for expensive or delicate gowns
When to Practice Your Bustle
- Practice at least 3 times before the wedding day. Your MOH or helper needs to be confident.
- Do a full practice 2 weeks out to catch issues and make adjustments.
- Time yourself. It should take under 2 minutes on the wedding day.
- Mark each hook and eye with a small ribbon or colored thread so your helper can find them.
When to See a Seamstress Instead
Heavy beading or embroidery
Thick embellishments make sewing through the fabric extremely difficult without proper tools.
Cathedral-length train
Trains over 6 feet need more attachment points and precise weight distribution.
Delicate fabrics
Silk charmeuse, organza, and chiffon tear easily. One wrong stitch can cause visible damage.
Designer or heirloom gown
If the dress cost over $2,000 or has sentimental value, professional alterations are worth the investment.

First dance
You guys!!
You nailed the bustle - now collect every photo
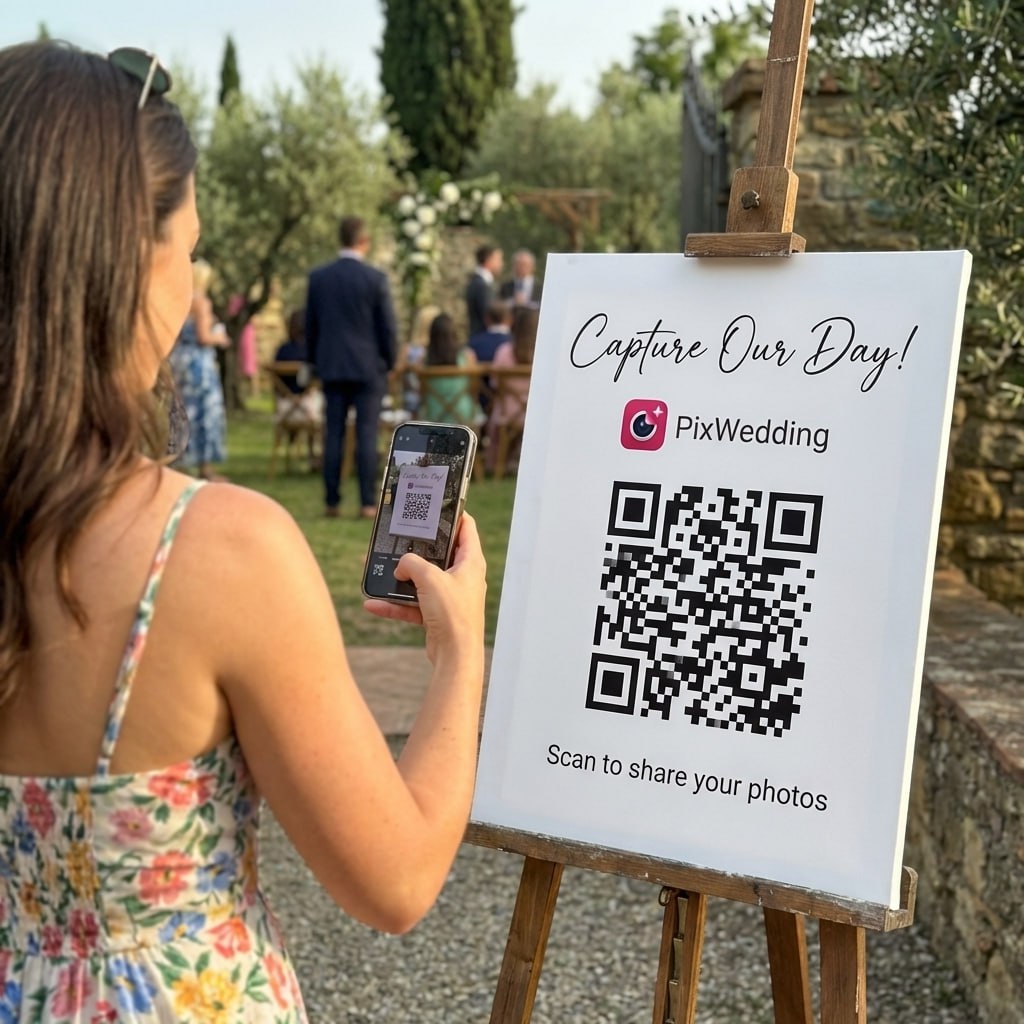
Your dress looked perfect from every angle. Make sure guests can share those shots with you. One QR code, one shared album, zero app downloads needed.
From Mom
Scan to join the album
No app, no account
UPLOADING
Saving your moment
THE ALBUM
Emma & Jack
June 21, 2026
647 photos · 95 guests


SCAN TO TRY
pix.wedding/
your-wedding
What Is a Bustle and Why Does Every Wedding Dress Need One?
A bustle is a system of hooks, snaps, or ties sewn into the back of a wedding dress that lifts the train off the ground for the reception. Without a bustle, you would spend the entire evening tripping over your own dress or asking someone to carry it. The bustle was originally a structural undergarment in Victorian fashion, but today it refers to the alteration itself.
Most bridal shops add a bustle during final alterations, but it is absolutely something you can do yourself if you have basic sewing skills and patience. The key is choosing the right bustle type for your dress silhouette and practicing before the wedding day.
- •American bustles work best for A-line and ball gown dresses with simple trains
- •French bustles preserve lace detailing and create an elegant waterfall drape
- •Ballroom bustles are the fastest to hook and release on the day
- •Always do a sitting test, a walking test, and a dancing test before your wedding
Common Bustle Mistakes to Avoid
The most frequent mistake is not using enough attachment points. Two or three hooks might feel secure when standing still, but dancing and sitting create forces that a couple of snaps cannot handle. Plan for at least five to seven points across the back for moderate trains.
Another common issue is choosing the wrong bustle type. If your dress has an intricate lace applique across the train, an American bustle will bunch it into an unflattering lump. A French bustle would keep the detail visible. Similarly, very heavy satin dresses need strong hardware and reinforced stitching, so lightweight snaps will not hold.
Bustle Alternatives for Modern Brides
Not every dress needs a traditional bustle. Detachable trains have become extremely popular and eliminate the need for a bustle entirely. You simply unclip the train after the ceremony. Another option is a wrist loop, a small fabric loop sewn into the hem that slips over your wrist or finger to carry the train casually.
If your dress has a sweep train (just barely touching the floor), you may not need a bustle at all. Test it on a dance floor first. Many brides find that a sweep train stays out of the way without any modification.
Explore more free wedding tools
Everything you need to make your wedding day stress-free and unforgettable.
Seating Chart Planner
Plan your reception seating visually.
Guest List Manager
Track RSVPs and dietary needs.
Timeline Builder
Plan your entire wedding day.
Venues by State
Explore venues across all 50 states.
Countdown Timer
Count down the days to your big day.
Wedding Checklist
Month-by-month planning checklist.
Bachelorette Party Games
15+ games with rules, supplies, and timing.
Alternative to Wedding Guest Book
15 creative alternatives guests actually enjoy.
Wedding Dress Bustle FAQ
Everything you need to know about our free tools and how they help your wedding day.
For a DIY bustle, plan for 2 to 4 hours depending on the type and your sewing experience. A professional seamstress typically completes it in 30 to 60 minutes during a fitting appointment. The actual hookup on your wedding day should take under 2 minutes with practice.
A French bustle (underbustle) is the best choice for lace dresses. It tucks the train underneath so the lace detailing remains visible from behind. An American bustle would fold the lace into gathers, hiding the pattern and potentially creating unflattering bulk.
Yes, virtually any dress with a train can be bustled. However, the technique depends on the dress fabric, weight, and silhouette. Very heavy cathedral trains may need a professional to ensure the attachment points are strong enough. Detachable trains are already designed to remove easily.
Most dresses need between 5 and 10 attachment points, depending on the train length. A sweep train may need only 3 to 5 points, while a cathedral train typically requires 7 to 10. The heavier the fabric, the more points you need to distribute the weight evenly.
If your dress cost under $1,000 and has a simple fabric like polyester satin, DIY is a great option. For dresses over $2,000, with delicate fabrics like silk charmeuse, or with heavy beading, hiring a seamstress is safer. The typical cost is $50 to $200 for professional bustle work.
If hiring a seamstress, schedule the bustle fitting 2 to 4 weeks before the wedding. This gives time for adjustments. If doing it yourself, sew the bustle at least 3 weeks early, then practice hooking it at least 3 times with your MOH or designated helper.